How to Propagate Nerve Plant from Cuttings

Nerve plant, also called Fittonia, looks fussy. Those painted little leaves make it seem like a plant that needs a greenhouse, a secret handshake, and perfect luck.
It doesn’t.
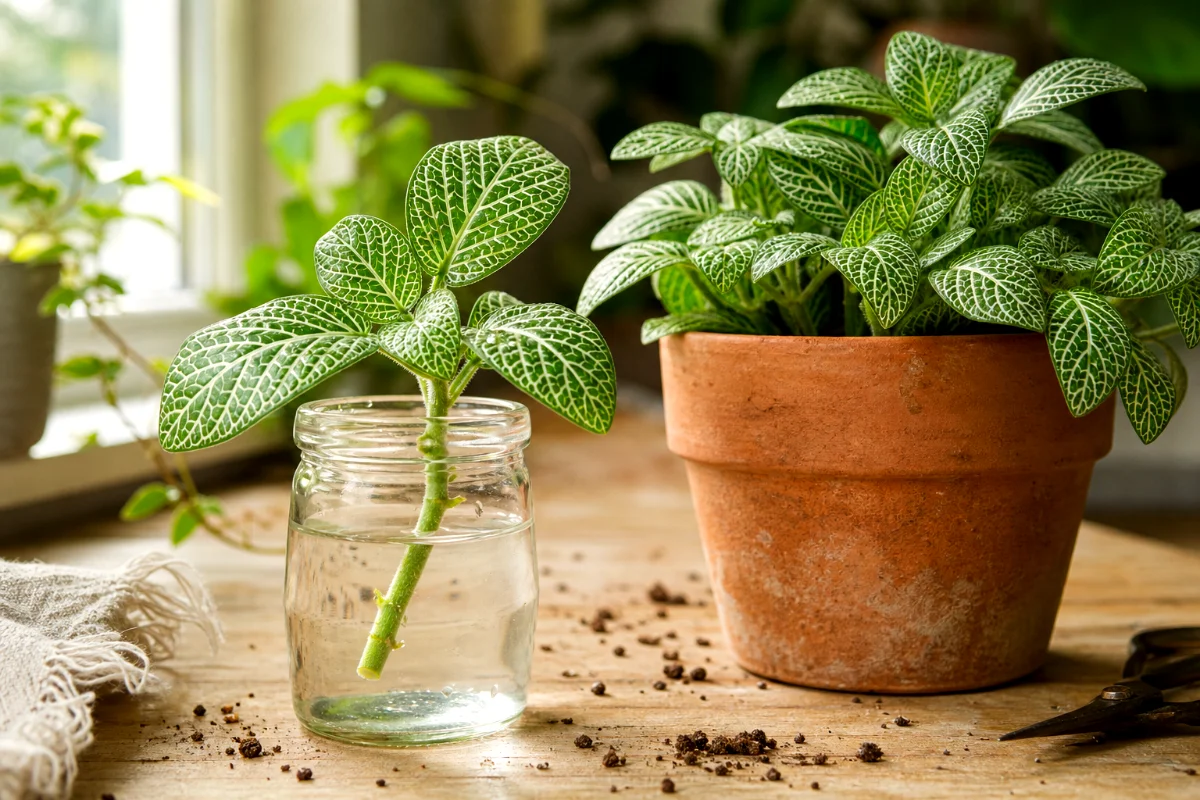
If you give it warmth, moisture, and a clean stem cutting, Fittonia roots pretty willingly. The easiest way to propagate nerve plant is by taking stem cuttings in spring or summer and rooting them in water or moist, airy soil.
My favorite method? Water. Hands down. Beginners can see the roots forming, and that little bit of visual proof keeps everyone from poking the cutting every three days.
Best Time to Propagate Nerve Plant
Propagate the nerve plant in spring or summer when the plant grows actively. Cuttings root faster when the days feel warm and bright.
Could you do it in winter? Sometimes. But winter cuttings often sulk, wilt, and sit there like they regret everything. If your home runs cool and dark in winter, wait.
A good propagation window gives you:
- Warmer room temperatures
- More natural light
- Faster root growth
- Less chance of rot from slow, cold conditions
Think of spring and summer as the plant’s working season. That’s when it has the energy to replace what you cut and grow fresh roots on the new pieces.
What You Need Before You Start
You don’t need fancy gear. I like simple tools that stay clean and do the job.
- Healthy nerve plant with several leafy stems
- Clean scissors or pruning snips
- Small glass jar for water propagation
- Small pot with drainage holes for soil propagation
- Moist, well-draining potting mix
- Perlite to lighten the mix
- Clear plastic bag or propagation cover for humidity
- Rooting hormone, optional for soil cuttings
Clean tools matter. Fittonia stems are soft, and a dirty blade can introduce bacteria right where the cutting needs to heal and root.
Choose the Right Stem Cutting
Pick a stem that looks healthy, not yellow, mushy, or pest damaged. You want a cutting that measures about 2 to 4 inches long with at least two sets of leaves.
Now look closely at the stem.
See the little bump where leaves meet the stem? That’s a leaf node. Roots grow best from nodes, so this tiny spot matters more than the prettiest leaf on the plant.
Where to Cut
Cut the stem just below a leaf node. Not way below it. Not through the middle of a leaf. Right under that little joint.
That gives the cutting a strong rooting point. It also leaves the parent plant with a clean stem that can push new growth.
How Many Leaves to Keep
Remove the leaves from the bottom half of the cutting. Keep the top leaves.
Why? Leaves sitting in water rot. Leaves buried in soil rot too. And rot travels fast on soft Fittonia stems.
If the top leaves look large for a tiny cutting, you can remove one pair. Less leaf surface means less moisture loss while the cutting waits for roots.
Water Method: The Most Reliable Way to Propagate Nerve Plant
If you’re new to plant propagation, start here. Water propagation lets you watch the roots, catch problems early, and avoid guessing.
Step 1: Take a Clean Cutting
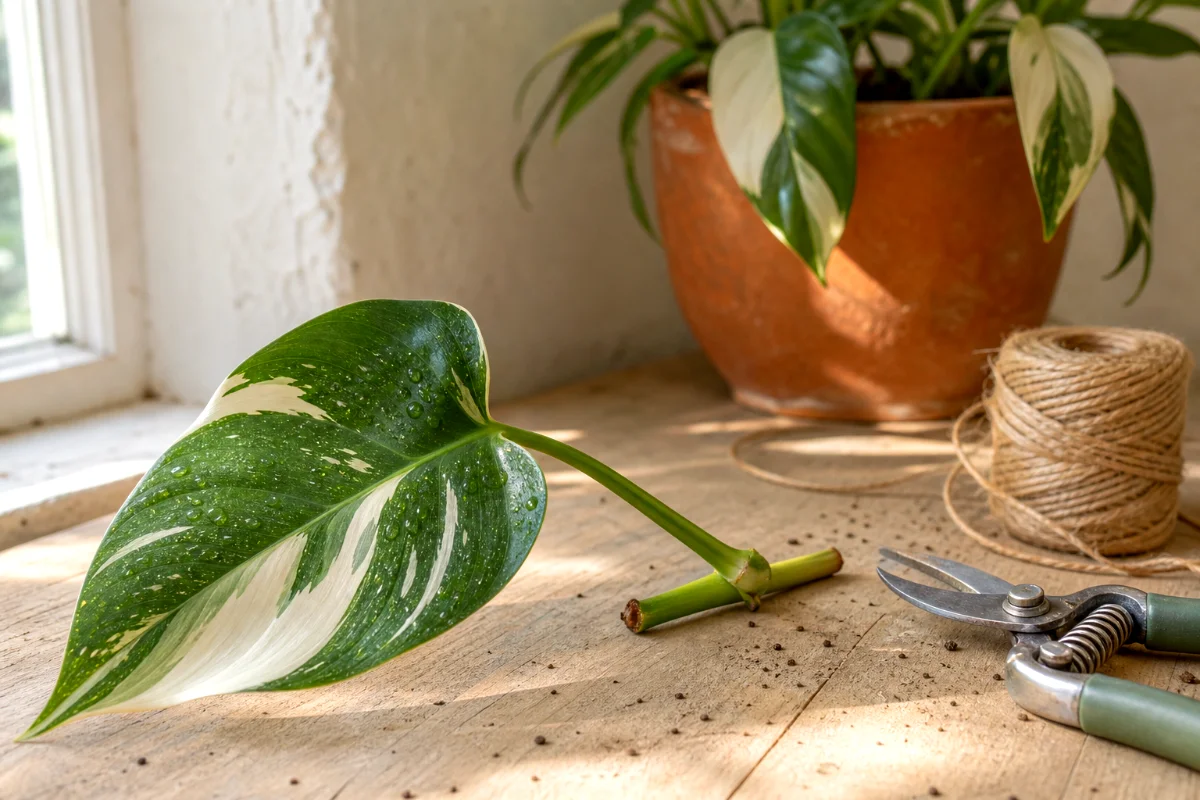
Cut a 2 to 4 inch stem just below a node. Make sure the cutting has at least two sets of leaves before you trim off the lower ones.
Shorter cuttings often root better than long, floppy ones. Big cuttings lose moisture faster, and Fittonia already has a dramatic streak.
Step 2: Remove the Lower Leaves
Strip the leaves from the bottom half of the stem. Keep any leaves out of the water.
This is one of those small steps people skip, then blame the plant when the jar smells like a pond. Don’t skip it.
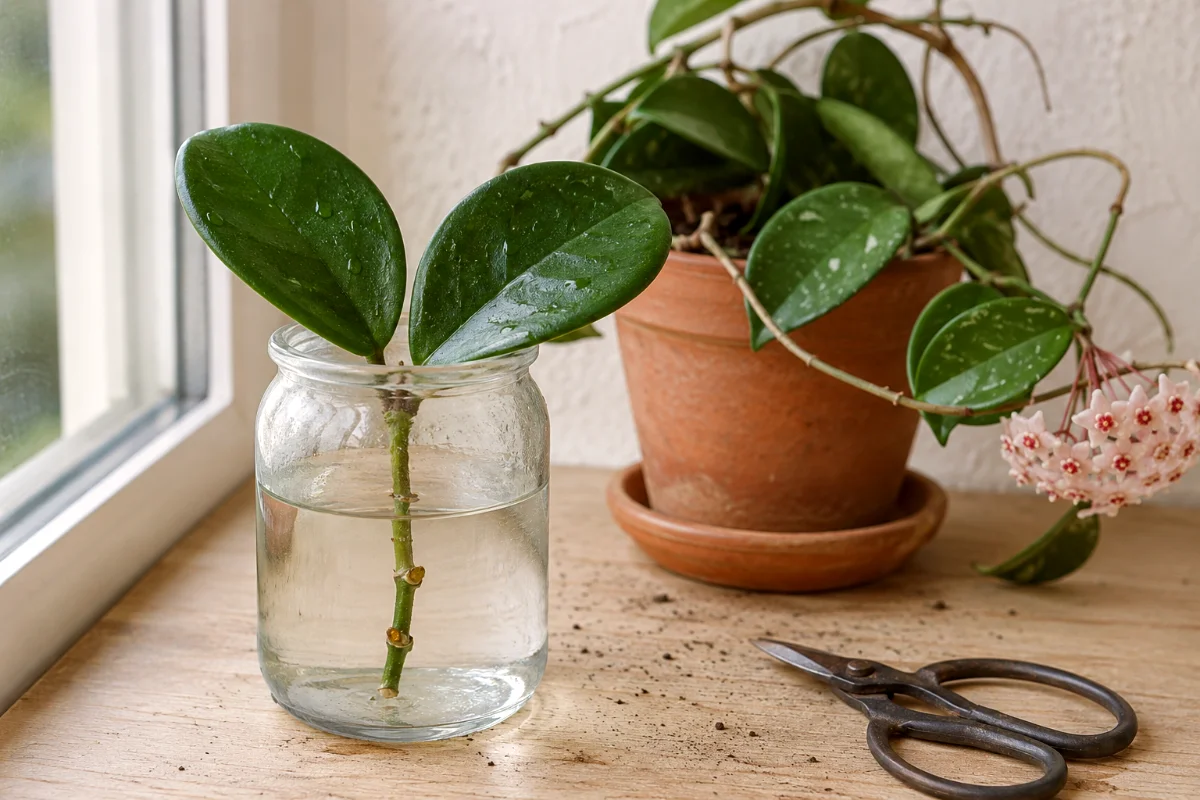
Step 3: Place the Cutting in Water
Set the cutting in a small glass jar with clean water. Submerge the nodes, but keep the leaves above the waterline.
A narrow jar helps hold the cutting upright. If the stem keeps slipping, use a bit of paper, a propagation lid, or a small piece of clean mesh to support it.
Step 4: Give It Bright, Indirect Light
Place the jar near a bright window, but keep it out of direct sun. Direct sun can heat the water and cook tender stems.
Bright shade works beautifully. A north or east-facing windowsill often suits Fittonia cuttings well.
Step 5: Change the Water Weekly
Change the water once a week. If it turns cloudy sooner, change it sooner.
Fresh water helps prevent bacteria from building up around the stem. You don’t need to scrub the roots, fuss with additives, or turn this into a science project.
Step 6: Wait for Roots
Roots usually appear in 2 to 4 weeks. Sometimes you see tiny white bumps first, then thin roots stretch out from the node.
Be patient. Don’t tug. Don’t keep pulling the cutting out to inspect it under a lamp. Plants hate being handled like evidence.
Step 7: Pot It Once Roots Reach About 1 Inch
When the roots measure about 1 inch long, move the cutting into potting soil.
Don’t wait until the jar turns into a tangled root curtain. Water roots are tender, and very long roots can struggle when moved into soil.
How to Pot a Water-Rooted Nerve Plant Cutting
Use a small pot with drainage holes. Small matters here. A tiny cutting in a huge pot sits in wet soil too long, and wet soil invites root rot.
Fill the pot with a light mix. I like a houseplant potting mix with extra perlite mixed in. The soil should hold moisture, but it shouldn’t stay soggy.
Potting Steps
- Moisten the potting mix before planting.
- Make a small hole with your finger or a pencil.
- Set the rooted cutting into the hole.
- Gently firm the soil around the roots.
- Water lightly to settle the mix.
- Cover loosely with a clear plastic bag for a few days if the leaves wilt.
Keep the new plant warm and humid while it adjusts. That shift from water to soil can make Fittonia pout for a bit.
And yes, a little wilting can happen. Don’t panic. If the stem stays firm, the plant often perks back up once the roots start working in soil.
Soil Method: Rooting Nerve Plant Cuttings Directly in Potting Mix
The soil method skips the water jar and sends the cutting straight into its future home. It works well, but it asks for a steadier hand with moisture and humidity.
Use this method if you already feel comfortable keeping soil evenly moist without making it swampy.
Step 1: Prepare a Small Pot
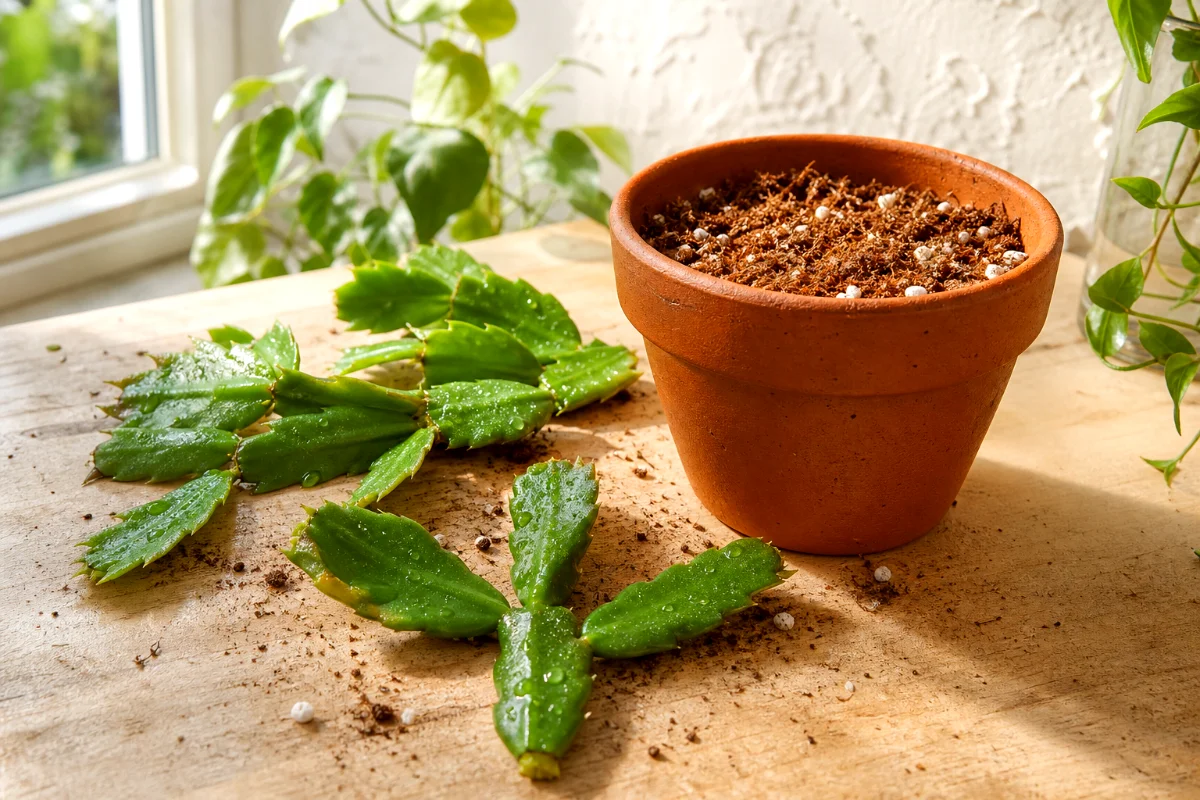
Choose a small pot with drainage holes. Fill it with moist, well-draining potting mix.
Add perlite if the mix feels heavy. Fittonia likes moisture, but the roots still need air. That’s the little balancing act people forget.
Step 2: Take and Trim the Cutting
Take a 2 to 4 inch cutting just below a node. Remove the lower leaves so no foliage gets buried.
Buried leaves decay quickly. That decay can take the stem down with it.
Step 3: Add Rooting Hormone if You Want
Dip the cut end into rooting hormone if you have it. It’s optional, but it can speed things along.
Tap off the extra powder. More isn’t better. A light coating does the job.
Step 4: Insert the Cutting
Make a hole in the soil first, then insert the cutting. This keeps the rooting hormone from scraping off and prevents the soft stem from bending.
Firm the soil gently around the stem. Gentle is the word. Don’t pack the pot like you’re building a driveway.
Step 5: Cover for Humidity
Cover the pot with a clear plastic bag, a clear cup, or a small propagator lid. Keep the cover from pressing hard against the leaves if possible.
High humidity keeps the cutting from drying out before it has roots. Fittonia leaves are thin, and they lose moisture fast.
Step 6: Check Moisture Often
Keep the soil evenly moist. Not dry. Not dripping.
If condensation covers the inside of the bag all day, open it for a little air. If the soil surface dries quickly, water lightly.
Water Propagation vs Soil Propagation
Both methods work, but I don’t think they’re equal for beginners.
Water propagation gives you more feedback. You can see root growth, spot rot early, and learn how nodes behave. That’s why I recommend it first.
Soil propagation creates roots that are already used to soil. But you can’t see what’s happening under the surface, so you need to read the leaves and moisture level more carefully.
Choose water if you’re nervous. Choose soil if you already have a feel for damp potting mix.
How to Propagate Nerve Plant by Division
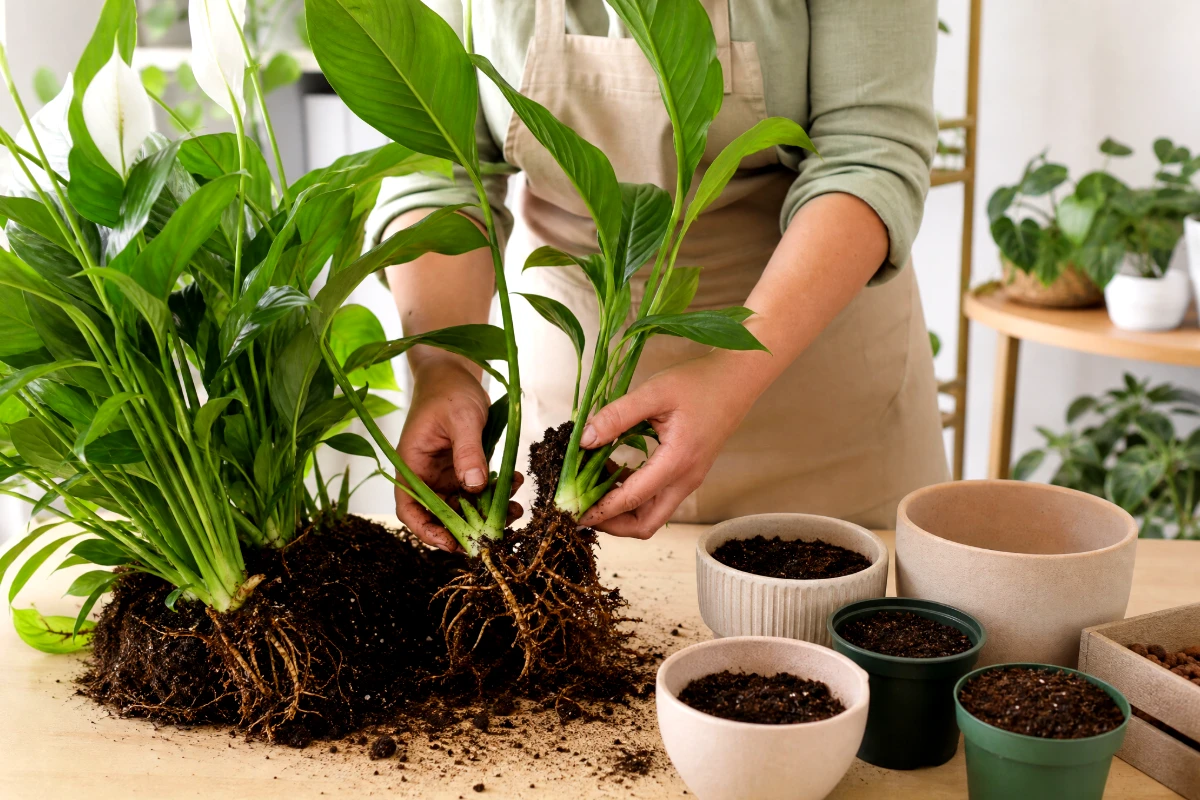
Division works best when you repot a mature, full nerve plant. Instead of taking stem cuttings, you split the plant into smaller rooted sections.
This method gives you an instant small plant. No waiting for roots because the roots are already there.
When Division Makes Sense
Use division when your nerve plant has grown into a dense clump with several rooted stems. If the plant is tiny, don’t split it yet. Let it bulk up first.
How to Divide Fittonia
- Water the plant a day before dividing so the root ball holds together.
- Slide the plant gently out of its pot.
- Tease the root ball apart into smaller sections with your fingers.
- Make sure each section has roots and healthy top growth.
- Replant each section right away in its own small pot.
- Water lightly and keep the divisions humid for a week or two.
Don’t saw the plant into sad little chunks unless you have to. Fittonia roots are fine and delicate, so slow finger work beats brute force.
Humidity Is the Secret Most Beginners Miss
Nerve plant cuttings wilt because they lose water through their leaves before new roots can replace it. That’s the whole story.
So give them humidity.
A clear plastic bag over the pot acts like a tiny greenhouse. It traps moisture around the leaves and buys the cutting time to root.
Easy Ways to Raise Humidity
- Cover soil cuttings with a clear plastic bag.
- Use a small propagation box.
- Group cuttings near other houseplants.
- Place pots on a pebble tray with water below the pot base.
- Keep cuttings away from heaters, fans, and cold drafts.
Open covered cuttings every day or two for fresh air. Stale, sealed humidity can encourage mold. You want damp and fresh, not sealed and funky.
Light and Warmth for Faster Rooting
Keep nerve plant cuttings in bright, indirect light. Direct sun can scorch leaves and overheat the cutting, especially under a humidity cover.
Warmth helps too. Aim for a comfortable room temperature, around what you’d enjoy in a light sweater or T-shirt.
If your windowsill gets cold at night, move the cuttings back from the glass. Cold, wet stems rot faster than warm ones.
Why Your Nerve Plant Cutting Is Wilting
Fittonia has a flair for drama. A cutting may wilt within hours, especially after you remove it from the mother plant.
But wilted doesn’t always mean dead.
If the stem feels firm and green, raise humidity and wait. Many cuttings recover once roots form.
Common Reasons for Wilting
- Low humidity, the leaves lose water too fast
- Too much direct sun, the cutting overheats
- Dry soil, the stem has no steady moisture
- Too many leaves, the cutting can’t support them yet
- Cold temperatures, rooting slows down
If the stem turns black or mushy, that’s different. Toss it and start again with a fresh cutting.
Common Mistakes When Propagating Nerve Plant
Using a Stem With No Node
A pretty leaf on a stem won’t root well without a node. The node is where the action happens.
Always cut just below one.
Letting Leaves Sit in Water
Leaves rot in water. Rotten leaves cloud the jar and can spoil the stem.
Remove lower leaves before the cutting goes into the jar.
Keeping the Soil Too Wet
Nerve plants like moisture, but wet soil with no air suffocates young roots. Add perlite and use a pot with drainage.
Soggy is not love. It’s trouble.
Skipping Humidity
This is the big one. A fresh cutting has no roots, so it can’t drink properly yet.
Cover it. Mist lightly if needed. Keep the air around it moist.
Moving the Cutting Too Soon
For water cuttings, wait until roots reach about 1 inch. Tiny root nubs need more time.
For soil cuttings, wait for new growth or gentle resistance when you nudge the stem. Don’t yank it out to check.
Aftercare for New Nerve Plant Babies
Once your cutting is potted and settled, keep the soil lightly moist. Fittonia dislikes drying out completely.
Still, don’t drown it. Water when the top bit of soil starts to feel less damp, before the whole pot goes bone dry.
Best Conditions for Young Fittonia
- Light: Bright, indirect light
- Water: Even moisture, never long dry spells
- Humidity: Moderate to high
- Soil: Light potting mix with added perlite
- Pot: Small container with drainage holes
New plants don’t need fertilizer right away. Let roots establish first. After a month or so of active growth, you can feed lightly with a diluted houseplant fertilizer.
How Long Does Nerve Plant Propagation Take?
Most nerve plant cuttings root in 2 to 4 weeks under good conditions.
Water cuttings often show roots first because you can see them. Soil cuttings may take the same amount of time, but they keep their progress hidden underground.
If you see new leaves, that’s a good sign. The cutting has started to support itself.
FAQ About Propagating Nerve Plant
Can you propagate nerve plant from a single leaf?
No, not reliably. You need a stem cutting with a node. A single leaf may stay green for a while, but it won’t grow into a proper new Fittonia plant.
Should I propagate nerve plant in water or soil?
Use water if you’re a beginner. It’s the most reliable method because you can see root growth and catch rot early. Soil works too, especially with high humidity.
Why is my nerve plant cutting drooping?
It probably needs more humidity. Cover it with a clear bag or propagation lid, keep it warm, and move it out of direct sun. If the stem stays firm, give it time.
When should I move a water-rooted cutting to soil?
Move it when the roots are about 1 inch long. At that stage, the cutting has enough root growth to handle potting mix without too much stress.
Can I put several Fittonia cuttings in one pot?
Yes. In fact, I prefer it. Several cuttings in one small pot create a fuller plant faster. Just give each stem a little room so air can move between the leaves.
Do nerve plant cuttings need rooting hormone?
No. Rooting hormone can help soil cuttings root faster, but Fittonia usually roots without it when you provide warmth, moisture, and humidity.
Can I propagate a leggy nerve plant?
Yes, and you should. Take cuttings from the long stems, root them, then plant them back into the pot to make the plant look fuller.