How to Propagate Dracaena: Easy Water, Soil, and Cane Cutting

Dracaena propagation looks fancy. It isn’t.
If you can make a clean cut, remove a few leaves, and keep a cutting warm without drowning it, you can grow a new dracaena. The easiest method uses 4- to 6-inch stem tip cuttings rooted in water or moist potting mix.
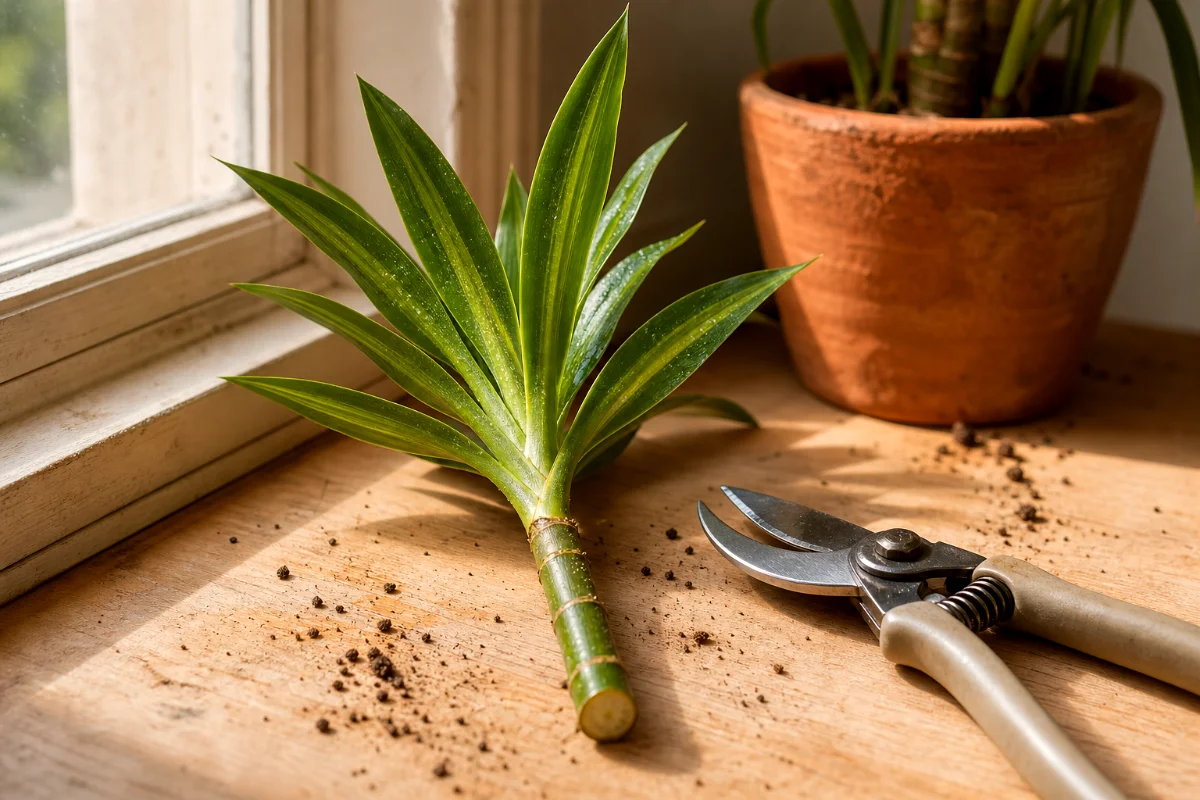
Spring gives you the best odds because the plant has fresh energy. But I’ve rooted dracaena cuttings at odd times of year too, especially indoors where temperatures stay steady.
Best Time to Propagate Dracaena
The best time to propagate dracaena is spring. The plant wakes up, pushes new growth, and repairs cuts faster.
You can take cuttings year-round if your home stays warm and bright. Still, winter cuttings often sit there looking stubborn for weeks. Not dead. Just slow.
Aim for these conditions:
- Temperature: 70 to 80F
- Light: bright, indirect light
- Moisture: steady but never soggy
- Patience: roots usually form in 3 to 8 weeks
What You’ll Need
Gather your supplies before you cut. Dracaena stems dry out slowly, but clean work gives you healthier starts.
- Sharp sterile pruning shears or a clean knife
- A healthy dracaena stem
- Clear glass jar for water rooting
- Small pot with drainage holes for soil rooting
- Moist, well-draining potting mix
- Perlite or vermiculite, if your mix feels heavy
- Rooting hormone, optional
- Plant label or tape, especially for cane cuttings
And yes, sterile shears matter. A dirty blade can drag bacteria or fungal trouble right into the fresh cut.
Method 1: Propagating Dracaena From Stem Tip Cuttings
This is the beginner-friendly method. It’s also the one I recommend first because you can see progress quickly, especially in water.
Step 1: Choose a Healthy Stem
Pick a stem with firm growth and good color. Avoid mushy stems, yellowing tips, or any section with pest damage.
The cutting needs enough stem to root and enough leaves to keep making energy. Too tiny, and it struggles. Too large, and it loses moisture faster than it can replace it.
Step 2: Cut 4 to 6 Inches Below a Leaf Node
Use sterile shears to cut the top 4 to 6 inches of a stem. Make the cut just below a leaf node.
A node is the little bump or ring on the stem where leaves grew. That’s where new roots are most likely to form. Don’t skip that part.
Step 3: Remove the Lower Leaves
Strip off the lower leaves and leave only a small tuft at the top. This does two things.
- It keeps leaves from rotting in water or soil
- It helps the cutting save moisture while it grows roots
If the top leaves are very long, you can trim them back a little. I do this with leggy marginata types so the cutting doesn’t flop around like a wet feather.
Rooting Dracaena Cuttings in Water
Water rooting is satisfying because you can watch the roots appear. Beginners love it for that reason, and I don’t blame them.
Step 1: Put the Cutting in a Jar
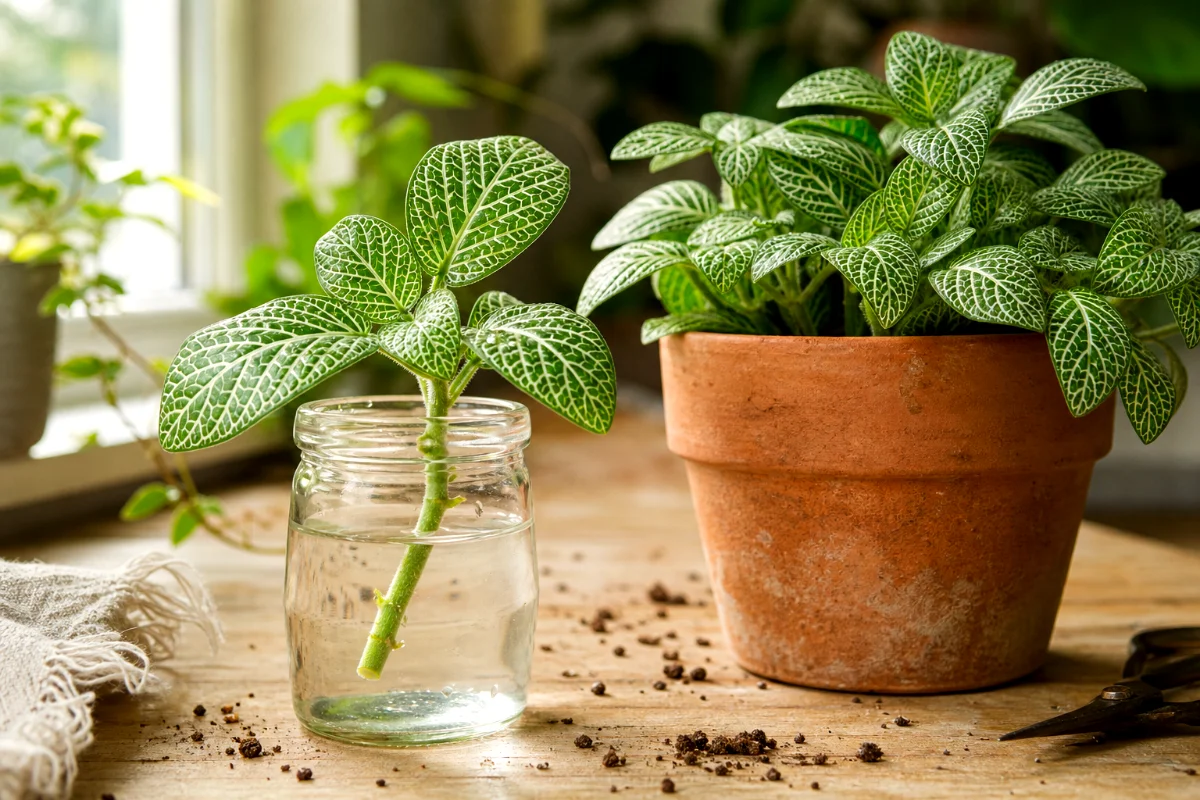
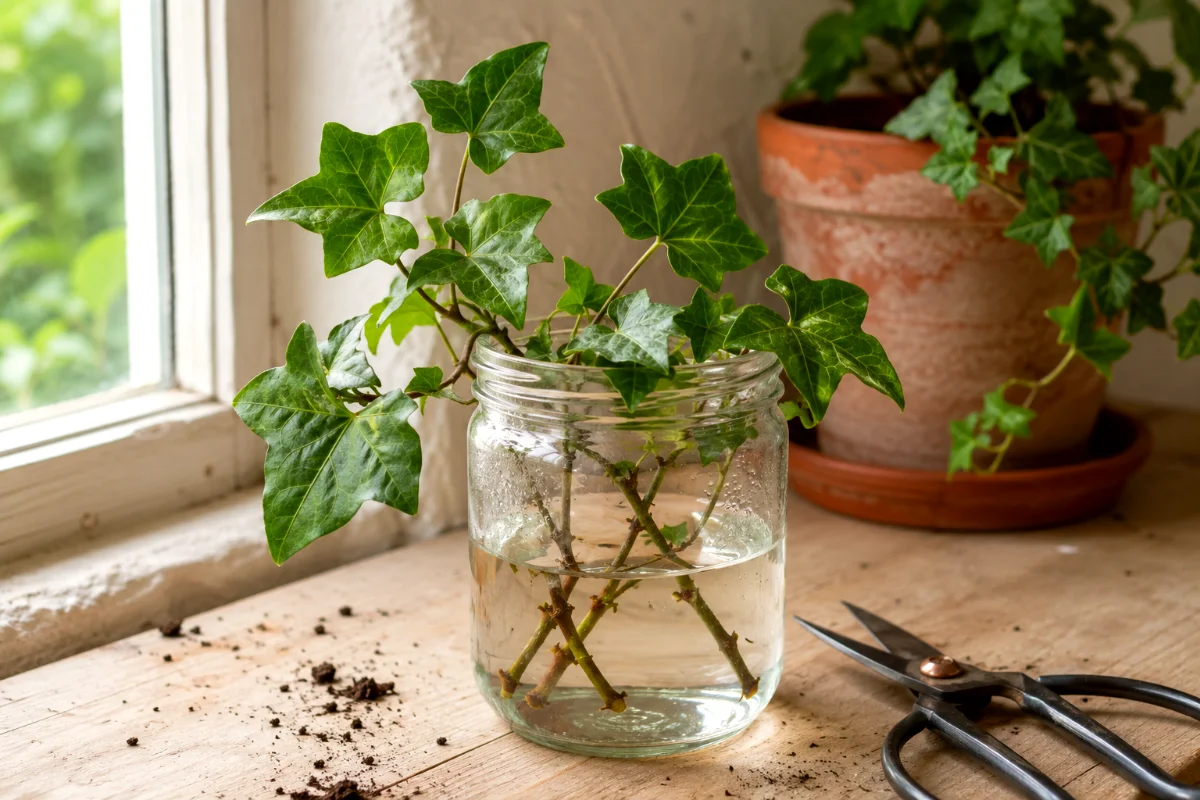
Place the cutting in a clean glass jar. Add enough water to cover at least one node.
Keep the leaves above the water line. Leaves sitting in water rot fast, and the smell will tell on you.
Step 2: Use Bright, Indirect Light
Set the jar near a bright window, but keep it out of direct hot sun. Direct sun can heat the water and stress the cutting.
A north or east window often works well. A few feet back from a sunny south or west window can work too.
Step 3: Change the Water Weekly
Change the water every week, or every 1 to 2 weeks at the very least. Fresh water helps prevent bacterial slime and keeps oxygen around the stem.
If the water turns cloudy, change it sooner. Don’t wait for it to look like pond soup.
Step 4: Wait for Roots
Dracaena roots usually appear in 3 to 8 weeks. Some cuttings move fast. Others test your character.
When roots reach about 1 to 2 inches long, move the cutting into soil. Water roots can adapt to potting mix, but they settle in better when they aren’t allowed to grow into a tangled jar beard.
Rooting Dracaena Cuttings in Soil
Soil rooting feels less exciting because you can’t see the roots. But it creates roots that already know how to live in potting mix.
Step 1: Prepare a Light Potting Mix
Use a small pot with drainage holes. Fill it with moist, well-draining potting mix.
If your mix feels dense, add perlite or vermiculite. Dracaena cuttings hate wet, airless soil. That’s where stem rot starts.
Step 2: Add Rooting Hormone if You Want
Dip the cut end in rooting hormone if you have it. It’s helpful, not required.
Tap off the extra powder. More doesn’t mean better. A light coating does the job.
Step 3: Plant the Cutting
Push the cut end into the moist mix so at least one node sits below the soil surface. Firm the mix gently around the stem.
Don’t pack the soil like concrete. Roots need air pockets as much as moisture.
Step 4: Keep It Warm and Barely Moist
Place the pot in bright, indirect light at 70 to 80F. Water when the top inch of mix starts to dry.
But don’t fuss with it every day. Too much watering kills more dracaena cuttings than neglect ever did.
Method 2: Propagating Dracaena With Cane Cuttings
Cane cuttings work beautifully for tall, bare, leggy dracaenas. You know the ones. A sad pole with leaves waving from the ceiling.
This method lets you cut the bare cane into several pieces and root them into new plants.
Step 1: Cut the Cane Into 3- to 4-Inch Sections
Cut the bare stem into 3- to 4-inch sections. Each section should have at least one node.
Here’s the part you must not mess up: mark which end is the top and which end is the bottom. Use tape, a marker, or lay the pieces in the same direction as you cut them.
If you plant a cane upside down, it may fail. Plants have a sense of direction, even when they don’t look like much.
Step 2: Root Cane Cuttings Vertically
Dip the bottom end in rooting hormone if you’d like. Plant the bottom end into moist, well-draining mix.
Leave part of the cane above the soil line. Keep it warm and in bright, indirect light.
Step 3: Or Lay Cane Cuttings Horizontally
You can also lay cane sections horizontally on moist potting mix. Press them halfway into the soil, with nodes making contact.
This is a handy trick when you aren’t sure which node will wake up first. New shoots often rise from the upper side while roots form below.
Method 3: Air Layering Dracaena for Nervous Plant Parents
Air layering is slower and fussier, but it has one big advantage. The stem stays attached to the mother plant while roots form.
Use this method if your dracaena is rare, sentimental, or too expensive to risk with a bold chop.
How Air Layering Works
Choose a healthy section of stem. Make a small wound in the stem, then wrap that area with moist sphagnum moss.
Cover the moss with clear plastic and secure it above and below the wound. Keep the moss lightly moist. Not dripping. Not dry as toast.
Once roots fill the moss, cut below the rooted area and pot the new plant. It’s a slow method, but it can feel safer than taking an unrooted cutting.
What Happens to the Mother Plant After Cutting?
Good news. The original dracaena usually pushes new shoots near the cut area.
This is why pruning a tall dracaena can make it look fuller over time. The cut interrupts the plant’s single upward growth habit, and new buds often wake up below the cut.
Give the mother plant bright, indirect light and normal care. Don’t drown it out of guilt. A freshly cut dracaena still wants the same well-drained life it wanted before.
How Long Dracaena Cuttings Take to Root
Most dracaena cuttings root in 3 to 8 weeks. Cane cuttings may take longer, especially if your room runs cool.
Warmth speeds things up. Low light and cold windowsills slow everything down.
Signs your cutting is doing well:
- The stem stays firm
- The top leaves remain mostly green
- Water roots look pale or white
- Soil cuttings resist slightly when gently tugged
- New leaf growth appears after rooting
Don’t tug hard. A tiny new root snaps easily, and then you’re back to waiting.
Common Dracaena Propagation Mistakes
Using a Cutting With No Node
A plain piece of stem without a node has poor odds. Roots and shoots need growth points.
Always cut near a node and make sure one node sits in water or under soil.
Letting Leaves Sit in Water
Submerged leaves rot. Rot invites bacteria, and bacteria can turn a promising cutting into mush.
Remove those lower leaves before rooting. It’s a small job that saves a lot of trouble.
Overwatering Soil Cuttings
Moist soil helps roots form. Soggy soil suffocates the stem.
Use a small pot, drainage holes, and a light mix. Water lightly when the top inch begins to dry.
Putting Cuttings in Direct Sun
Direct sun can scorch leaves and overheat water jars. Cuttings don’t have roots yet, so they can’t replace lost moisture quickly.
Bright, indirect light gives them energy without the stress.
Giving Up Too Soon
Dracaena can move slowly. A firm green cutting deserves more time.
If the stem turns black, mushy, or smells bad, toss it. If it stays firm, keep waiting.
Potting Up Rooted Dracaena Cuttings
Once water roots reach 1 to 2 inches, pot the cutting into a small container with drainage. Use a loose houseplant mix with added perlite if needed.
Water it in lightly, then let excess water drain away. For the first couple of weeks, keep the mix just lightly moist while the roots adjust.
After that, treat it like a normal dracaena. Let the top portion of soil dry before watering again.
Aftercare for New Dracaena Plants
Newly rooted dracaenas want boring care. That’s a compliment.
- Keep them in bright, indirect light
- Hold temperatures around 70 to 80F when possible
- Avoid cold drafts
- Water only when the upper soil starts drying
- Skip fertilizer until you see fresh growth
- Rotate the pot every week or two for even growth
Once new leaves appear, you can feed lightly during the growing season. Use a balanced houseplant fertilizer at half strength.
FAQ About How to Propagate Dracaena
Can you propagate dracaena in water?
Yes. Place a 4- to 6-inch stem tip cutting in water with at least one node submerged. Change the water weekly and keep the jar in bright, indirect light.
Can you propagate dracaena directly in soil?
Yes. Plant the cutting in moist, well-draining potting mix. Keep it warm and lightly moist, not soggy.
How long does dracaena take to root?
Most cuttings root in 3 to 8 weeks. Cool rooms, low light, and oversized cuttings can slow the process.
Where do you cut dracaena for propagation?
Cut just below a leaf node. For stem tip cuttings, take the top 4 to 6 inches of growth.
Can you propagate a leggy dracaena?
Absolutely. Cut the bare cane into 3- to 4-inch sections, mark the top and bottom ends, then root them vertically or horizontally in moist soil.
Will the original dracaena grow back after cutting?
In most cases, yes. The mother plant often grows new shoots near the cut, which can make the plant look fuller over time.
Why is my dracaena cutting turning mushy?
Mushiness usually means rot. Too much water, dirty tools, cold conditions, or leaves rotting below the water line can cause it.
Do dracaena cuttings need rooting hormone?
No, but rooting hormone can help soil cuttings root more reliably. Water cuttings usually root fine without it.
Suggested URL Slug
how-to-propagate-dracaena
SEO Meta Description
Learn how to propagate dracaena in water or soil with easy stem cuttings, cane cuttings, timing, care, and rooting tips.
A Gardener’s Last Bit of Advice
Take two cuttings if you can. One may root faster, one may sulk, and that’s normal plant behavior.
If the stem stays firm, the water stays clean, and the cutting sits warm in bright indirect light, you’re doing the job right.