How to Propagate Monstera: Easy Cuttings That Actually Root

Monstera propagation looks mysterious until you know one thing. You need a node.
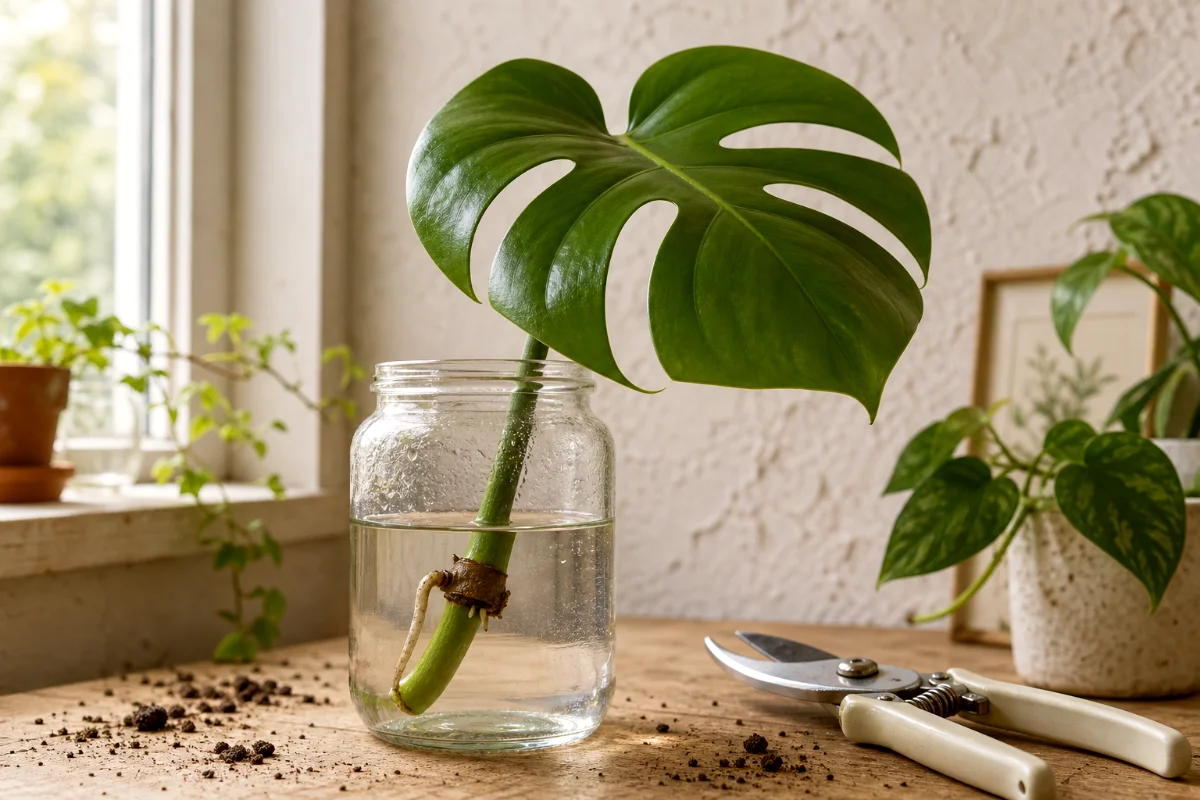
Not just a pretty leaf. Not just a long stem. A node is the little brown bump, knob, or “belly button” on the stem where roots and new growth can form. Miss that, and you’ll have a lovely leaf in a jar that slowly gives up. Sad stuff.
The good news? Once you can spot a node, propagating Monstera gets almost embarrassingly simple. You cut a stem piece with at least one node and one leaf, let the cut end dry a bit, then root it in water or soil.
Roots often show up in 2 to 4 weeks. Sometimes faster. Sometimes slower, because plants love keeping us humble.
What You Need Before You Cut
Gather your tools first. Running around with a fresh cutting in one hand and dirty scissors in the other is how rot sneaks in.
- Sharp pruning shears or clean scissors
- Rubbing alcohol for cleaning the blades
- A clear glass jar if rooting in water
- Fresh water, room temperature if possible
- Small pot with drainage holes for planting later
- Moist potting mix or perlite if rooting in soil
- Optional heat mat if your home runs cool
I like clear glass for beginners because you can watch the roots grow. It takes the guesswork out of the process. Plus, it looks nice on a windowsill.
The Part Everyone Gets Wrong: Finding the Node
Look along the Monstera stem, not just the leaf stalk. The node usually appears as a small raised bump, brown nub, ring, or swollen joint. You may also see an aerial root growing near it.
That aerial root looks like a little brown finger. Strange? Yes. Useful? Very.
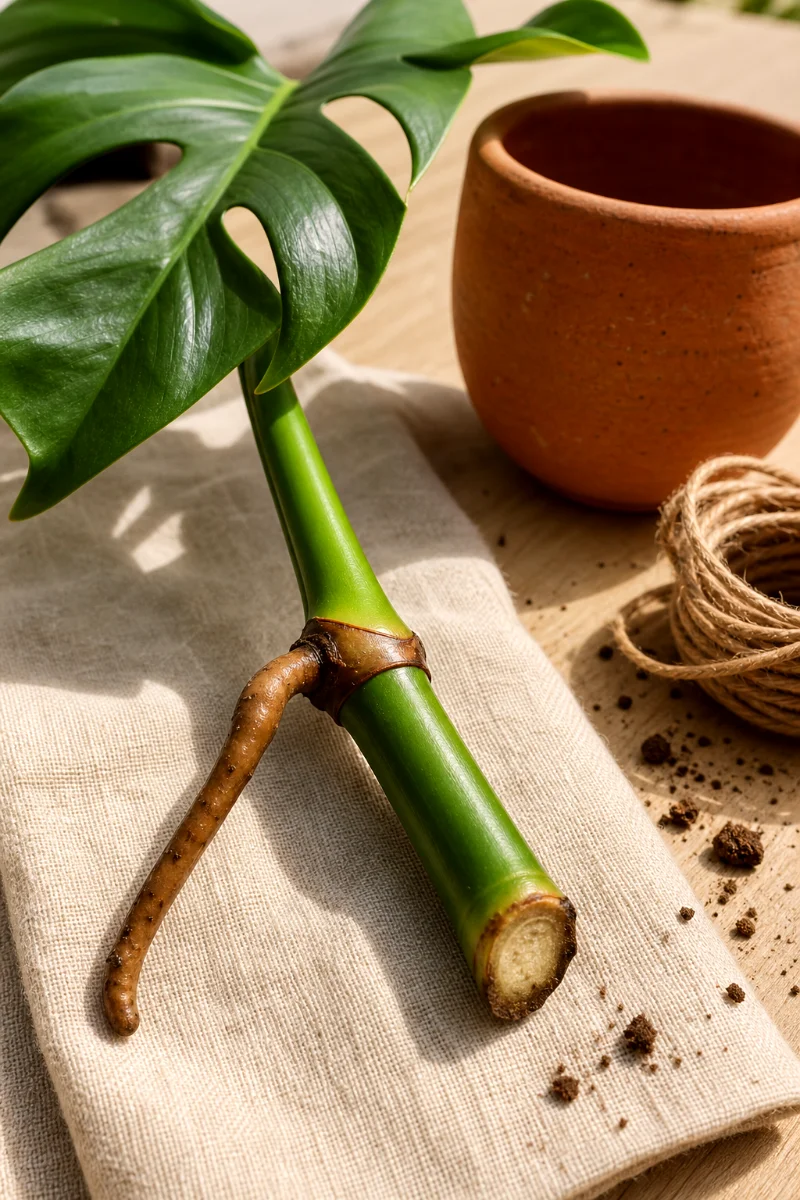
A cutting with an aerial root often roots faster because the plant has already started building root tissue. I don’t toss a cutting without one, though. A node can still root beautifully without a visible aerial root.
Leaf Cutting Versus Stem Cutting
A Monstera leaf on its own won’t grow into a new plant. It may stay green in water for weeks, which tricks people into thinking it worked.
But without a node, it can’t push new growth.
So when you cut, make sure your cutting includes:
- At least one healthy leaf
- At least one node
- Ideally, one aerial root
- A stem section long enough to sit securely in water or soil
How to Take a Monstera Cutting
This is not the time for dull craft scissors from the junk drawer. Clean cuts heal better. Dirty blades invite trouble.
Step 1: Sterilize Your Shears
Wipe the blades with rubbing alcohol. Let them dry for a few seconds.
Quick. Easy. Worth it.
Step 2: Choose a Healthy Stem
Pick a stem with a firm leaf, a visible node, and no black mushy spots. Avoid yellowing, limp, or pest-damaged growth if you can.
The parent plant should look strong enough to lose a piece. If it’s already stressed, wait.
Step 3: Cut Below the Node
Make your cut about 1 to 2 inches below the node. Cut cleanly in one motion if possible.
Don’t crush the stem. Monstera stems hold a lot of moisture, and bruised tissue rots faster.
Step 4: Let the Cut Callus
Set the cutting on a clean surface and let the cut end dry. A few minutes helps, but 24 to 48 hours gives the raw edge more time to seal.
That dried end acts like a little scab. It lowers the chance of rot when the cutting meets water or damp mix.
Some gardeners skip this and still succeed. I don’t love gambling with expensive leaves.
Rooting Monstera in Water
Water rooting is my favorite method for beginners. You see what’s happening, and you can catch problems early.
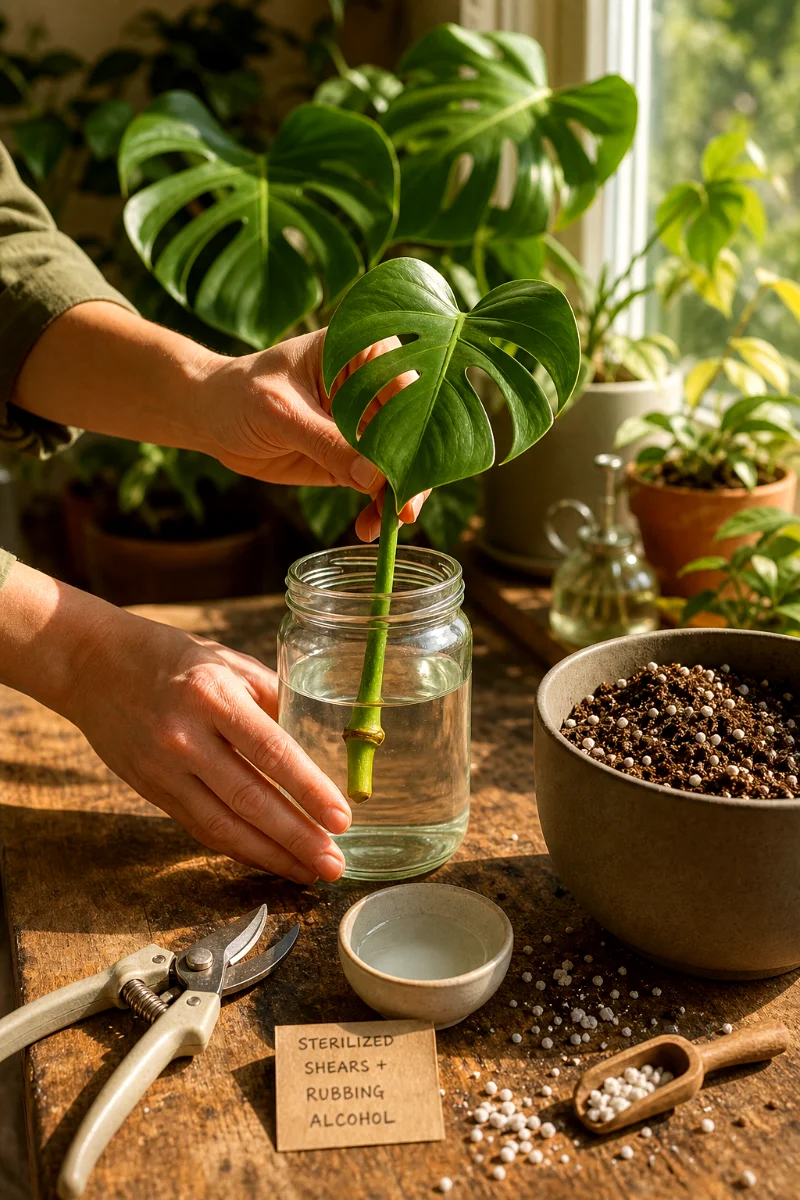
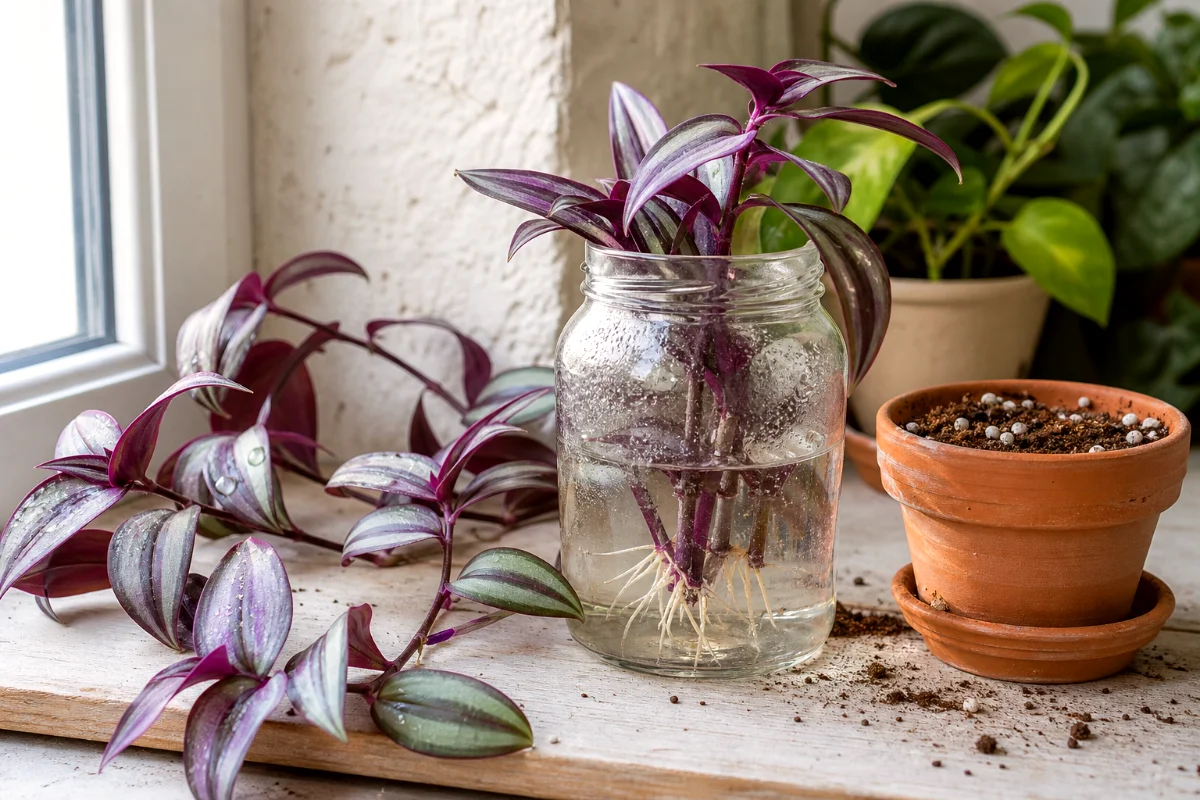
Step 1: Place the Cutting in a Clear Jar
Put the cutting into a glass jar with enough water to cover the node. Keep the leaf above the water line.
If the leaf sits in water, it can rot. If the node sits above water, it won’t root well. Aim for the sweet spot.
Step 2: Give It Bright, Indirect Light
Place the jar near a bright window, but keep it out of hot direct sun. Direct sun can heat the water and stress the cutting.
Bright shade is the mood.
Step 3: Change the Water Often
Change the water every 3 to 5 days. Top it off if the level drops before then.
Fresh water keeps bacterial buildup down. If the water turns cloudy or smells swampy, change it right away and rinse the jar.
Step 4: Wait for Roots
Most healthy Monstera cuttings start rooting in 2 to 4 weeks. The first root may look like a pale nub before it stretches out.
Don’t panic if nothing happens for the first week. Plants don’t run on our schedule.
When to Move a Water-Rooted Cutting Into Soil
Move your Monstera cutting to soil once the roots reach a few inches long, roughly the size of your pinky finger.
Don’t wait forever.
Water roots grow soft and used to constant moisture. If you leave them in water for months, they can struggle when moved to potting mix. I like to pot them when the roots look long enough to anchor the plant but still young enough to adapt.
How to Pot the Rooted Cutting
Use a small pot with drainage holes. Big pots hold too much wet mix around tiny roots, and that can lead to rot.
Fill the pot with airy potting mix. A blend with potting soil, perlite, and orchid bark works beautifully for Monstera because it holds some moisture while still letting air reach the roots.
Set the rooted cutting into the pot. Cover the roots gently. Firm the mix just enough to hold the stem upright.
Water it well, then let extra water drain away.
Rooting Monstera Directly in Soil
Soil rooting works too. It gives new roots support right away, and the cutting doesn’t need to switch from water roots to soil roots later.
But it’s less exciting. You can’t see the roots.
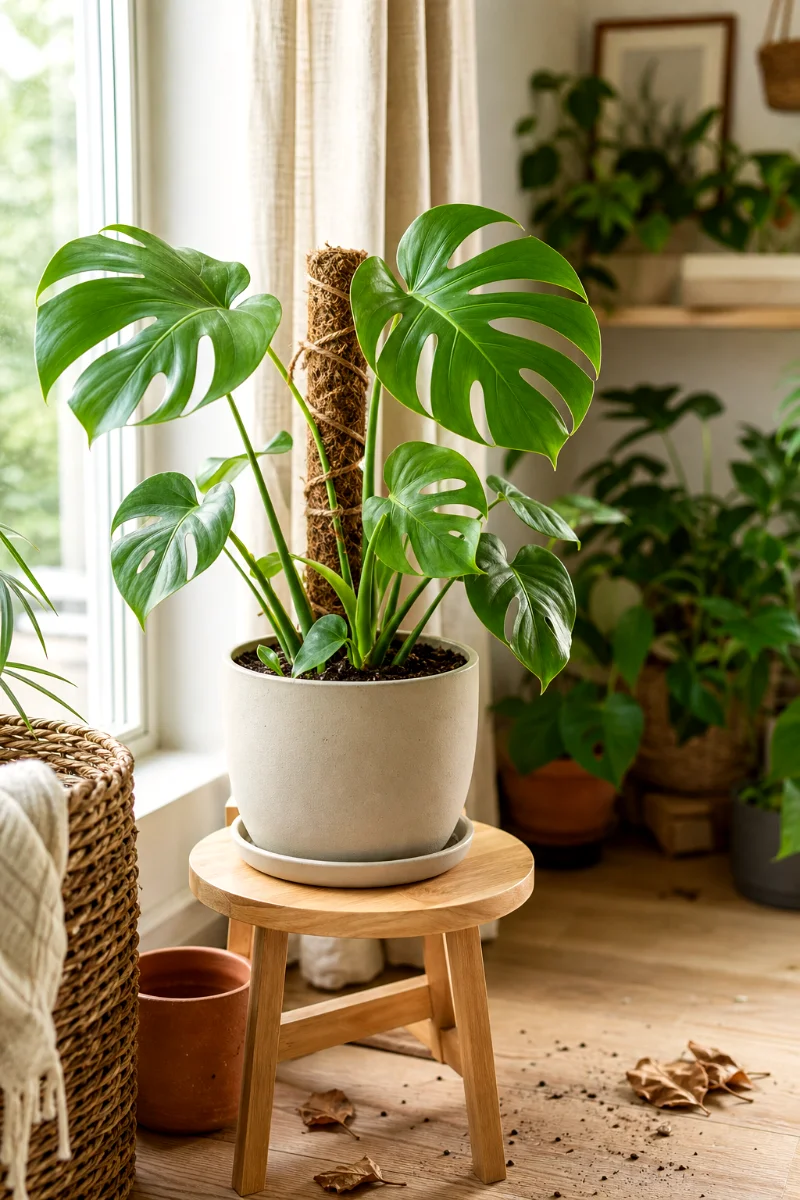
How to Root in Soil
- Take a node cutting with at least one leaf.
- Let the cut end callus for 24 to 48 hours.
- Fill a small pot with moist, airy potting mix or perlite.
- Plant the node below the surface while keeping the leaf above the mix.
- Place the pot in bright, indirect light.
- Keep the mix lightly moist, not soggy.
The stem should feel supported but not buried too deeply. A buried leaf stem can rot if the mix stays wet.
How to Tell If a Soil Cutting Has Rooted
After a few weeks, tug very gently on the cutting. If you feel resistance, roots have started grabbing the mix.
Be gentle. You’re checking, not yanking a carrot.
New leaf growth is another good sign, but it can take longer. Monstera often focuses on roots first.
Water Propagation Versus Soil Propagation
Both methods work. I recommend water for nervous beginners and soil for people who don’t want to repot later.
- Water rooting: Easy to monitor, fun to watch, great for beginners.
- Soil rooting: Less fuss after planting, but harder to track.
- Perlite rooting: Good middle ground, airy and supportive.
If your home is cool, a heat mat can speed root growth. Warmth tells tropical plants, “Yes, you can get moving now.” Keep it gentle, not hot.
How to Care for Monstera Cuttings While They Root
Cuttings need calm conditions. Not drama.
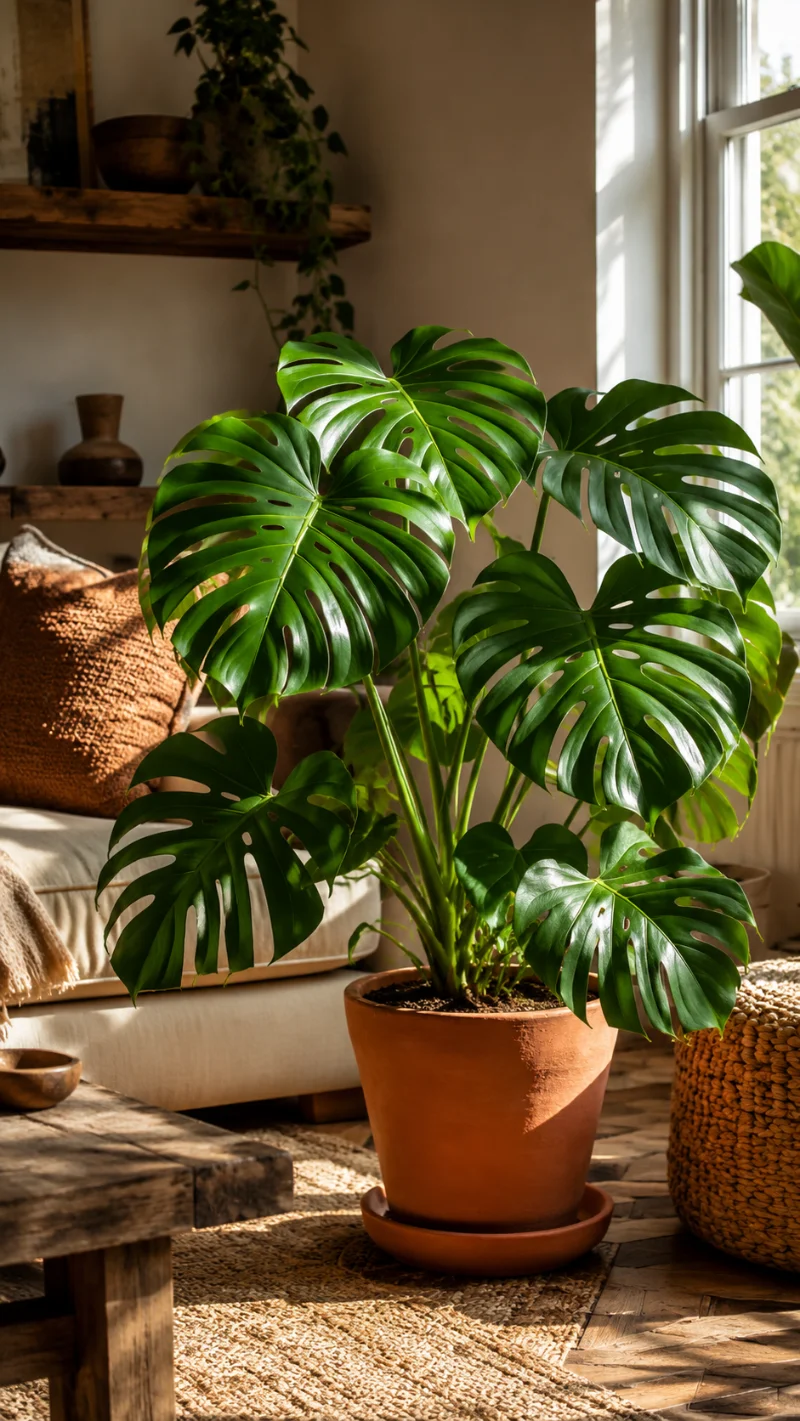
Light
Give bright, indirect light. A sheer curtain can soften a sunny window.
Low light slows rooting. Harsh sun cooks leaves and water jars.
Temperature
Monstera roots best in warm rooms. Aim for a comfortable indoor temperature, roughly what you enjoy in a T-shirt.
Cold windowsills at night can stall progress. Move jars back from chilly glass in winter.
Humidity
Average home humidity usually works, but dry air can crisp leaf edges. If your home feels bone dry, group plants together or place the cutting near other houseplants.
Don’t seal it in a wet plastic bag unless you plan to check it often. Stale moisture grows mold fast.
Water Quality
Most tap water works fine. If your water smells strongly of chlorine or leaves heavy mineral crust, let it sit overnight or use filtered water.
Simple beats fussy here.
Common Monstera Propagation Mistakes
I’ve seen these mistakes more times than I can count. I’ve made a few myself, usually while feeling too confident.

Cutting a Leaf With No Node
This is the big one. A leaf without a node won’t make a new Monstera plant.
Pretty? Yes. Propagation? No.
Keeping the Leaf Underwater
Only the node and any aerial root should sit in water. Leaves need air.
If part of the leaf stem starts turning brown or mushy, trim away rotten tissue with clean shears and refresh the water.
Skipping Clean Tools
Plant cuts are open wounds. Dirty blades carry bacteria and fungus from plant to plant.
Wipe the blades. Every time.
Using a Giant Pot Too Soon
Small cuttings belong in small pots. A huge pot stays wet too long, especially around young roots.
Start snug. Pot up later when the roots fill the container.
Waiting Too Long to Pot Water Roots
Long water roots look impressive, but they can be finicky in soil. Move the cutting once roots reach a few inches.
That’s enough.
Should You Propagate One Cutting or Several?
If you want a fuller plant, group several rooted cuttings in one pot. This gives you that lush, leafy look faster than waiting for one skinny cutting to branch.
It also spreads risk. If one cutting fails, the whole project doesn’t go down with it.
Use cuttings with similar root size when you can. Tiny roots and huge roots don’t always want the same watering rhythm.
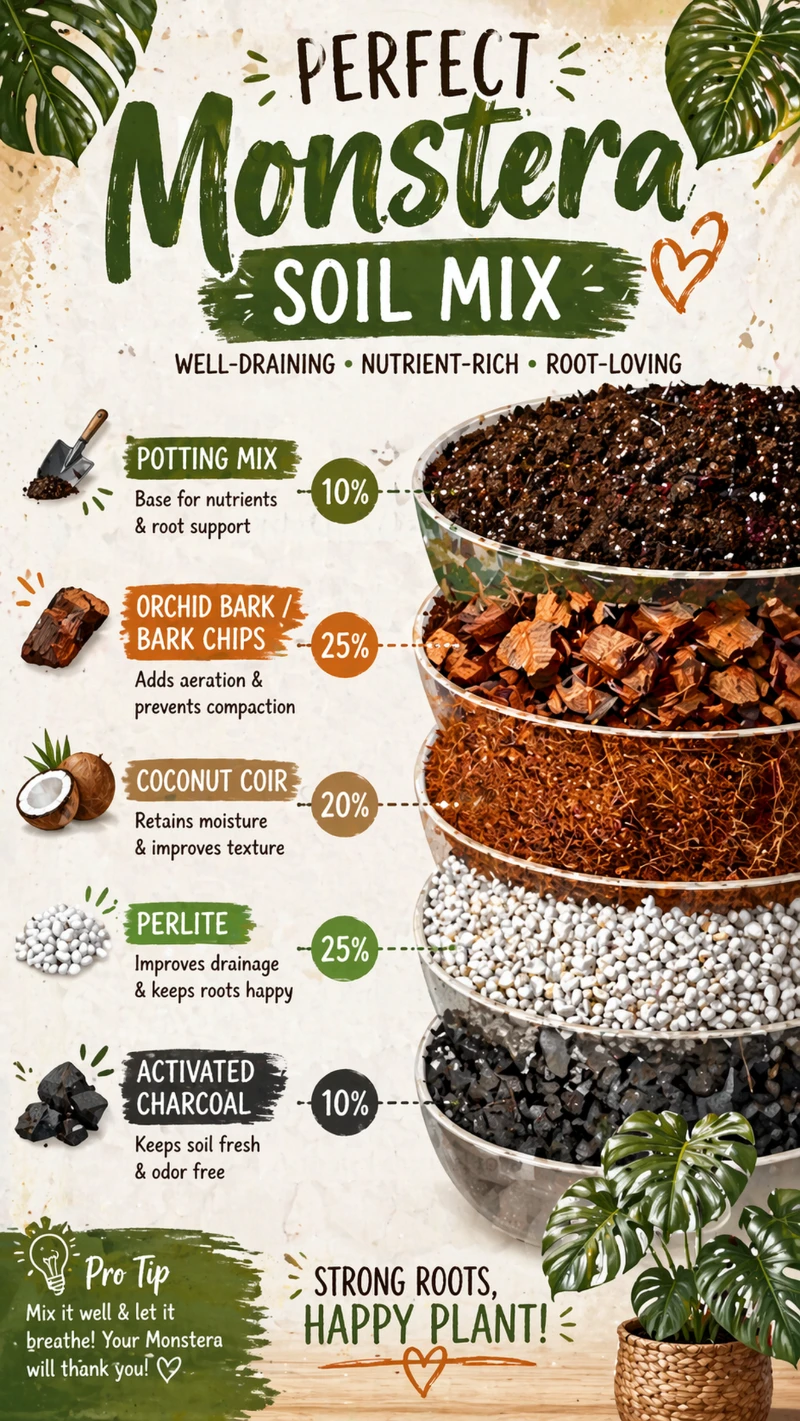
What Potting Mix Works Best After Rooting?
Monstera likes chunky, airy soil. In the wild, it climbs trees and gets plenty of air around its roots. A heavy, compact mix makes it sulk.
A simple beginner blend:
- Two parts quality indoor potting mix
- One part perlite
- One part orchid bark
This mix drains well but doesn’t dry out instantly. That’s the balance you want.
If you only have regular potting mix, add extra perlite. Your Monstera will thank you by not rotting at the base.
Aftercare for a Newly Potted Monstera Cutting
For the first couple of weeks after potting, keep the soil lightly moist. Not wet. Not dusty dry.
The cutting needs time to adjust.
Keep it in bright, indirect light and leave it alone as much as possible. Don’t fertilize right away. Fresh roots can burn from too much food.
After you see new growth, start light feeding during the growing season. Half strength is plenty.
Troubleshooting: What’s Happening to My Cutting?
The Stem Is Turning Black
Black, mushy stem tissue usually means rot. Remove the cutting from water or soil, trim back to firm green tissue with sterilized shears, and let the fresh cut callus before trying again.
If the rot has reached the node, the cutting may not recover.
The Leaf Is Yellowing
One yellow leaf doesn’t always mean failure. The cutting may pull energy from the leaf while building roots.
But check the stem. If the node stays firm and roots are forming, keep going.
No Roots After Four Weeks
Check light and temperature first. Cool, dim spots slow everything down.
Move the cutting to brighter indirect light and freshen the water. If the node still looks firm, there’s hope.
The Water Smells Bad
Dump it. Rinse the jar. Rinse the roots gently. Add fresh water.
Smelly water usually means bacteria have moved in.
FAQ
Can I propagate Monstera from just a leaf?
No. A Monstera leaf needs a node attached to grow into a new plant. A leaf alone may stay green for a while, but it won’t produce new growth.
Where should I cut a Monstera for propagation?
Cut 1 to 2 inches below a node with sterilized shears. The node is the small bump or swollen area on the stem, often near an aerial root.
How long does Monstera take to root in water?
Most cuttings root in 2 to 4 weeks. Cool rooms, low light, or old water can slow things down.
Is water or soil better for Monstera propagation?
Water is easier for beginners because you can see the roots. Soil works well too, especially if you use a moist, airy mix and don’t overwater.
Should I let a Monstera cutting callus before rooting?
Yes, I recommend it. Letting the cut end dry for 24 to 48 hours helps lower the risk of rot, especially with thick Monstera stems.
When can I plant my Monstera cutting in soil?
Plant it when the roots reach a few inches long, about the size of your pinky finger. Use a small pot with drainage holes and airy mix.
Can I put multiple Monstera cuttings in one pot?
Yes. Grouping several rooted cuttings creates a fuller plant and gives you a better-looking pot from the start.