How to Propagate Lavender: A Beginner’s Guide to Free Plants
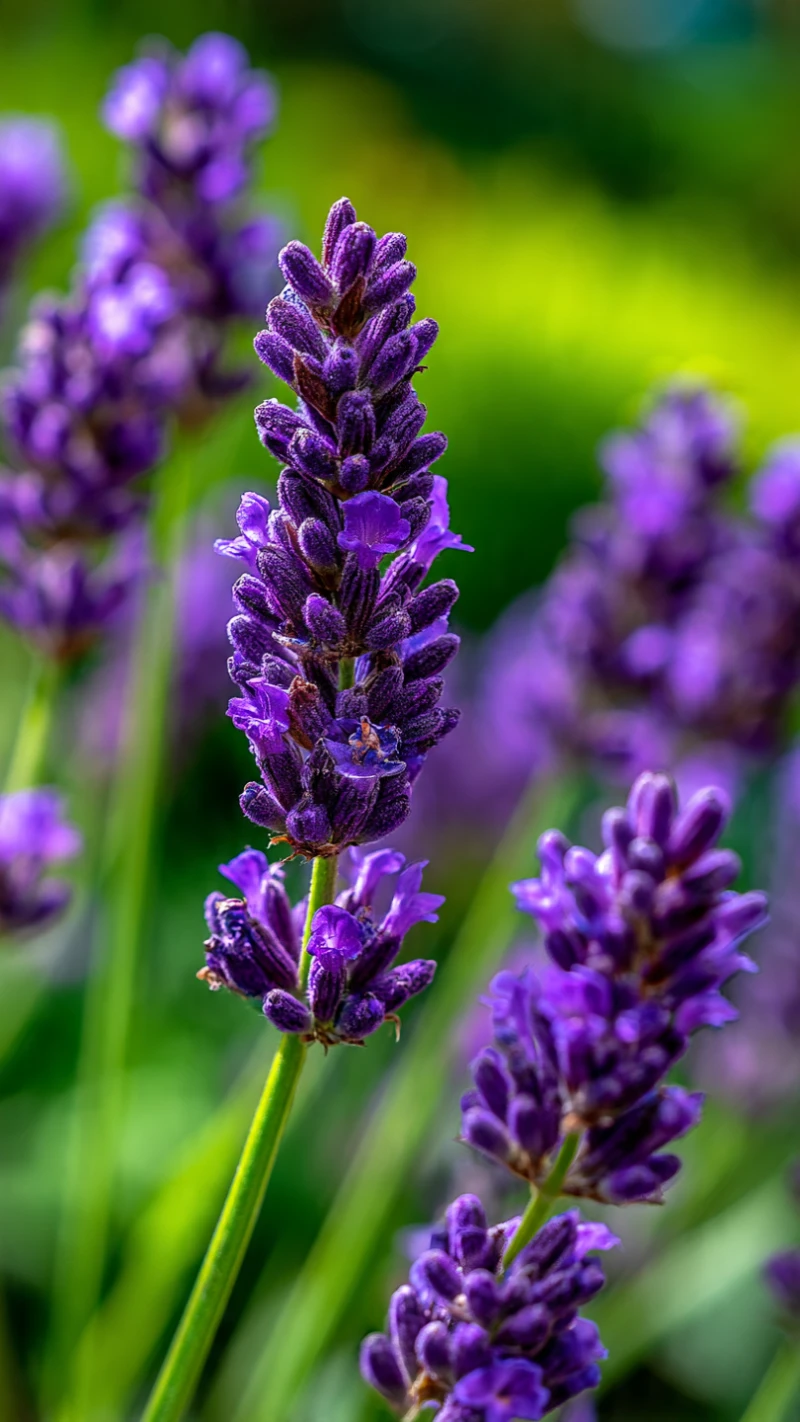
You walk into a garden center, spot a gorgeous lavender plant, and look at the price tag. Buying enough to line your entire walkway will quickly empty your wallet. But you do not have to spend a fortune to fill your garden with that signature calming scent.
You can simply make your own.
Propagating lavender sounds like an intimidating botanical term, but it is actually one of the easiest gardening skills you can learn. By taking a small piece from an existing plant, you encourage it to grow its own roots. You get an exact, healthy clone of your favorite variety, entirely for free.
Grab your pruning shears. Here is the professional way to multiply your lavender plants.
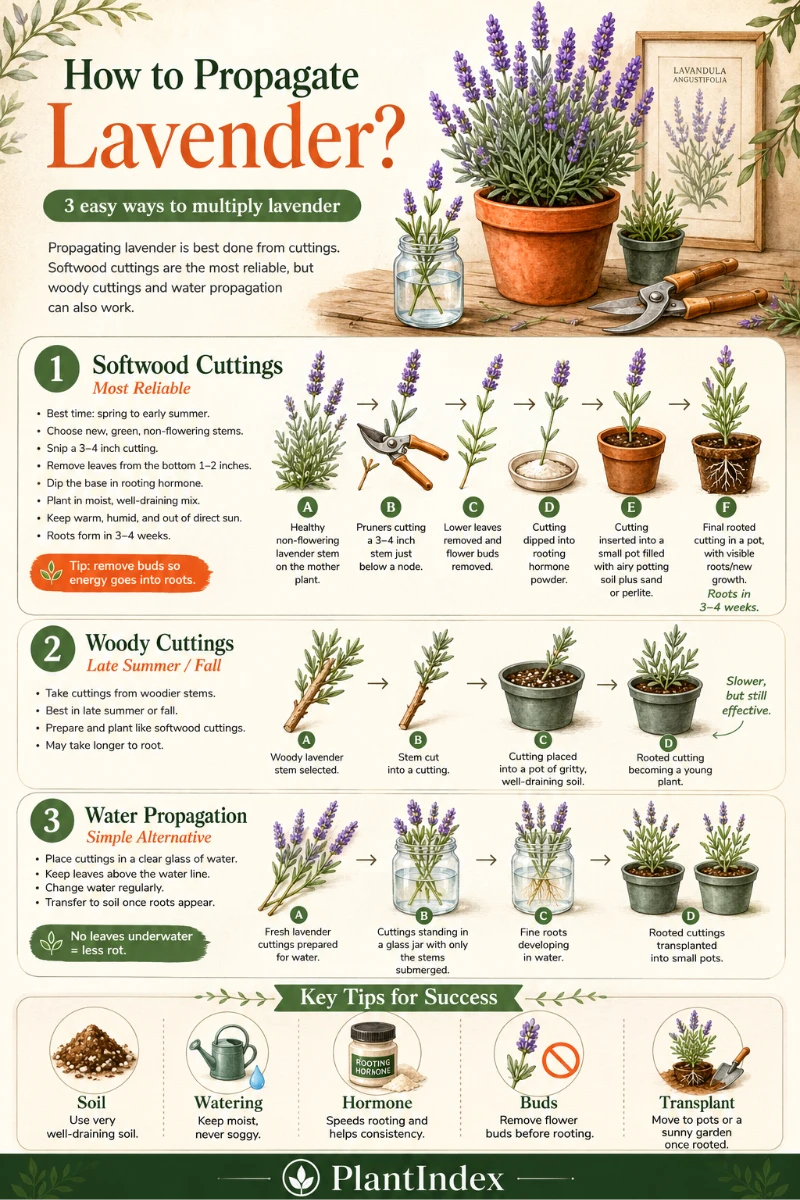
The Most Reliable Method: Softwood Cuttings
Experts almost always choose softwood cuttings for lavender propagation. This method gives you the highest success rate and the fastest results. Softwood refers to the fresh, new, green growth that appears early in the growing season.

Step 1: Time Your Snip
Plan your propagation for spring or early summer. The plant actively pushes out new growth during these warmer months. This fresh, green tissue roots much faster than older, woody stems.
Step 2: Select the Perfect Stem
Look at your established lavender plant and find a healthy, bright green shoot. Avoid any stems holding flower buds. You want a cutting that focuses all its energy on building a new root system, not trying to push out a bloom.
Using clean, sharp shears, snip a 3- to 4-inch stem.
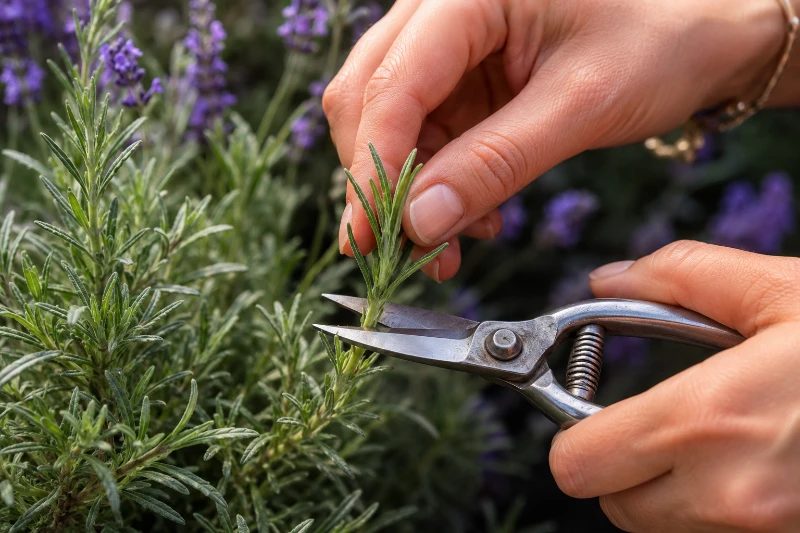
Step 3: Prep the Base
Strip the leaves off the bottom 1 to 2 inches of your cutting. If you leave these bottom leaves attached and bury them in soil, they will quickly rot and kill your new plant.
Dip the exposed base of the stem into a rooting hormone. You can use a liquid or powder form. While you can skip this step, rooting hormone dramatically increases your success rate. It seals the cut, prevents rot, and triggers faster, more consistent root growth.
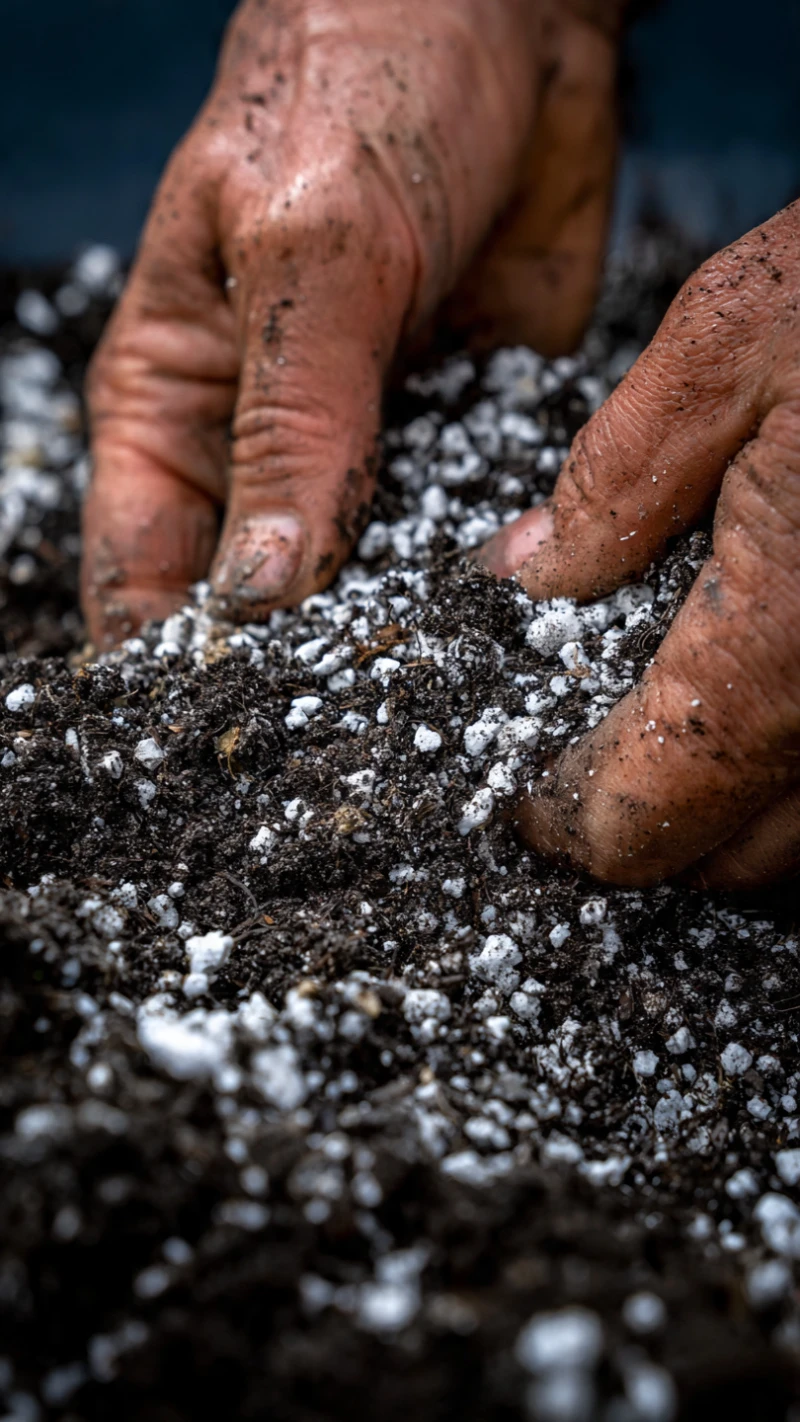
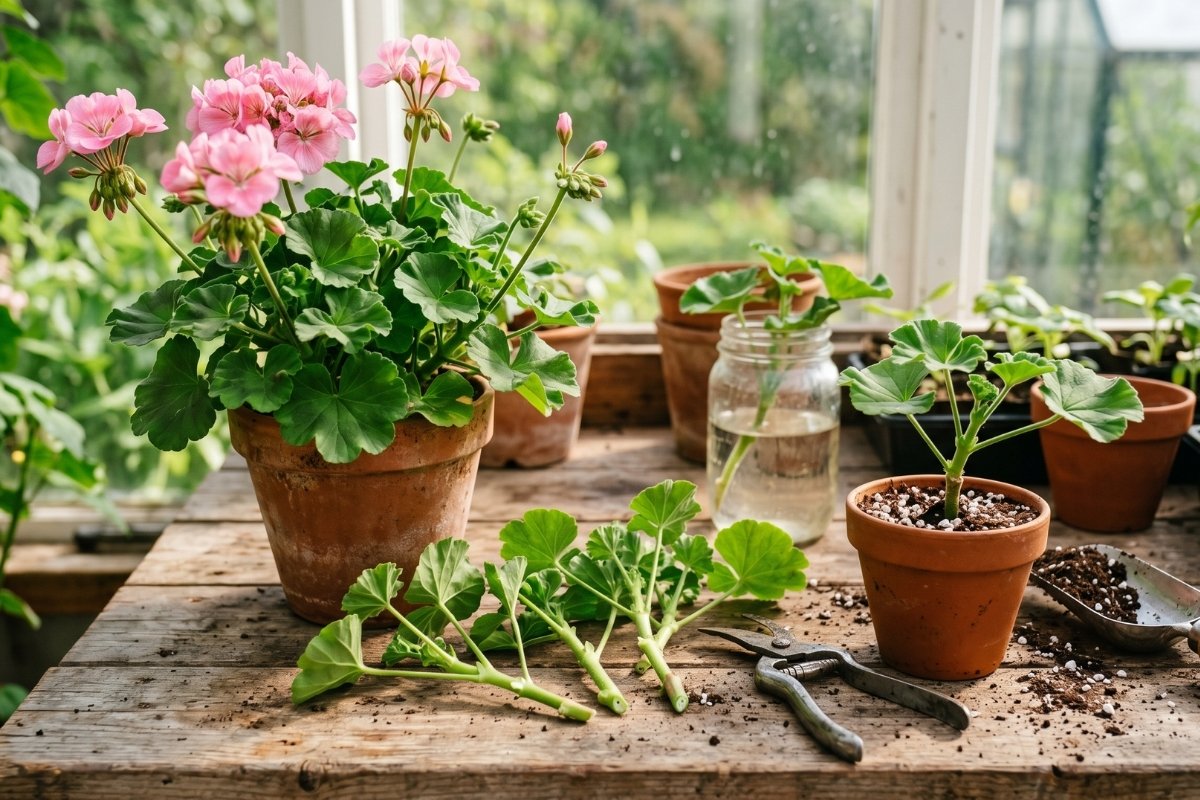
Step 4: Plant in the Right Mix
Lavender hates wet feet. A heavy potting soil will trap moisture and drown your cutting before it ever grows roots.
Fill a small pot with a well-draining mixture. A 50/50 blend of standard potting soil and sand or perlite works perfectly. Poke a hole in the dirt with a pencil, insert the bare bottom of your cutting, and gently press the soil around it to hold it upright.
Step 5: Manage the Environment
Place your potted cuttings in a warm, sheltered spot that receives indirect sunlight. Direct, baking sun will scorch the vulnerable little stems.
Keep the soil consistently moist, but never soggy. You need to maintain humidity around the plant without turning the dirt into mud. Under these conditions, a healthy root system typically develops in 3 to 4 weeks.
Alternative Propagation Methods
While softwood cuttings rule the nursery, you have a couple of other options depending on the season.
Hardwood Cuttings
If you miss the spring window, you can take hardwood cuttings in late summer or fall. You cut these from the older, woodier parts of the plant. Prepare and plant them exactly like softwood cuttings. Just know that woody stems naturally take much longer to push out roots.
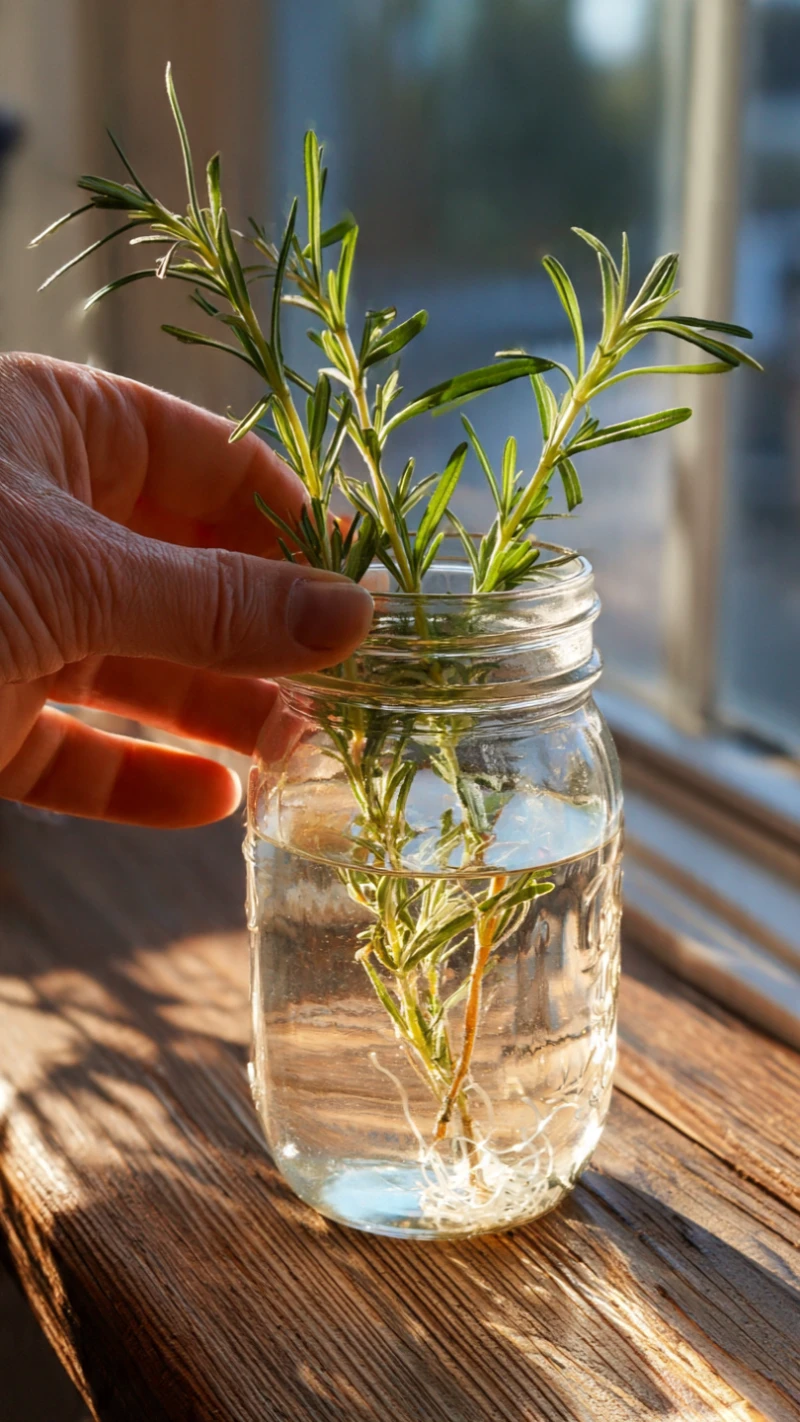
Water Propagation
You can skip the soil entirely and root lavender in water. Place your prepared cuttings into a glass of water. Double-check that no leaves sit below the water line, as submerged foliage rots instantly.
Change the water every few days to keep it fresh and oxygenated. Once a robust network of white roots appears, gently transfer the cuttings into a well-draining soil mix.
Pro Tips for Guaranteed Success
Many beginners fail at propagation because they make a few common mistakes. Follow these rules to keep your cuttings alive:
- Pinch off stray buds: Always remove any hidden flower buds from your cutting. Redirect that vital plant energy down into the soil.
- Prioritize drainage: Root rot is the number one enemy of lavender cuttings. Use sand or perlite liberally.
- Do not overwater: Cuttings need slight moisture, not a daily flood. Let the very top layer of soil dry out slightly before adding a splash of water.
Move Your Plants into the Garden
After a month, gently tug on the stem. If you feel resistance, congratulations! Your cutting has successfully anchored itself with new roots.
Give the young plant a few more weeks to grow strong. Once it establishes a solid root ball, you can transplant it. Move it into a larger individual pot, or plant it directly into a sunny spot in your garden. Water it deeply during its first few weeks outdoors to help it settle into its permanent home.
Frequently Asked Questions
Can I propagate lavender from grocery store stems?
Yes, but success rates vary. Grocery store stems often sit out of water for days and lose their vitality. If the stems look fresh and green, snip the bottoms, remove the lower leaves, and follow the softwood or water propagation methods.
Do I absolutely need rooting hormone?
No, lavender will root without it. However, rooting hormone acts as an insurance policy. It drastically speeds up the timeline and protects the vulnerable cut stem from deadly fungal rot.
Why are my lavender cuttings turning brown?
Brown, mushy stems indicate rot. This happens when your soil holds too much water or when you bury leaves under the dirt. Toss the rotting stems, add more perlite to your soil mix, and try again with less water.


