How to Propagate Boston Fern: The Easy Division Method

If you want the fastest, easiest way to make more Boston ferns, use division. Not spores. Not wishful thinking. Division.
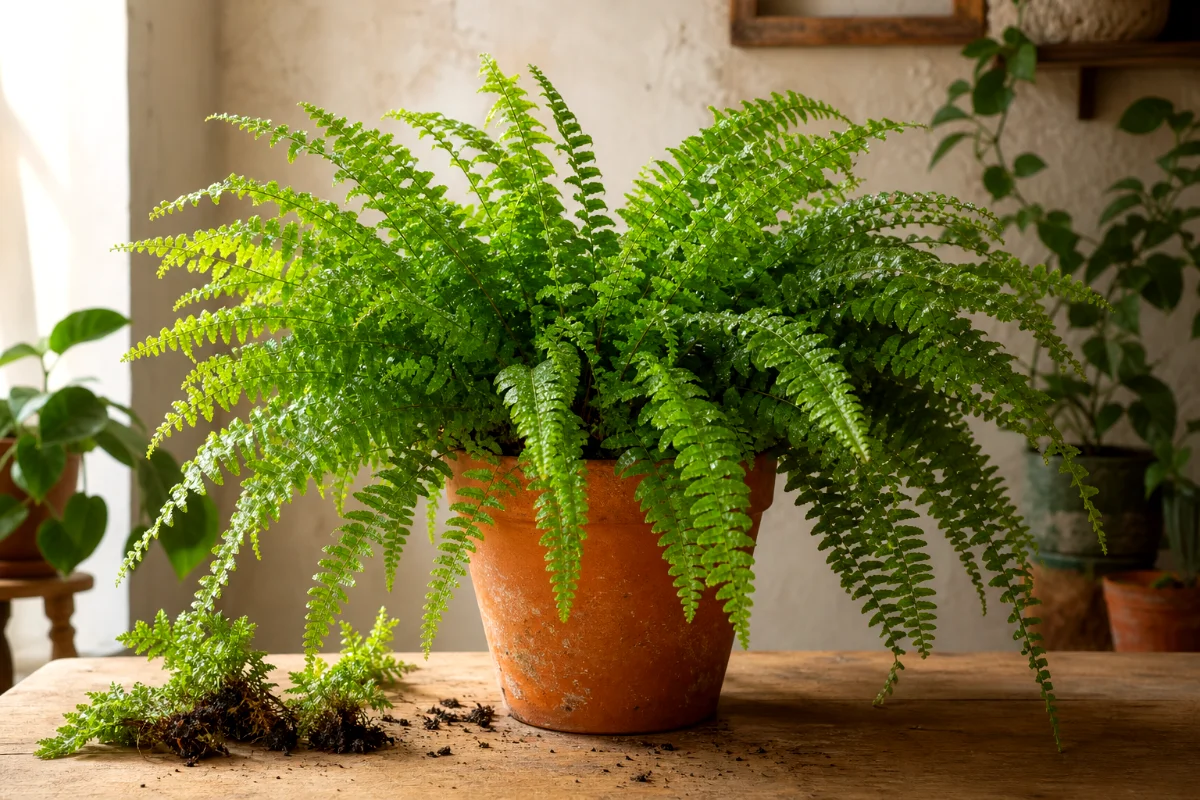
A mature Boston fern naturally grows in clumps, with separate leafy crowns packed together in one pot. When you divide it, you separate that crowded root ball into smaller living sections, then pot each one on its own.
Spring is my favorite time to do it. Early summer works too. The plant has warm days, active roots, and enough energy to recover without sulking for weeks.
What Division Means, in Plain English
Division means you take one healthy Boston fern and split the root mass into two, three, or four smaller plants.
Each new piece needs two things: roots and a crown. The crown is the growing point where fronds rise from the base of the plant.
If a section has roots but no leafy crown, it may sit there doing nothing. If it has fronds but almost no roots, it wilts fast. You want both.
When to Propagate Boston Fern
The best time to propagate Boston fern is spring, especially when the plant already needs repotting.
You can also divide it in summer if the plant looks strong and well-watered. I avoid fall and winter unless the fern is badly rootbound and declining. Cooler months slow root growth, and Boston ferns already get fussy indoors when the air turns dry.
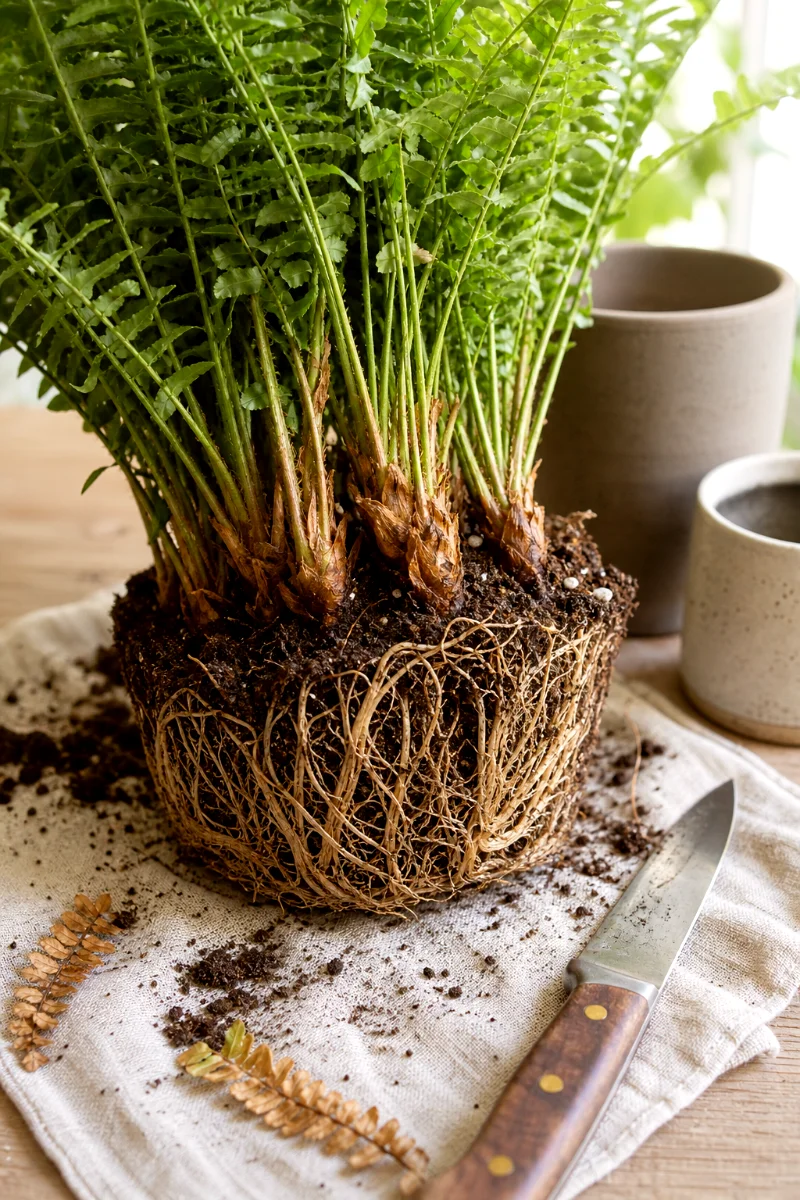
Signs Your Boston Fern Is Ready to Divide
- The pot dries out much faster than it used to.
- Roots circle the inside of the pot or poke from drainage holes.
- The plant has several clear crowns or clumps.
- The center looks crowded, tight, or matted.
- You want more plants and the mother plant looks healthy.
Do not divide a fern that has pests, severe browning, or limp fronds from neglect. Fix the care problem first. Propagation works best when you start with a plant that has something to give.
What You Need Before You Start
Gather everything before you tip the fern out of its pot. Boston fern roots dry quickly, and a half-finished repotting job gets messy fast.
- A mature, healthy Boston fern with multiple crowns
- Clean pots with drainage holes
- Moist, well-draining potting mix
- A clean, sharp knife or small garden fork
- Room-temperature water
- Optional clear plastic bag for extra humidity
- Pruning shears for trimming damaged fronds
For soil, use a moisture-retentive peat-based potting mix with good drainage. If you prefer to avoid peat, use a coir-based mix with added perlite or fine bark. The goal stays the same: damp but airy.
Boston ferns hate sitting in stale, soggy soil. They also hate drying into a crunchy root pancake. Yes, they like to keep us humble.
How to Propagate Boston Fern by Division
Step 1: Water the Fern the Day Before
Water the plant well the day before you divide it. Moist roots bend instead of snapping, and the plant handles the move better.
Do not divide a bone-dry fern. That is asking for drama.
Step 2: Prepare the New Pots
Fill each new pot partway with damp potting mix. Press it lightly, but do not pack it down hard.
Choose pots that fit the divisions. A small section in a giant pot stays wet too long, which can rot the roots before they settle in.
Step 3: Remove the Fern From Its Pot
Hold the fern near the base, tip the pot sideways, and gently slide the root ball out. If it sticks, squeeze the pot or tap the sides.
For a stubborn plastic nursery pot, I sometimes roll it on the ground with gentle pressure. For terracotta, use a butter knife around the inner edge. Go slow.
Step 4: Look for Natural Sections
Set the root ball on newspaper, a tray, or an old towel. Then study it for a minute.
You will usually see clumps where fronds rise together. Those clumps show you where to divide. Let the plant tell you where it wants to split.
Step 5: Divide the Root Ball
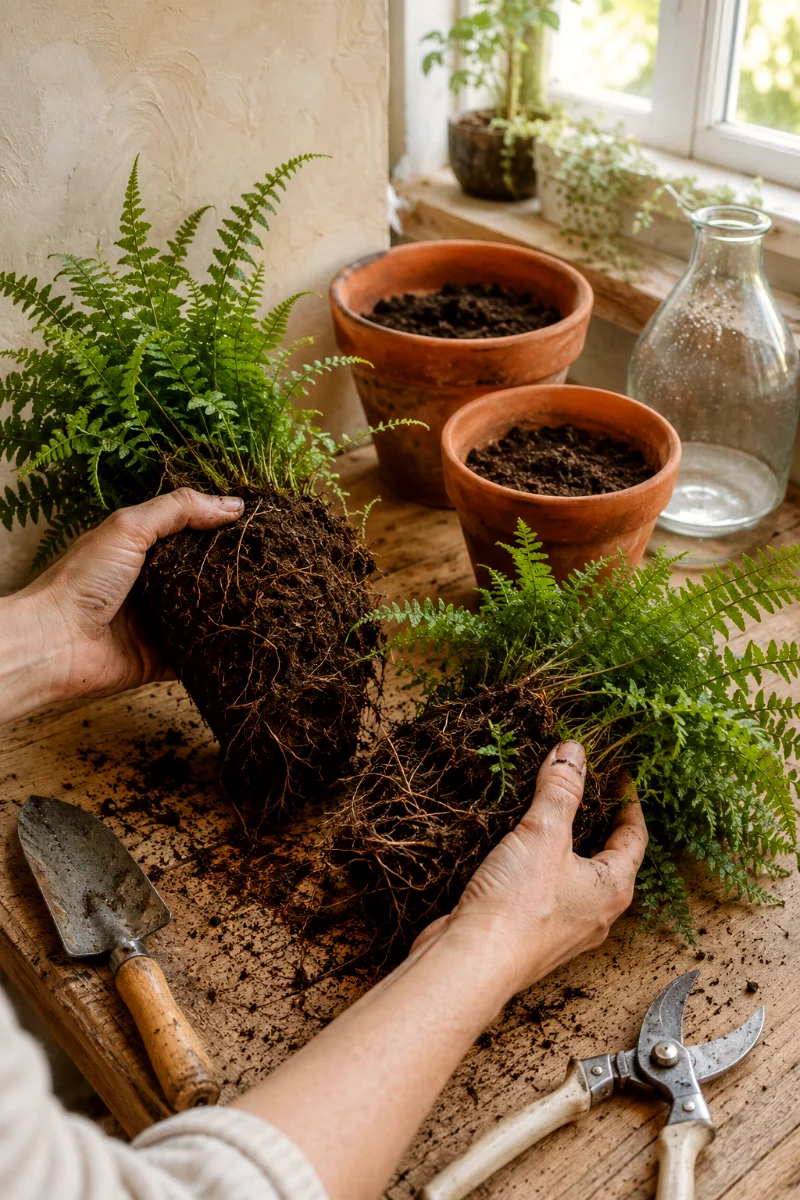
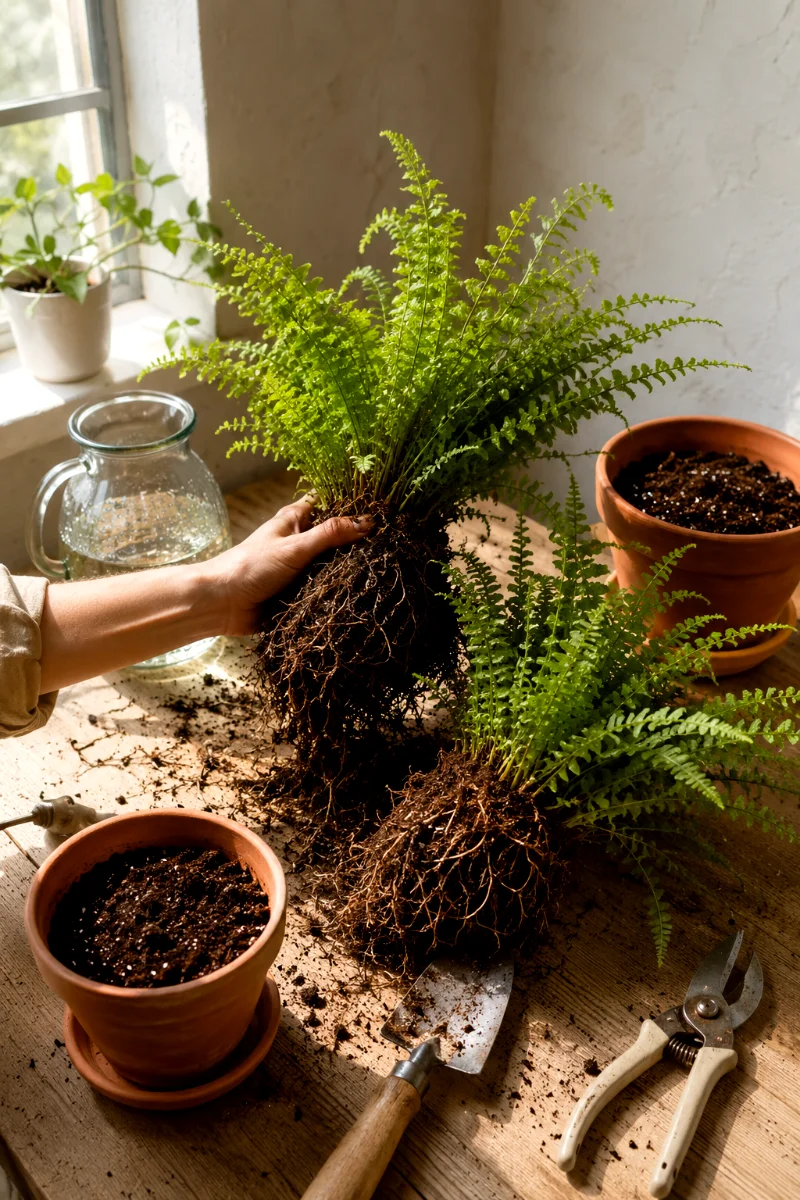
Use your hands to tease apart loose sections. If the roots are tight, use a clean, sharp knife or garden fork to cut the root ball into halves or quarters.
Make sure each piece has plenty of roots and leafy foliage. I would rather make two strong plants than four weak little scraps.
A few broken roots will not ruin the job. But hacking the plant into tiny rootless pieces will.
Step 6: Pot Each Division
Place one division in each prepared pot. Set it at the same depth it grew before, with the crown just above the soil surface.
Fill around the roots with potting mix. Firm it gently with your fingers so the plant stands upright, but leave the mix fluffy enough for air and water to move through.
Step 7: Water Thoroughly
Water until moisture runs from the drainage holes. This settles soil around the roots and removes big air gaps.
Let the pot drain fully. Never let a fresh division sit in a saucer of water for hours.
Step 8: Move It to Bright, Indirect Light
Place the new ferns in bright, indirect light. A spot near an east window or a few feet back from a bright south or west window often works well.
Direct hot sun can scorch the fronds, especially while the roots are recovering. Think bright shade, not blazing windowsill.
Aftercare for New Boston Fern Divisions
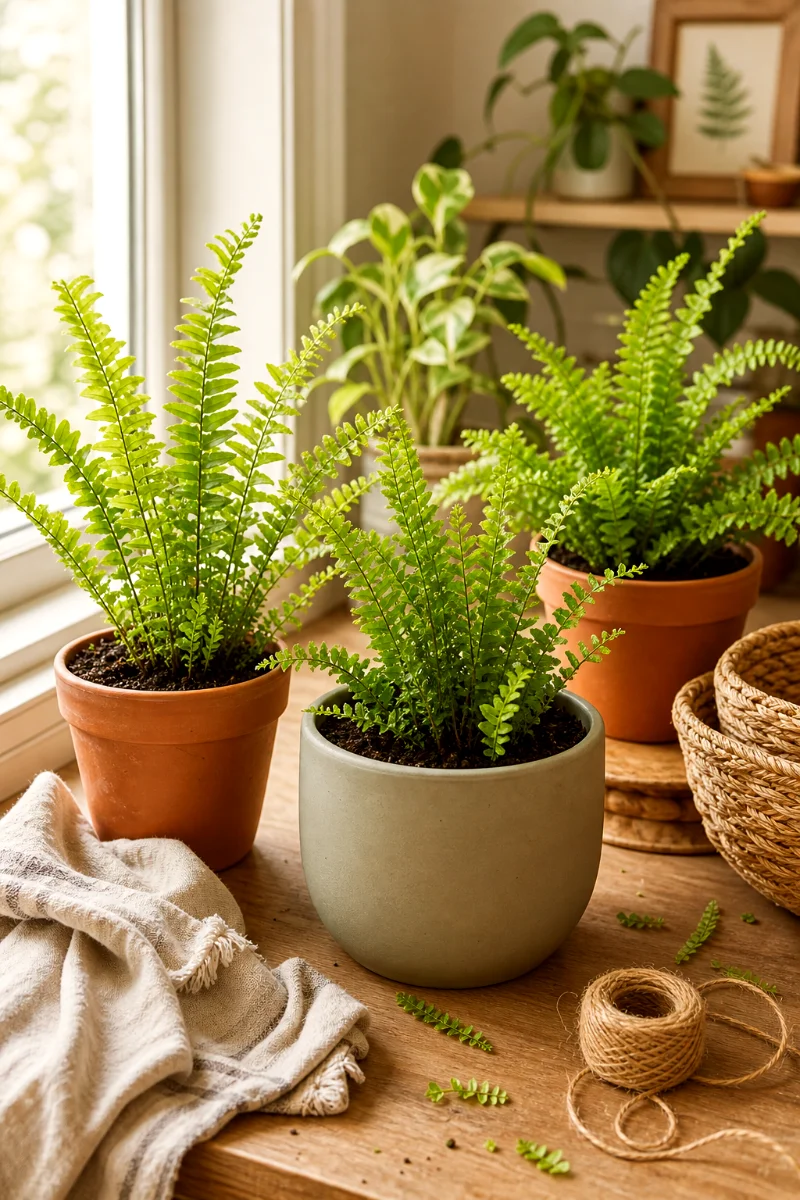
The first few weeks matter. Your new plants need steady moisture, gentle light, and humid air while they grow fresh roots into the new potting mix.
Keep the Soil Consistently Moist
Check the soil with your finger every couple of days. Keep it evenly damp, like a wrung-out sponge.
Too dry, and the fine roots shrivel. Too wet, and the roots suffocate. Boston ferns sit right in that middle lane, and they notice when you drift.
Raise Humidity if the Fronds Wilt
If a division looks limp after potting, give it a humidity boost. Place a clear plastic bag loosely over the plant for a few days.
Keep the bag from pressing hard against the fronds. Open it daily for fresh air. If you see heavy condensation all day or smell mustiness, remove the cover for a while.
Hold Off on Fertilizer
Do not feed right away. Freshly divided ferns need root recovery before fertilizer.
Wait four to six weeks, then use a diluted balanced houseplant fertilizer during active growth. Half strength is plenty. Boston ferns prefer steady care over big pushes.
Trim Only the Ugly Bits
You can snip off brown, broken, or badly wilted fronds after division. Leave healthy green fronds alone because they help fuel new root growth.
And do not give the plant a hard haircut unless it truly needs one. A stressed fern with no foliage has to work much harder.
Can You Propagate Boston Fern From Runners?
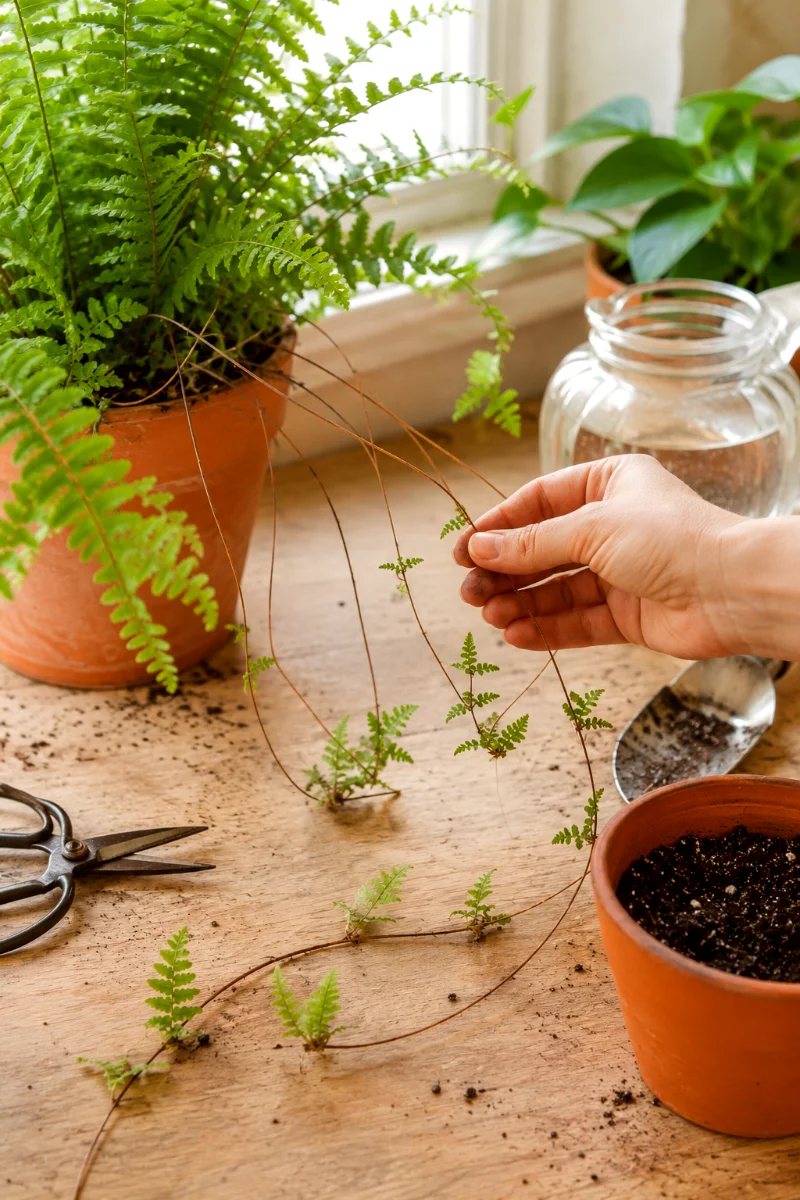
Yes, you can propagate Boston fern from runners, but I treat this as the slower side project.
Boston ferns sometimes send out thin, hairy runners. Small baby plants may form along them. You can cut a runner section with a young plantlet and pin or pot it into moist mix.
Keep it humid and shaded while it roots. It can work. Still, division is much faster and gives beginners a better success rate.
How to Try Runner Propagation
- Find a healthy runner with a small baby fern forming.
- Cut the runner with clean scissors or shears.
- Place the baby fern on moist potting mix and pin it gently if needed.
- Keep the mix damp and the air humid.
- Wait for roots before treating it like a separate plant.
If you already have a big, crowded Boston fern, divide it first. Play with runners after that.
Why I Do Not Recommend Spores for Beginners
Boston ferns can reproduce by spores, but that route takes patience, clean conditions, and a tolerance for tiny green mystery fuzz.
It is interesting. It is also slow.
For a beginner who wants another real plant on the shelf this season, division wins every time.
Common Mistakes When Propagating Boston Fern
Dividing a Weak Plant
A tired fern makes tired divisions. If the plant has spider mites, crispy fronds, or dry compacted soil, nurse it back first.
Healthy stock gives you healthy starts. That old garden rule never gets old.
Making the Divisions Too Small
Tiny pieces dry out quickly and often fail. Give each division a generous root system and a good handful of fronds.
When in doubt, split the plant into fewer sections. Bigger divisions bounce back faster.
Planting Too Deep
Do not bury the crown. Keep the base of the fronds at soil level.
A buried crown can rot, especially in damp fern soil. That is one of those quiet mistakes you only notice after the plant starts collapsing.
Letting the Soil Dry Out
New divisions do not have a strong root system yet. Dry soil hits them hard.
Check often. Small pots dry faster than large ones, especially near heat vents or sunny glass.
Using Heavy Garden Soil
Do not scoop soil from the yard and put it in a fern pot. It compacts indoors, drains poorly, and may bring pests along for the ride.
Use a light potting mix that holds moisture but still breathes.
How Long Does It Take Boston Fern Divisions to Recover?
Most divisions perk up within one to three weeks if you keep the soil moist and the light gentle.
You may see a little drooping at first. That is normal. You disturbed the roots, and the plant needs a minute.
Fresh growth usually tells you the division has settled in. New pale green fronds, also called fiddleheads when they first uncurl, are a very good sign.
Boston Fern Propagation Care Cheat Sheet
- Best method: Division
- Best timing: Spring, or early summer
- Best plant to use: Mature, healthy, and crowded with multiple crowns
- Soil: Moist, well-draining peat-based or coir-based potting mix
- Light after dividing: Bright, indirect light
- Water: Keep evenly moist, never soggy
- Humidity: Medium to high, with a temporary plastic bag if needed
- Fertilizer: Wait four to six weeks
FAQ
Can I propagate Boston fern in water?
I do not recommend water propagation for Boston fern divisions. The plant already has soil roots, and those roots adapt better when you move them straight into moist potting mix.
Can I divide a Boston fern in winter?
You can, but I would avoid it unless the plant is in trouble. Winter light is weaker, indoor air is drier, and recovery takes longer.
How many plants can I get from one Boston fern?
Most home growers get two to four good divisions from one mature fern. If the plant is huge and has many crowns, you may get more.
Why is my divided Boston fern wilting?
Wilting usually comes from root disturbance, dry soil, low humidity, or too much sun. Move the plant to bright indirect light, water evenly, and add a loose plastic bag for humidity for a few days.
Should I cut back the fern before dividing it?
Only remove brown or damaged fronds. Keep healthy green fronds because they help the plant recover and grow new roots.
Can I use regular potting soil?
Yes, if it drains well and holds moisture. If it feels heavy or muddy, mix in perlite, fine bark, or coir to loosen it.