How to Propagate Amaryllis Without Making a Mess of It

Amaryllis looks fancy. Propagating it isn’t.
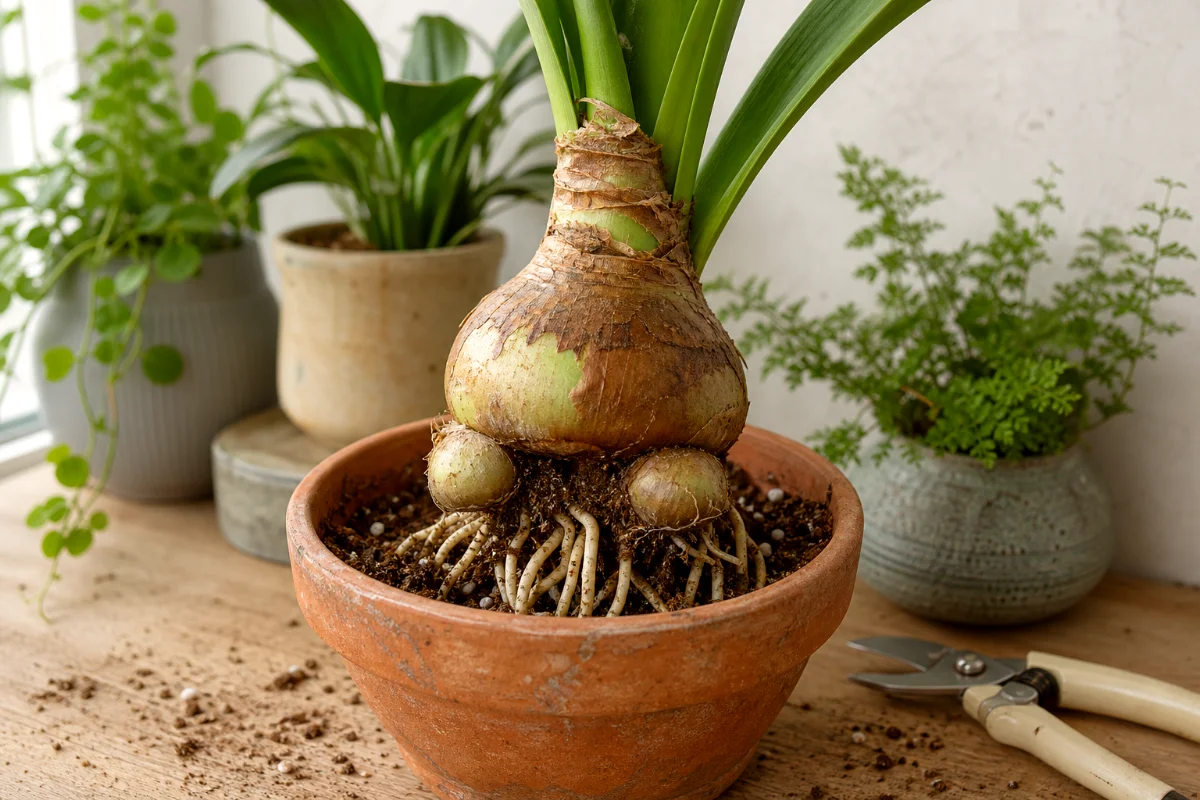
If you’re new to plant propagation, start with offsets. These are the small baby bulbs that grow beside the mother bulb. They give you the best shot at success because they already know exactly what they’re supposed to become.
Seeds work too, but they’re slower and a bit more unpredictable. Bulb chipping also works, though I don’t recommend it as your first rodeo unless you’re comfortable cutting into a healthy bulb.
The Best Way to Propagate Amaryllis
The easiest and fastest way to propagate amaryllis is by separating offsets during repotting. Offsets are clones of the parent plant, so if your mother bulb has big red blooms, the offset should bloom the same way.
That’s the beauty of it. No guessing.
Seeds can create new flower variations, which sounds fun, and it is. But seedlings often take 3 to 5 years to bloom. Offsets usually flower in 1 to 3 years, sometimes closer to 1 or 2 years if the baby bulb starts out chunky and gets good summer care.
When to Propagate Amaryllis
The best time to propagate amaryllis is after flowering, usually in late winter or early spring. Think January through March for many indoor-grown plants.
By then, the flowers have faded, and the bulb is moving back into leaf growth. That’s when it can feed itself, rebuild strength, and help a separated offset settle into its own pot.
Don’t divide a bulb while it’s in full bloom. I know it’s tempting when you’re already admiring it on the windowsill. But flowering takes a lot of energy, and dividing at that moment can stress the plant.
Method 1: Separating Amaryllis Offsets
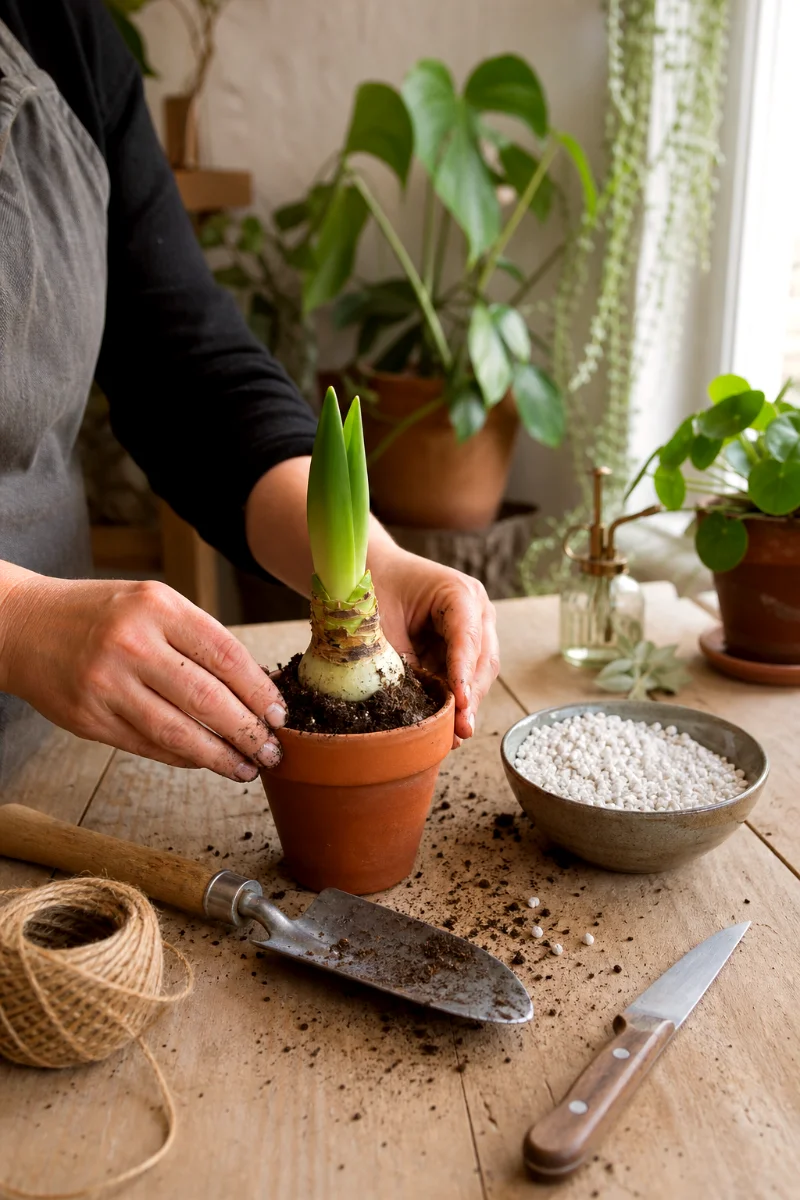
This is the method I recommend for beginners. It’s clean, reliable, and doesn’t require special equipment beyond a pot, good mix, and a sharp knife if the offset won’t pull free.
What You’ll Need
- A healthy amaryllis bulb with visible offsets
- A small pot with drainage holes
- Moist, gritty potting mix
- Clean scissors or a sharp knife
- Room-temperature water
- Optional: a little cinnamon for dusting cut surfaces
Use a pot that’s only a little wider than the baby bulb. Amaryllis likes a snug pot. Too much wet soil around a small bulb is how rot sneaks in.
Step 1: Remove the Plant from Its Pot
Tip the pot sideways and slide the plant out gently. If the roots cling to the pot, squeeze the sides or tap the rim.
Don’t yank the leaves. That’s a good way to snap something you wanted to keep.
Step 2: Wash or Brush Away the Soil
Remove enough soil so you can see the base of the mother bulb. A gentle rinse helps if the mix is packed around the roots.
Now look for offsets attached near the bottom. They may look like little bulbs pressed against the main bulb, sometimes with their own roots already forming.
Step 3: Choose Offsets with Roots
Pick offsets that have their own roots if you can. Those have the best chance of growing on without sulking for months.
Very tiny offsets can stay attached another season. I know patience is annoying. Still, a pea-sized bulb rarely wins the race.
Step 4: Separate the Offset
If the offset is loose, gently snap it away from the mother bulb. If it holds tight, use a clean, sharp knife and cut it away with a small piece of the base attached.
Keep the cut as neat as possible. Ragged wounds invite rot.
If you made a cut, let the offset sit in a dry, airy spot for a few hours before potting. Some gardeners dust the cut with cinnamon. It isn’t magic, but it can help keep the surface dry.
Step 5: Pot the Baby Bulb Correctly
Fill a small pot with moist, gritty potting soil. A good mix drains fast but still holds a little moisture around the roots.
Set the offset into the pot and firm the mix around it. Keep the top third of the bulb above the soil line.
This matters. If you bury the whole bulb, the neck stays too damp, and amaryllis bulbs hate that. They rot quietly at first, then collapse right when you think things are going well.
Step 6: Water Sparingly at First
Water lightly after potting, just enough to settle the mix. Then back off.
Keep the offset in bright, indirect light and water only when the top of the mix starts to dry. Until roots grow strongly, the bulb can’t use much water.
Wet soil plus a barely rooted bulb equals trouble. Every time.
Best Soil for Amaryllis Offsets
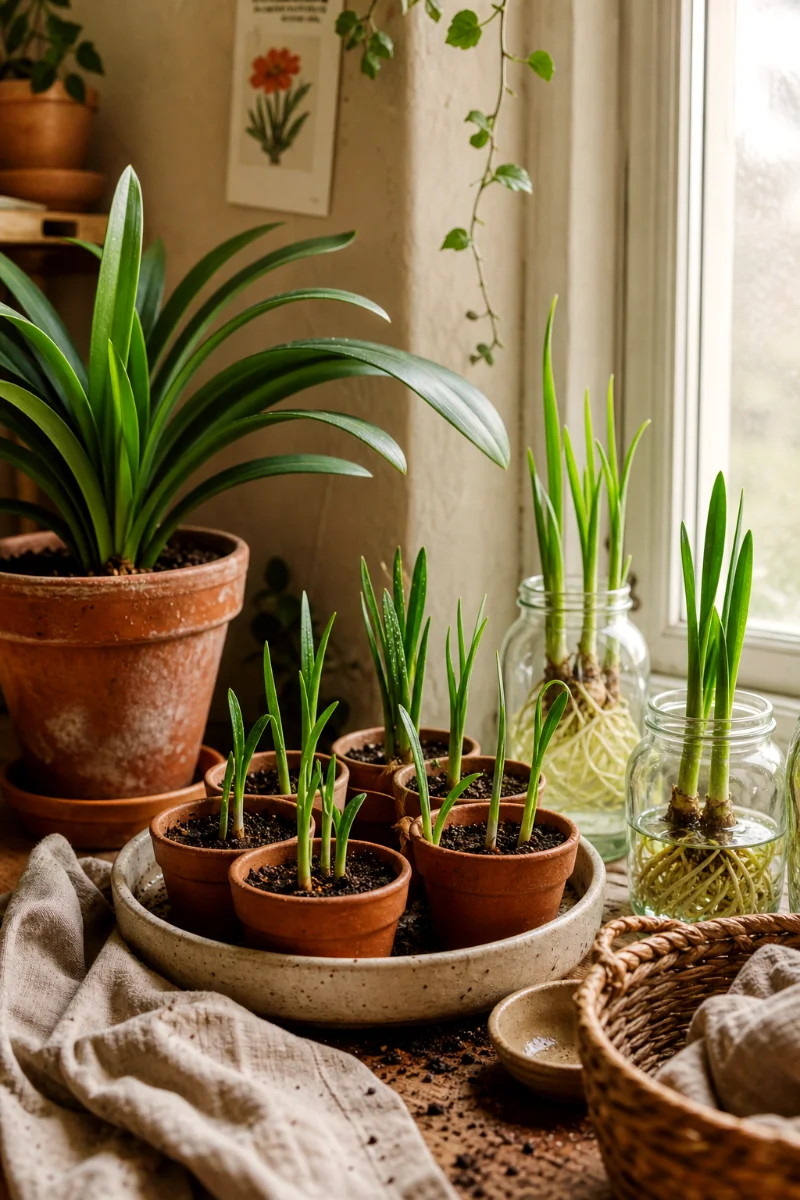
Amaryllis bulbs want drainage more than pampering. I like a gritty mix because it gives roots air and keeps the bulb from sitting in a soggy pocket.
A beginner-friendly blend looks like this:
- 2 parts regular potting mix
- 1 part perlite or pumice
- 1 part coarse sand or fine orchid bark
If your bagged potting mix feels heavy and muddy when wet, cut it with more perlite. Your bulb will thank you by not turning to mush.
How to Care for New Amaryllis Bulbs
Young amaryllis bulbs need leaves. Leaves feed the bulb. So after propagation, don’t rush dormancy.
Give baby bulbs bright, indirect sunlight. A sunny windowsill with a sheer curtain works well. Outdoors in summer, place them where they get morning sun and afternoon shade.
Feed with a diluted liquid fertilizer during summer. I use a gentle hand here. A little regular feeding helps the bulb size up, but too much fertilizer can burn young roots.
- Water when the top inch of mix feels dry
- Keep the bulb neck above the soil
- Turn the pot every week so leaves grow evenly
- Remove yellow leaves only after they fade
- Protect from cold drafts and waterlogged soil
And don’t panic if the offset just sits there for a while. Bulbs have their own calendar. They’re not in a hurry.
Method 2: Growing Amaryllis from Seeds
Growing amaryllis from seed is slower, but it’s fun if you like surprises. Seed-grown plants may not match the parent. You might get different flower shades, shapes, or markings.
That’s the trade. Less speed, more variety.
Step 1: Pollinate the Flowers
After your amaryllis blooms, use a small paintbrush or cotton swab to move pollen onto the stigma in the center of the flower. You can also gently tap pollen from one bloom to another.
Do this when the flower is fresh and the stigma looks slightly sticky. That’s when it’s most ready.
Step 2: Let Seed Pods Develop
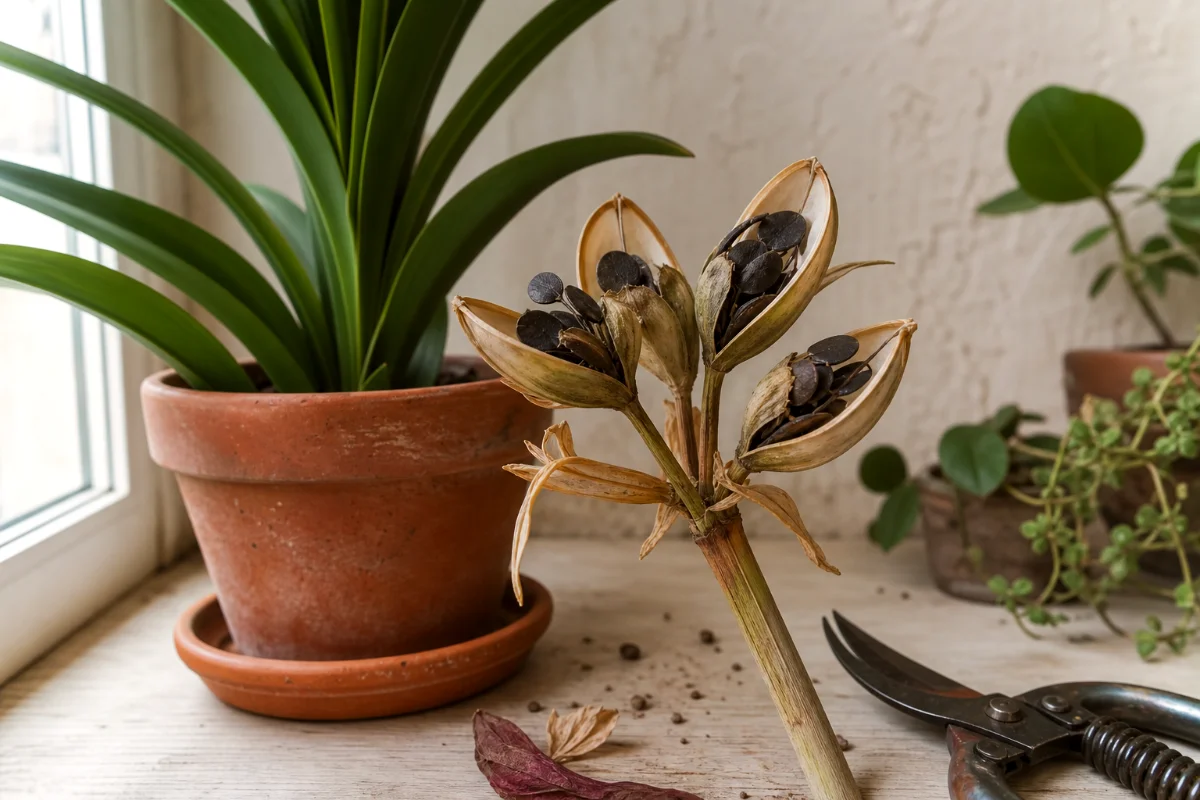
If pollination works, a green seed pod forms behind the faded flower. Leave it alone and keep caring for the plant.
Wait until the pod turns yellow and starts to split open. That’s your cue.
Don’t harvest too early. Immature seed often disappoints.
Step 3: Plant the Seeds
Place the seeds on moist, well-draining soil. Cover them lightly with mix, just enough to keep them in place.
Keep the container in partial shade. The goal is steady moisture, not swampy soil. A clear cover can help hold humidity, but lift it often for air flow.
Step 4: Transplant Seedlings
Once seedlings grow a few leaves, move them into small individual pots. Be gentle. The roots are thin and easy to break.
From here, grow them like small bulbs. Bright indirect light, careful watering, and summer feeding will help them build strength.
Expect flowers in 3 to 5 years. Yes, years. Gardening has a wicked sense of humor sometimes.
Method 3: Bulb Chipping for Advanced Propagation
Bulb chipping is for gardeners who want many plants from one bulb. It works, but it asks more from you and more from the bulb.
Here’s the plain version: you cut the main bulb into 12 to 16 sections. Each section must include part of the basal plate, which is the firm bottom area where roots grow.
No basal plate, no new bulb. That’s the part beginners often miss.
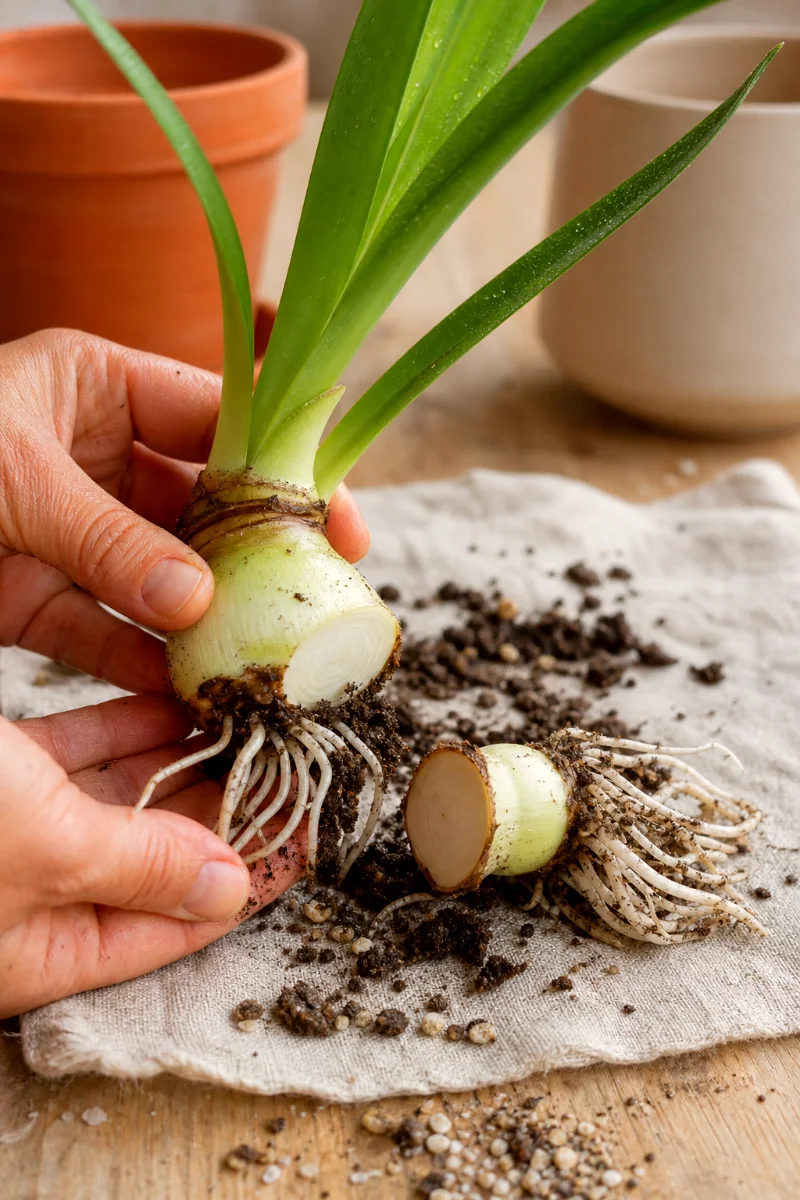
How Bulb Chipping Works
- Choose a firm, healthy bulb with no soft spots.
- Remove old roots and loose outer scales.
- Cut the bulb into 12 to 16 chips, making sure each chip has basal plate tissue.
- Plant the chips upright in clean sand.
- Keep them warm, around 20 to 25 C.
- Wait about three months for tiny bulblets to form.
I wouldn’t use your prized holiday amaryllis for this unless you’re prepared to lose it. Try this method only when you have a spare bulb and steady hands.
Common Mistakes When Propagating Amaryllis
Burying the Bulb Too Deep
Keep the top third above the soil. This one habit saves more bulbs than any fancy product on the shelf.
Watering Like It’s a Fern
Amaryllis isn’t a fern. It stores water and energy in its bulb, so it needs careful watering, especially after division.
Dividing Tiny Offsets Too Soon
If an offset has no roots and barely any size, leave it attached. The mother bulb feeds it until it’s ready for independence.
Skipping Summer Growth
Summer leaves build next year’s flowers. If you cut leaves early or starve the plant, you slow the whole process down.
Using a Pot with No Drainage
Pretty cachepots are fine as outer covers. But the actual growing pot needs drainage holes. Full stop.
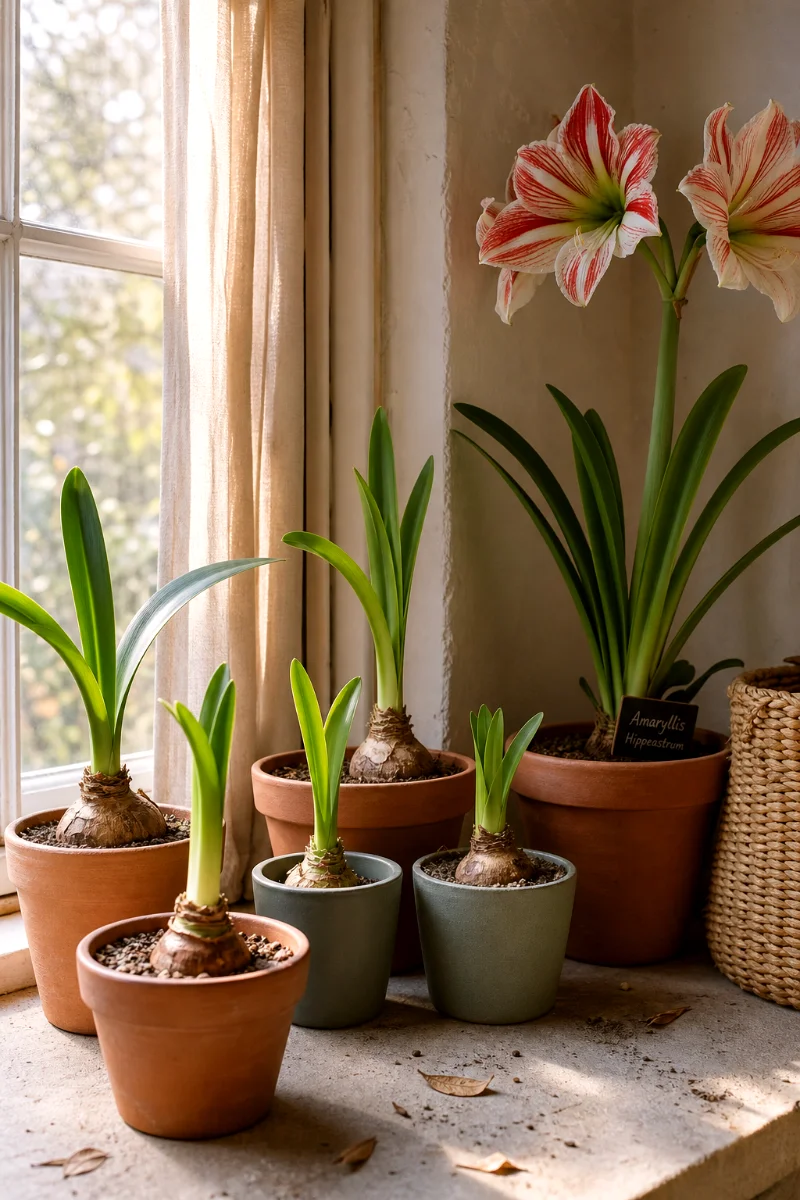
How Long Until Propagated Amaryllis Blooms?
Offsets usually bloom in 1 to 3 years. Larger offsets bloom faster. Small offsets need time to bulk up.
Seed-grown amaryllis usually takes 3 to 5 years. Bulb chips form small bulblets in about three months, but those bulblets still need growing time before they flower.
If you want flowers sooner, propagate offsets. If you want experiments, try seeds. If you want a challenge, try chipping.
FAQ
Can you propagate amaryllis from a cut flower stem?
No. A cut flower stem won’t grow a new bulb. You need offsets, seeds, or bulb sections with basal plate tissue.
Should I remove every baby bulb from my amaryllis?
No. Remove only offsets that are large enough and have roots. Tiny ones grow better when left with the mother bulb for another season.
Can I propagate amaryllis in water?
You can start some bulbs over water for display, but I don’t recommend water as a propagation method. Offsets grow better in a gritty potting mix with air around the roots.
Why is my amaryllis offset not growing?
It may be building roots first. Keep it warm, give it bright indirect light, and avoid overwatering. If the bulb stays firm, it’s still alive.
Do seed-grown amaryllis plants look like the parent?
Not always. Seeds can produce new variations, which makes them exciting but less predictable than offsets.