How to Propagate Hydrangeas From Cuttings (The Easy Way)

I hardly ever buy hydrangeas anymore. And honestly, why would I?
Once you learn this little trick, you can grow brand new plants from the ones you already have. For free. The only time I open my wallet is when I want a variety I don’t own yet, and even then, I ask my gardening friends for a few snips first.
So let me show you how I do it.
Cuttings Are the Easiest Way, Hands Down
You can grow hydrangeas in a few different ways. But cuttings win every time for beginners.
It’s cheap. It’s forgiving. And you don’t need any fancy gear.
The whole idea is simple. You snip a piece of healthy stem, coax it to grow roots, then plant it. That’s the heart of it. Everything below just helps you get it right on the first try.
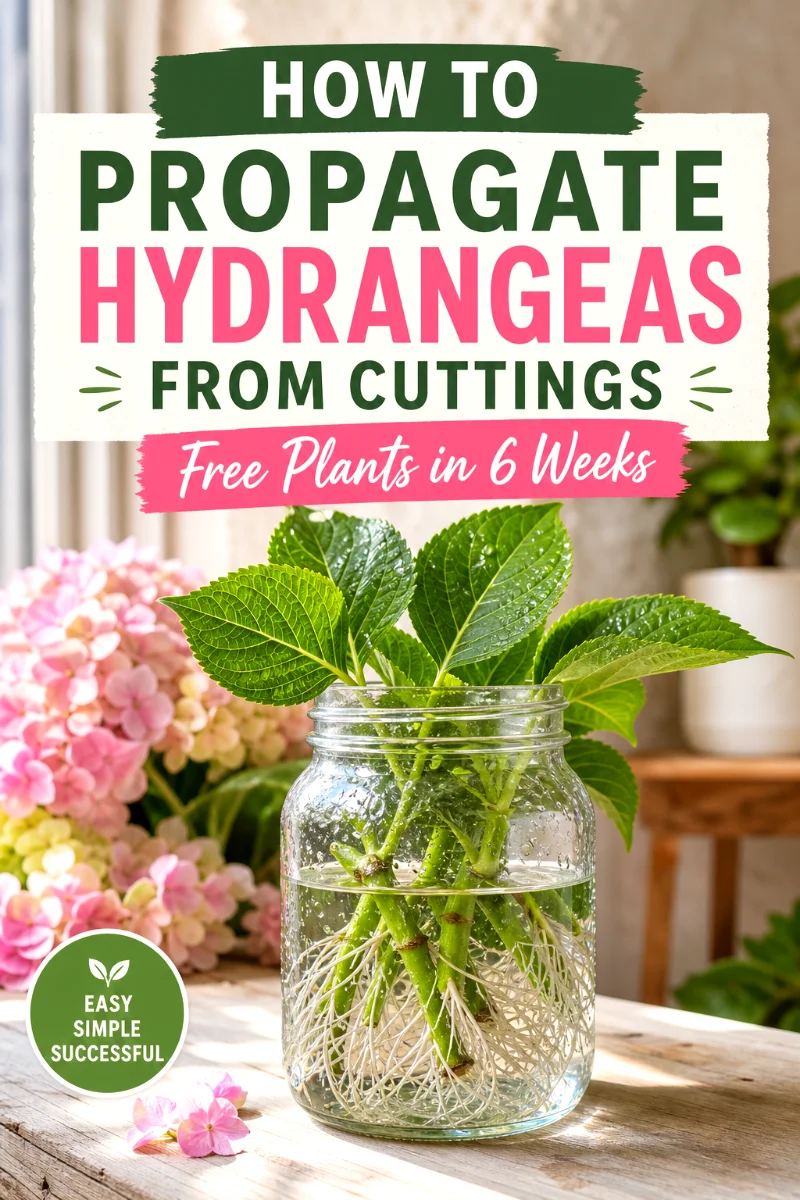
When Should You Take Hydrangea Cuttings?
Spring or early summer. That’s your window.
Here’s why that timing matters so much. In spring, the plant is wide awake and growing fast. Its energy pours into fresh green growth, and that soft new growth is exactly the kind that roots well.
Take a cutting now and you hand the young plant a full season to settle in before winter. A strong root system going into the cold is what carries it through. Rush this in late fall and you’re fighting the calendar the whole way.
And there’s a nice bonus. Cuttings you root this spring can reward you with blooms next season.
What You’ll Need
Nothing on this list will break the bank. Most of it you probably already have lying around.
- Sharp, clean pruning shears
- A small pot, around 8 to 10 inches
- A light, airy potting mix (peat moss and perlite, or a seed starting mix)
- Rooting hormone powder or gel (optional, but it speeds things up)
- A clear plastic bag or a cut-off soda bottle
- A bright spot out of direct sun
Tools & Items
 Save
Save
DECERK® 8.5" Professional Pruning Shears, Effortlessly Prunes
Shop on Amazon Save
Save
JERIA 50-Pack 1 Gallon Flexible Plant Nursery
Shop on Amazon Save
Save
Potting Soil Mix, Peat Moss, Vermiculite, Perlite,
Shop on Amazon Save
Save
Hormex Rooting Hormone Powder #16 - Fast
Shop on Amazon Save
Save
GooingTop Grow Light,6000K Full Spectrum Indoor Plant
Shop on AmazonOne word on those shears. Clean them. A quick wipe with rubbing alcohol takes ten seconds and stops you from passing disease into a fresh wound. I learned that one the hard way.
How to Propagate Hydrangeas From Cuttings
Here’s the exact routine I follow. Stick to it and your odds shoot way up.
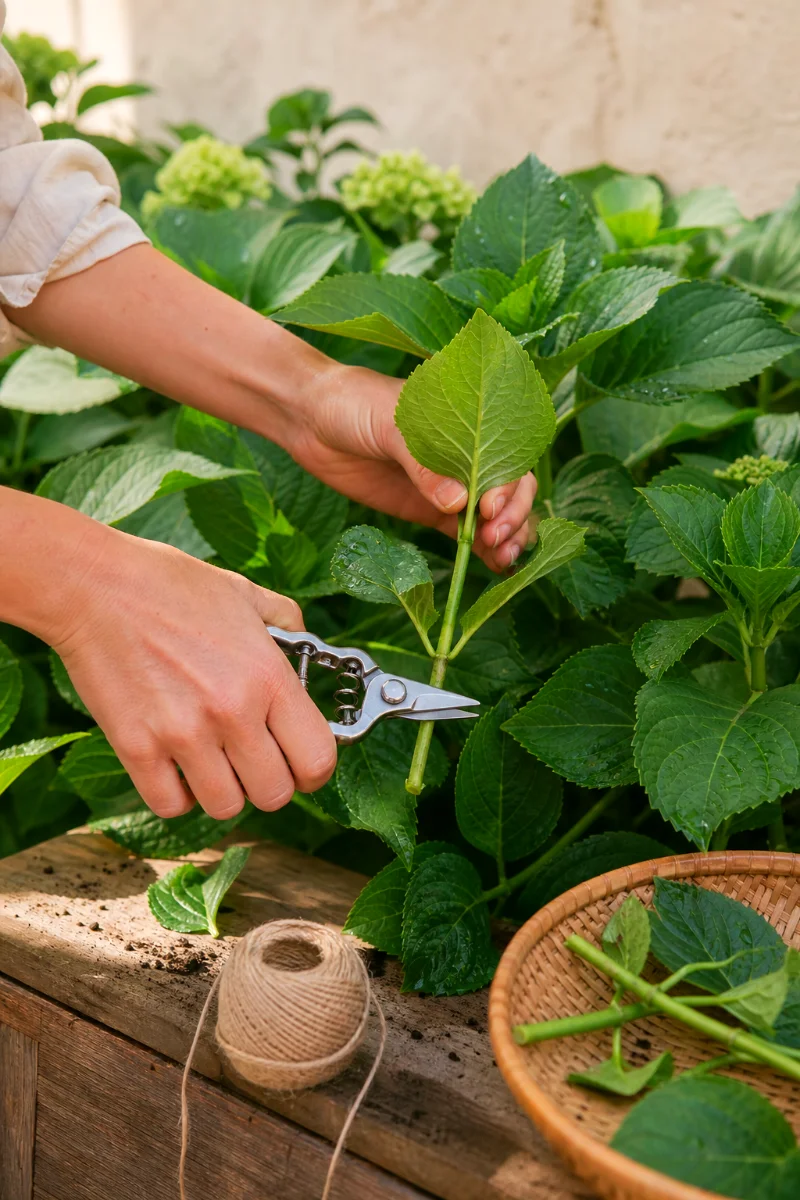
Step 1: Snip in the Morning
Take your cutting early in the day. The plant is full of water then, plump and hydrated, and that moisture gives your cutting a head start before it has any roots to drink with.
Pick a stem that’s green and healthy. Skip anything with bugs, spots, or flower buds.
Why no flowers? Because a cutting with a bloom on it wastes its energy feeding that flower instead of making roots. You want all that effort heading underground.
Step 2: Cut Below a Leaf Node
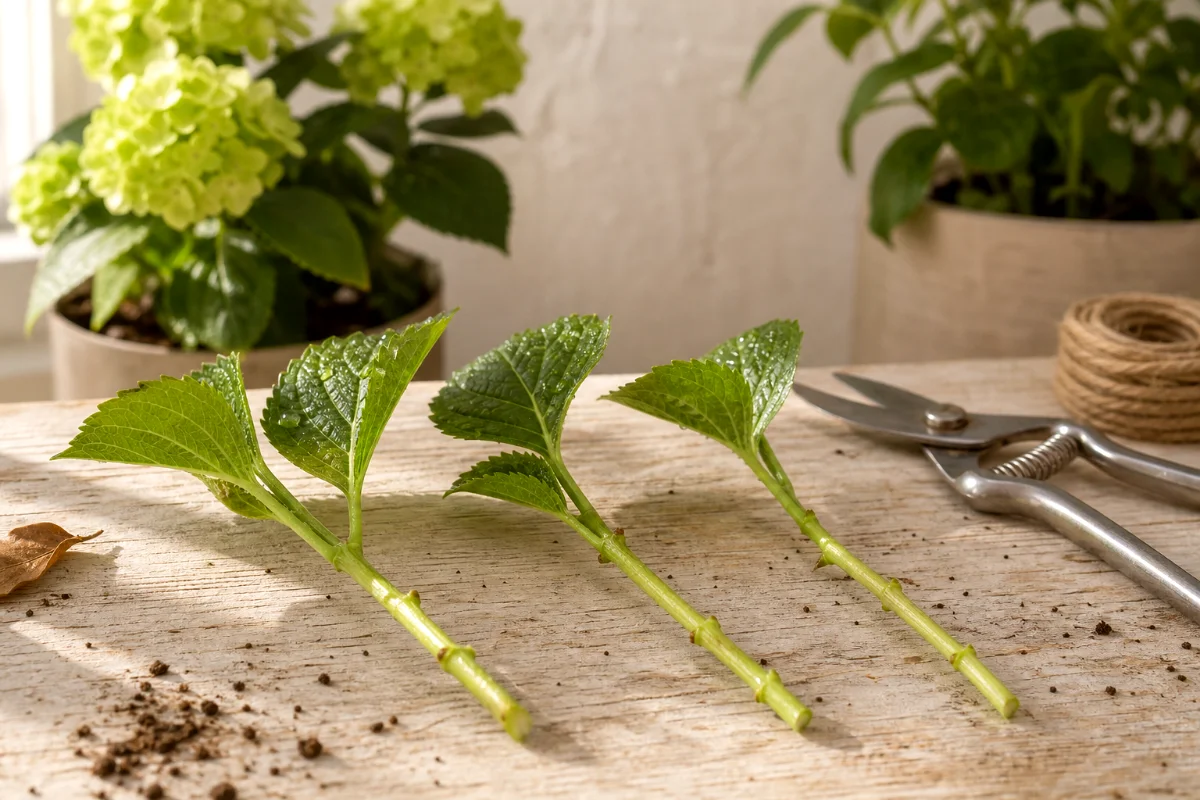
Find a healthy stem about 4 to 6 inches long with at least three sets of leaf nodes. See those little bumps where the leaves meet the stem? That’s where your roots will sprout from.
Make your cut just below a node. Clean and quick.
Step 3: Strip the Lower Leaves
Pull off the leaves on the bottom of your cutting. Leave only one or two pairs at the very top.
The bare lower nodes are the part you’ll bury. Bare stem in soil roots. Leaves in soil rot. Simple as that.
Step 4: Trim the Top Leaves in Half
This step trips up a lot of beginners, so please don’t skip it. Cut the remaining top leaves down to about half their size.
Big leaves lose water fast. And your rootless cutting can’t replace that water yet, because it has nothing to drink with. Smaller leaves lose less, which keeps your cutting from wilting while it’s busy making roots.
Step 5: Dip in Rooting Hormone
This one’s optional. I’ll be straight with you: hydrangeas root just fine without it.
But a quick dip of the bottom node in rooting hormone nudges things along and bumps up your success rate. If you’ve got some, use it. If not, no big deal at all.
Step 6: Plant It in a Moist Mix
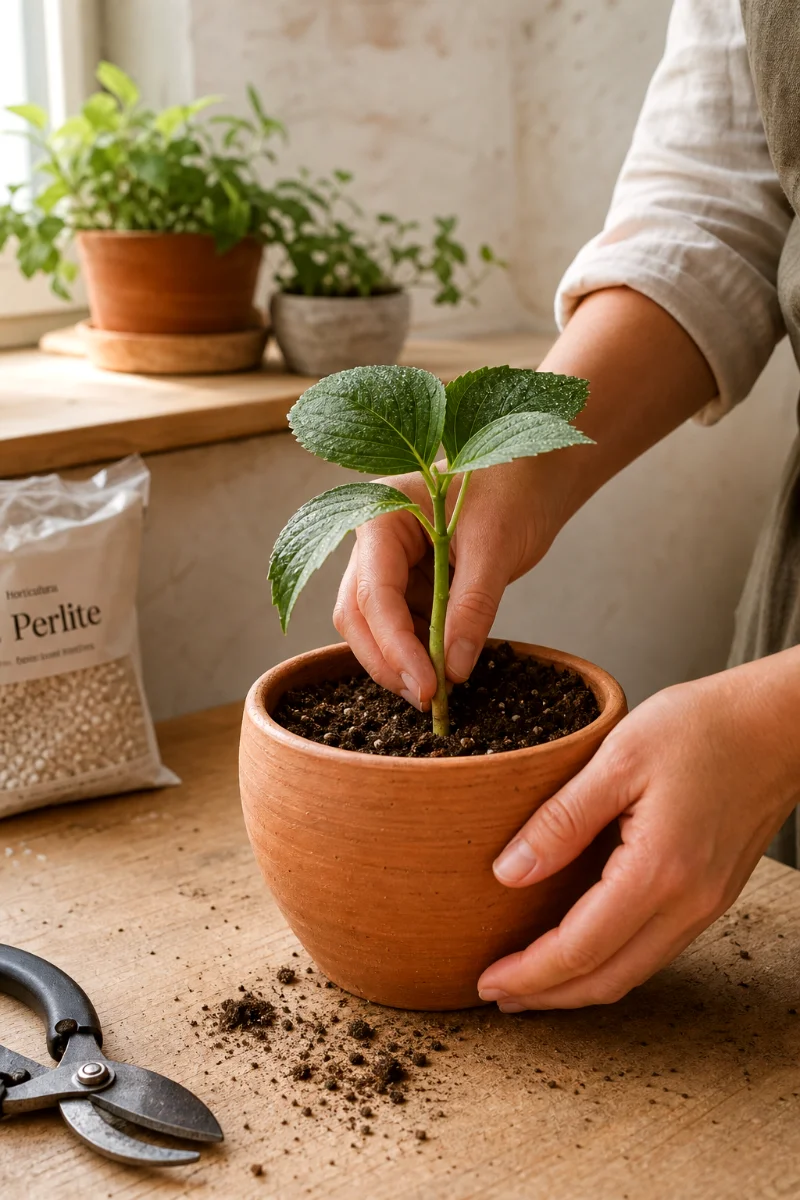
Poke a hole in your damp potting mix and slide the cutting in. Bury at least one node, though two is better.
Use something light and well draining. A blend of potting soil with perlite or vermiculite works great. So does a peat and perlite mix.
Then firm the soil gently around the stem so it stands up on its own.
About the pot, since people always ask. I’ve used cheap plastic and pretty terracotta, and at this stage there’s honestly no difference. Grab whatever you have. (If you plan to keep the grown plant in a pot for the long haul, terracotta wins later on, because its weight keeps a big top-heavy hydrangea from tipping over.)
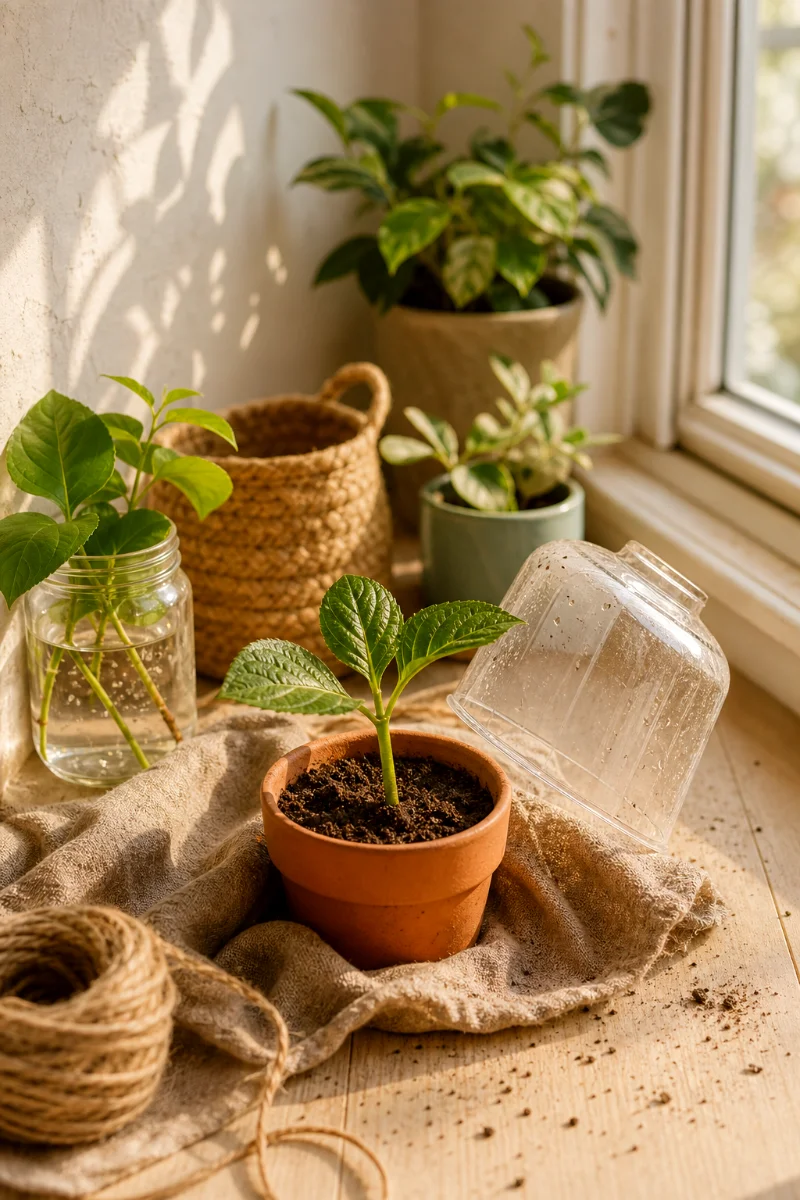
Step 7: Build a Tiny Greenhouse
Cover the pot with a clear plastic bag or an upside-down soda bottle with the bottom cut off. This traps humidity around your cutting, and that warm, damp little pocket of air is exactly what it wants.
Now set it in a bright spot with no direct sunlight. Direct sun cooks tender leaves and dries the soil out way too fast.
Keep it warm. Keep it bright. Keep it shaded from harsh rays.
Step 8: Keep It Moist and Wait
For the first two weeks, watch the moisture closely. The mix should stay damp, never soggy.
And here’s where folks go wrong. They drown the poor thing. Too much water with nowhere to drain just rots the stem from the bottom up. Damp, not swampy.
After those first two weeks, ease off and water like you normally would. Roots usually show up in 4 to 6 weeks.
Want to check? Give the cutting the gentlest little tug. If it holds firm and resists you, roots are forming down there. If it slides right out, give it more time.
Rooting in Water vs Soil
People ask me about this constantly. So let’s settle it.
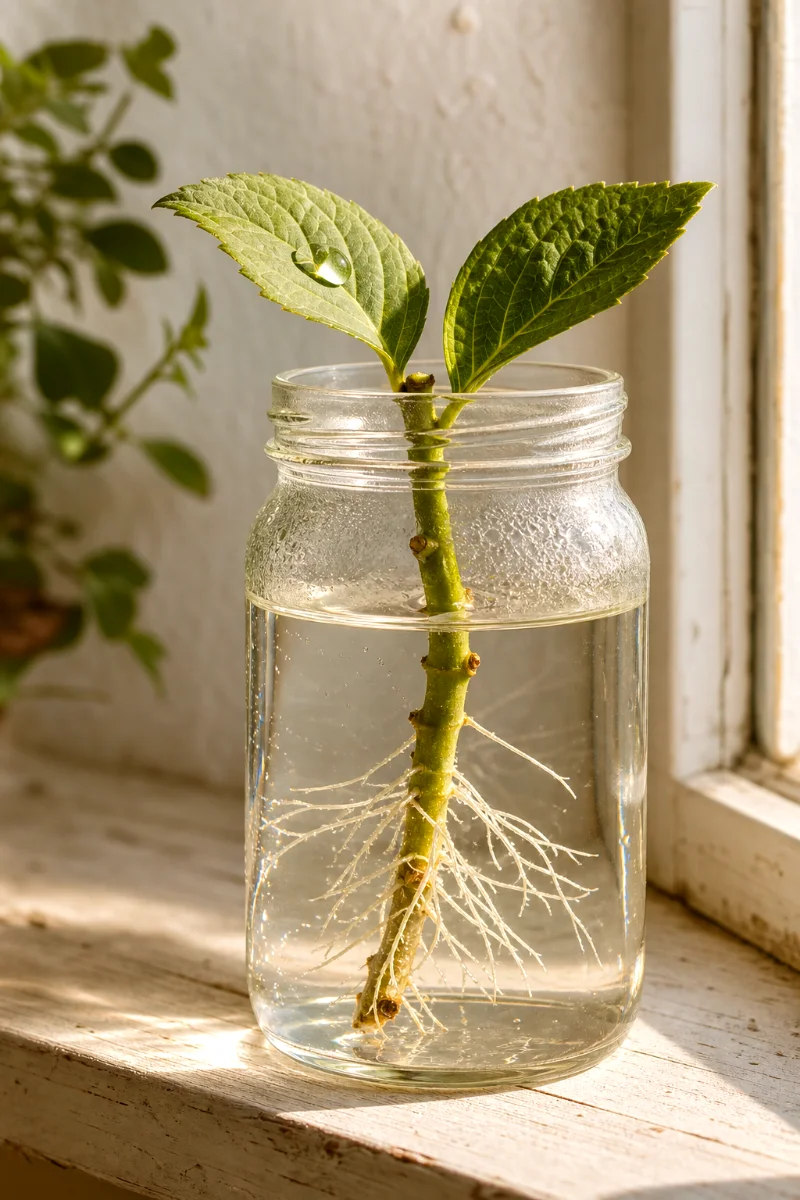
Can You Root Hydrangea Cuttings in Water?
You can. I’ll admit I’ve always used soil myself, but plenty of gardeners root them in a glass of water on the windowsill.
Here’s the catch though. Friends who’ve tried it tell me the water roots come in weak and stringy. The cuttings grow roots just fine, but those roots often can’t handle the move into soil, and the plant gives up soon after transplanting.
Now, maybe they pulled the cuttings too early. Maybe the after care slipped a bit. Or maybe water roots just aren’t as tough as soil roots. I can’t say for certain, since I haven’t tested it enough myself to swear by it.
What I can tell you is this: soil seems to give a higher success rate, going by everything I’ve seen.
If you want to try water anyway, go right ahead. Follow the same steps as above, just swap the soil for water. Strip every leaf off the bottom so only bare stem sits in the glass. And change that water often to keep it clean. (That last part is exactly why I stick with soil, by the way. I always forget.)
How Long Does It Take Hydrangea Cuttings to Root?
Usually about a month. Sometimes a touch longer.
Warmth, light, moisture, and whether you reached for rooting hormone all push that number around. Water rooting runs on a similar clock.
But don’t rush the next move. Roots showing up at the one-month mark doesn’t mean they’re ready to transplant. I’d wait a few more weeks so they get thick and strong first. Move a plant with a flimsy root system and you’ll probably lose it. Wait it out and you won’t.
The Lazy Gardener’s Trick: Layering
Not in the mood to fuss with pots and plastic bags? I’ve got you. Try layering instead.
It’s about as hands-off as propagation gets, because the new plant stays attached to its mother the whole time. The parent keeps feeding it while it roots. Pretty clever, when you think about it.
Here’s the move:
- Find a low, bendy stem near the ground.
- Bend it down until a section of it touches the soil.
- Scrape a little bark off that section where it meets the dirt.
- Bury that scraped spot under about an inch of soil and set a rock on top to hold it in place.
Then walk away. Seriously, that’s it.
Roots will form on that buried section over the next several weeks or months. Once they’re well established, snip the new plant free from the parent and move it wherever you want it.
FAQ
Do I need rooting hormone to propagate hydrangeas?
Nope. It helps and speeds things along, but hydrangeas root without it. Plenty of mine have, no problem.
How many cuttings should I take?
More than you think you need. Not every cutting roots, so I plant a handful and keep the strongest few. They’re free plants, remember? No reason to be stingy.
Why are my hydrangea cuttings wilting?
Usually too much heat, too much sun, or leaves that are still too big. Move it out of direct light and trim those top leaves down. The plastic cover helps a lot here too.
Can I propagate hydrangeas in winter?
It’s a long shot. The plant is dormant and barely growing, so roots come slow, if they come at all. Wait for spring. You’ll thank yourself.
When can I plant my rooted cutting in the garden?
Once the roots are strong, not just present. Give it a few weeks past those first roots, then move it on a mild day and keep it watered while it settles in.
Start more cuttings than you need this spring, and by next year you’ll have hydrangeas to spare. Pass a few over the fence to a neighbor. That’s exactly how I got hooked in the first place.