How to Propagate Polka Dot Plant: Easy Water and Soil Methods

If you can cut a stem and keep a glass of water from getting swampy, you can propagate a polka dot plant.
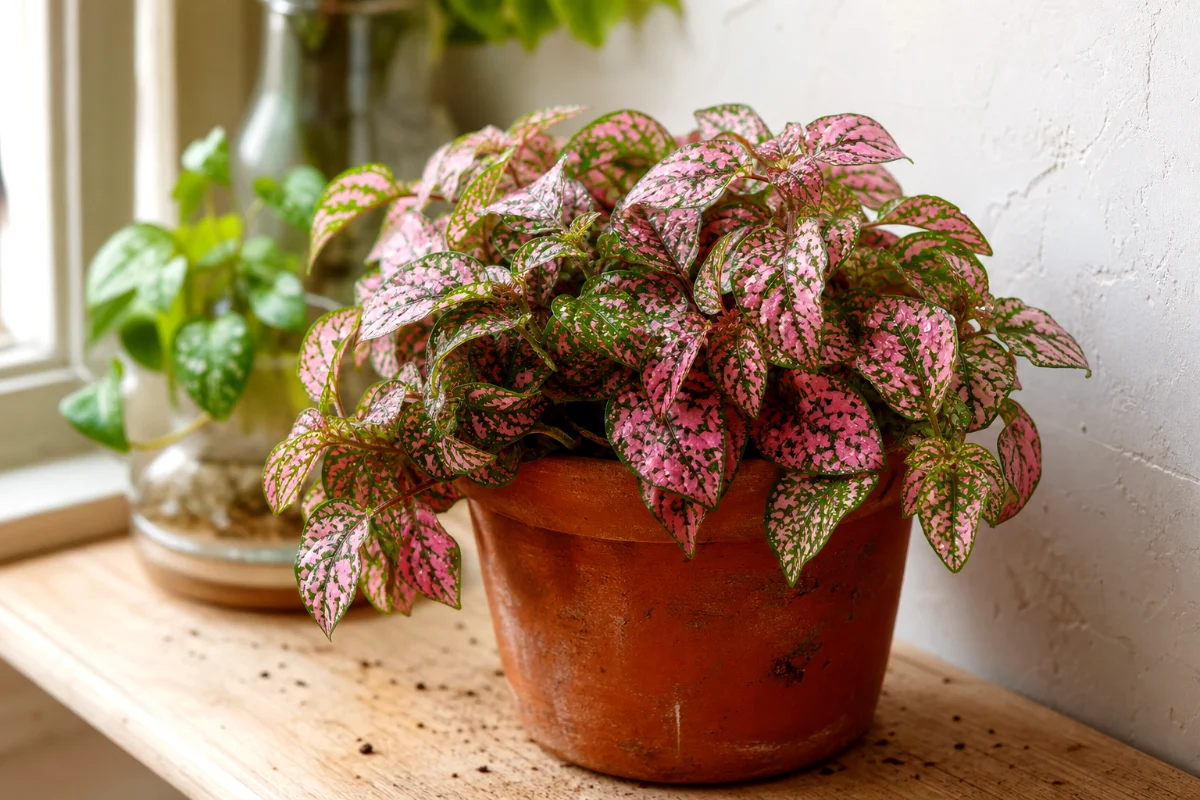
Polka dot plant, also called Hypoestes phyllostachya, roots quickly from stem cuttings. Most healthy cuttings start showing roots in about 1 to 2 weeks, especially in warm weather with bright, indirect light and good humidity.
And yes, the pink, white, or red freckled leaves make this feel fancier than it is. Don’t let the pretty foliage fool you. This is one of the friendlier houseplants for learning propagation.
The Quick Answer for Busy Plant People
To propagate polka dot plant, take a 4-6 inch stem cutting from a healthy plant, cut just below a node, remove the lower leaves, and place the cutting in water or moist potting mix. Keep at least one node under water or below the soil surface.
Put the cutting in a warm spot with bright, indirect light. Give it high humidity. Once water-grown roots reach about 1-2 inches long, pot the cutting into moist, well-draining soil.
Simple. Really.
Why Nodes Matter So Much
Here’s the part beginners often miss: roots don’t just pop out from any random bit of stem. They usually form from the nodes, the little joints where leaves attach.
If your node sits above the water or soil, the cutting may sit there looking cute while doing absolutely nothing. I’ve seen it plenty of times. A leafy cutting in a jar, no roots, no progress, just false hope on a windowsill.
So aim for one or two nodes below the surface. That small detail makes the whole thing work.
Best Time to Propagate Polka Dot Plant
Spring and summer are the best times to propagate polka dot plant. The plant grows fast then, and cuttings root with less fuss.
You can try in fall or winter if your home stays warm and bright. But expect slower rooting. Short days and chilly windowsills make polka dot plants sulk a bit.
Warmth helps. Not hot. Just cozy.
What You’ll Need
- A healthy polka dot plant with non-flowering stems if possible
- Clean, sharp scissors or pruning snips
- A clear glass or jar for water propagation
- Small pots with drainage holes for soil propagation
- Moist, well-draining potting mix
- Rooting hormone, optional for soil cuttings
- A clear plastic bag, humidity dome, or small propagator
- Room-temperature water
Clean tools matter. Dirty scissors can bring rot or disease into a fresh cut, and cuttings don’t have much strength to fight back.
Choose a Healthy Stem Before You Cut
Pick a stem that looks firm, colorful, and actively growing. Skip stems that look yellow, mushy, crispy, or badly stretched.
A good cutting should measure about 4-6 inches. It should have several leaves near the top and at least one visible node near the bottom.
But don’t take every pretty stem from the mother plant. Leave enough foliage behind so the original plant can keep growing.
Water Propagation Method, My Favorite for Beginners
Water propagation is the easiest method because you can see the roots forming. It’s also the most satisfying. Tiny white roots in a glass jar can turn even a cautious beginner into a proud plant person.
Step 1: Take the Cutting
Use clean, sharp scissors to cut a 4-6 inch stem tip from a healthy polka dot plant. Make the cut just below a node.
Don’t crush the stem. A clean cut heals better and roots more easily.
Step 2: Remove the Lower Leaves
Pinch or snip off the lower leaves, leaving a few leaves at the top. Any leaves that sit underwater will rot.
And rotten leaves make the water cloudy and foul. Nobody wants that little science project on the kitchen windowsill.
Step 3: Place the Cutting in Water
Set the cutting in a clear glass or jar filled with room-temperature water. Keep the nodes submerged, but keep the top leaves above the water.
If the cutting keeps tipping over, use a narrow jar. Or loosely wrap a bit of paper around the jar opening to hold the stem in place.
Step 4: Give It the Right Light
Place the jar in bright, indirect light. A spot near an east-facing window usually works beautifully.
Direct sun can cook the cutting through the glass. Low light can slow rooting and cause weak growth.
Bright but gentle. That’s the sweet spot.
Step 5: Change the Water Weekly
Replace the water about once a week, or sooner if it looks cloudy. Fresh water keeps oxygen around the stem and cuts down on rot.
I like to rinse the jar too. It takes ten seconds and saves trouble later.
Step 6: Pot It When Roots Reach 1-2 Inches
Once the roots grow about 1-2 inches long, plant the cutting in moist potting mix. Don’t wait until the roots become a tangled white beard.
Water roots form for water. If you leave them too long, they can struggle more when moved into soil.
How to Move a Water-Rooted Cutting Into Soil
Use a small pot with drainage holes. Fill it with slightly moist, well-draining potting mix.
Make a little hole with your finger or a pencil. Lower the rooted cutting in gently, cover the roots, and firm the mix just enough to hold the stem upright.
Water lightly. Then keep the plant humid for a few days while it adjusts.
Expect a little droop. Don’t panic. That cutting just moved from spa water into real life.
Soil Propagation Method
Soil propagation skips the water stage. The cutting roots right where it will grow, which can mean less transplant shock later.
But you can’t see the roots forming. That bothers some beginners. I get it.
Step 1: Prepare the Stem
Take a 4-6 inch cutting from a healthy stem. Cut below a node and remove the lower leaves.
Keep a few leaves at the top so the cutting can keep making energy.
Step 2: Add Rooting Hormone, If You Want
Dip the cut end in rooting hormone if you have it. This step is optional, but it can improve success rates, especially if your home runs dry.
Tap off the extra powder. More isn’t better here. A light coating does the job.
Step 3: Plant the Cutting
Fill a small pot with moist, well-draining potting mix. Insert the cutting so at least one node sits below the soil surface.
Firm the mix lightly around the stem. Don’t pack it like concrete. Roots need air as much as they need moisture.
Step 4: Add Humidity
Cover the pot with a clear plastic bag or place it in a propagator. Keep the plastic from touching the leaves if you can.
High humidity helps cuttings stay hydrated while they grow roots. Without roots, the stem can’t drink well from the soil yet. The leaves lose moisture faster than the cutting can replace it.
That’s why humidity makes such a difference.
Step 5: Keep It Warm and Bright
Place the pot in bright, indirect light. Keep the mix lightly moist, not soggy.
After a couple of weeks, gently tug the cutting. If you feel resistance, roots have started to grab the soil.
Gentle tug. Not a yank.
Water vs Soil Propagation: Which Should You Choose?
Choose water propagation if you’re new to plant propagation or you want to watch the roots grow. It gives quick feedback and makes mistakes easier to spot.
Choose soil propagation if you want the cutting to adapt to potting mix from the start. It’s tidy, practical, and often works well once you’ve done a few cuttings.
My honest opinion? Start with water. It teaches you what healthy rooting looks like, and that confidence carries over to other plants.
The Best Potting Mix for New Polka Dot Plants
Polka dot plants like moisture, but they hate sitting in muck. Use a light, well-draining mix that holds some water without staying soggy.
A basic houseplant potting mix works fine. If it feels dense, add perlite to loosen it up.
The goal is simple: damp, airy soil. Think wrung-out sponge, not wet brownie batter.
Humidity Tips That Actually Help
Polka dot plants thrive in humidity, and cuttings need it even more. Dry air can make fresh cuttings wilt before roots get going.
- Cover soil cuttings with a clear plastic bag.
- Open the cover daily for a few minutes to refresh the air.
- Keep cuttings away from heaters, air vents, and cold drafts.
- Group cuttings near other plants to raise local humidity a bit.
- Mist lightly if the leaves look dry, but don’t soak them all day.
But don’t seal a cutting in a soggy little cave and forget it. Stale, wet air can invite mold.
Common Problems and Quick Fixes
The Cutting Is Wilting
A little droop can happen, especially during the first day. Raise humidity and move the cutting out of harsh light.
If it keeps wilting, check whether the lower node sits under water or soil. No node contact, no roots.
The Stem Is Turning Mushy
Mushy stems usually mean rot. Toss that cutting and start again with a clean jar, fresh water, and a healthy stem.
Also check the light. Cold, dim conditions make rot more likely.
The Water Smells Bad
Change the water and rinse the jar. Remove any leaves below the waterline.
Bad-smelling water tells you plant tissue is breaking down. Fix it fast.
No Roots After Two Weeks
Wait a little longer if the cutting still looks firm. Cooler rooms slow everything down.
But if the stem looks tired, take a new cutting and choose a warmer, brighter spot.
The New Plant Gets Leggy
Polka dot plants stretch when they need more light. Move the plant closer to a bright window, but avoid direct hot sun.
You can also pinch the growing tips to encourage bushier growth. I do this often. It keeps the plant full instead of lanky.
Can You Propagate Polka Dot Plant From Seed?
Yes, you can grow polka dot plant from seed. Seeds germinate quickly in warm conditions, and they can be fun if you want several plants at once.
Still, stem cuttings give faster, more predictable results. A cutting also keeps the same leaf color and pattern as the parent plant.
Seeds can surprise you. Sometimes that’s fun. Sometimes it’s not what you wanted.
Aftercare for Your New Polka Dot Plant
Once your cutting starts growing, treat it like a young plant, not a decoration. Keep the soil evenly moist and give it bright, indirect light.
Pinch the tips when it grows a few new sets of leaves. This encourages side shoots and keeps the plant compact.
Feed lightly during spring and summer after the plant settles in. Don’t fertilize a fresh cutting the minute you pot it. Let the roots get comfortable first.
My Best Beginner Tip
Take more than one cutting. Not because you’re doing anything wrong, but because plants are living things and they don’t all behave the same way.
If you want one new plant, take three cuttings. You can pot several rooted cuttings together for a fuller plant anyway.
That’s how you get a nice, bushy pot instead of one lonely little stem waving at you.
FAQ
How long does it take to propagate polka dot plant?
Most polka dot plant cuttings root in about 1 to 2 weeks in warm, bright conditions. Cooler homes may slow the process.
Can I propagate polka dot plant in water?
Yes. Water propagation works very well. Place a 4-6 inch cutting in water with at least one node submerged, then pot it when roots reach 1-2 inches.
Can I put polka dot plant cuttings straight into soil?
Yes. Plant the cutting in moist, well-draining mix with a node below the soil surface. Add humidity with a plastic bag or propagator.
Do polka dot plant cuttings need rooting hormone?
No, they don’t need it. Rooting hormone can help with soil propagation, but healthy polka dot plant cuttings usually root without it.
Why are my polka dot plant cuttings rotting?
Rot often comes from dirty water, buried leaves, soggy soil, cold temperatures, or low light. Start fresh with clean tools and a healthy stem.
Where should I place cuttings while they root?
Place them in a warm spot with bright, indirect light. Keep them away from direct hot sun, heaters, air vents, and cold drafts.