How to Propagate Zinnia from Cuttings and Seeds

Zinnias are generous plants. Give them sun, decent soil, and a little room to breathe, and they’ll repay you with armloads of color.
And yes, you can make more of them for almost no money.
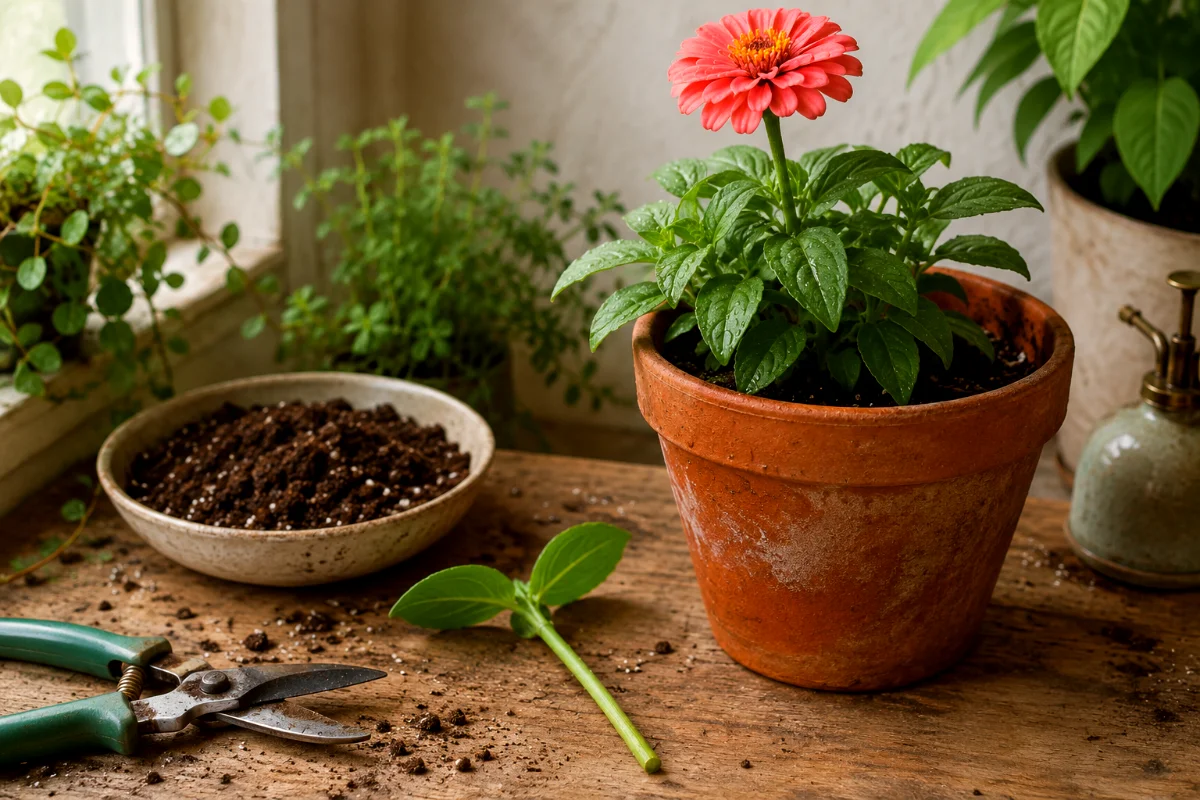
The two best ways to propagate zinnia are stem cuttings and seeds. Cuttings give you fast new plants that match the parent plant. Seeds give you plenty of plants for next spring, especially if you save them from your strongest, prettiest blooms.
Simple stuff. But the small details matter.
Which Zinnia Propagation Method Should You Use?
If you want quick plants during the growing season, take stem cuttings. If you want a low-cost flower patch next year, save seeds.
Here’s how I choose in my own garden:
- Use cuttings when one zinnia has the perfect color, height, or flower shape and you want a copy of that exact plant.
- Use seeds when the season is winding down and mature flowers have dried on the plant.
- Use both if you’re the sort of gardener who can’t bear to waste a good plant. No judgment. I’m the same way.
A quick heads-up: some hybrid zinnia seeds won’t grow into plants that look exactly like the parent. Cuttings will. That’s why cloning a favorite zinnia can feel a bit like garden insurance.
Method 1: Propagating Zinnia From Stem Cuttings
Stem cuttings are the fastest way to propagate zinnia. A healthy cutting can form roots in about 2 to 3 weeks when you give it warmth, bright indirect light, and steady moisture.
Don’t overthink it. You need a clean cut, a good node, and patience.
Best Time to Take Zinnia Cuttings
Take zinnia cuttings in early to mid-summer, while the plant grows strongly. At this stage, the stems have energy to push out roots instead of struggling to finish the season.
Morning works best. The stems hold more moisture then, so they wilt less after cutting.
What You’ll Need
- Sharp, clean pruning shears or scissors
- A small pot with drainage holes
- Moist seed-starting mix or light potting soil
- A clear jar or glass if rooting in water
- Rooting hormone, optional
- A plant label, because memory lies
Step 1: Choose a Healthy Non-Flowering Stem
Pick a stem that looks strong, green, and pest-free. The best cutting comes from a stem that isn’t flowering or budding yet.
Why? A flowering stem wants to make seed. A non-flowering stem has a better chance of shifting its energy into root growth.
Step 2: Cut a 4 to 6 Inch Section Below a Node
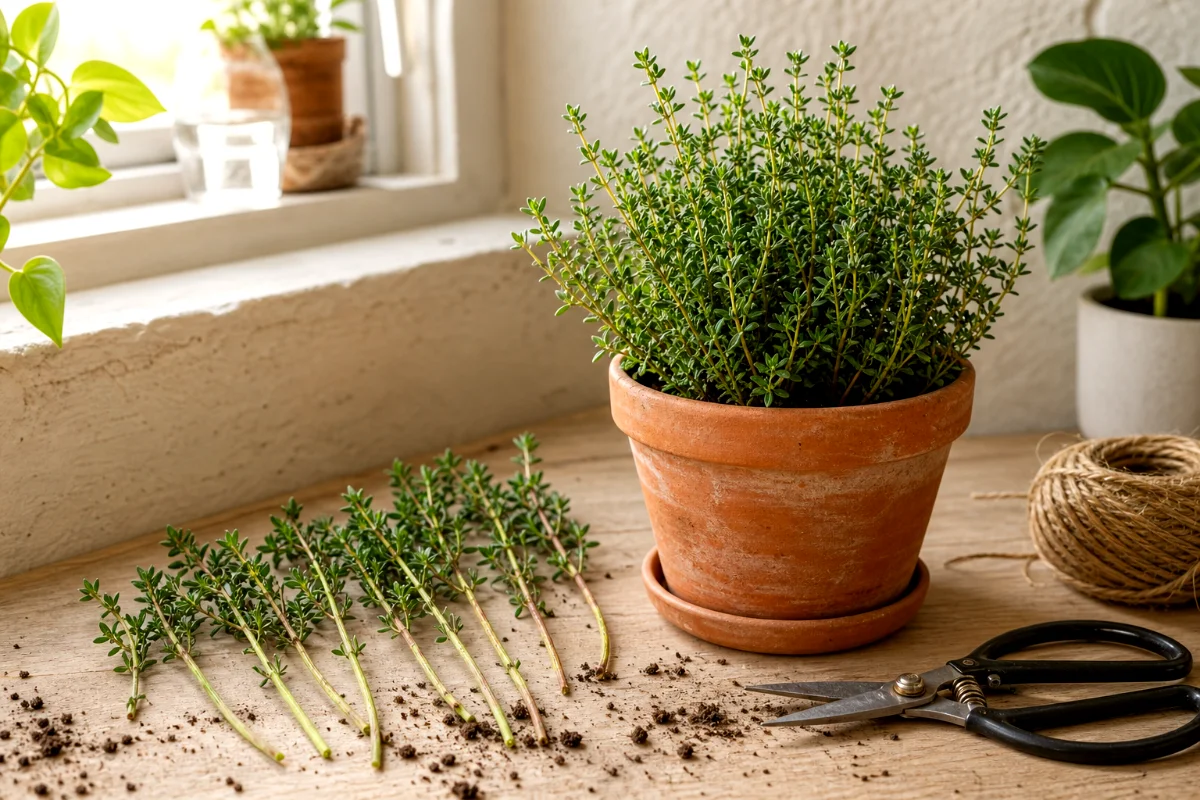
Use sharp shears and cut a 4 to 6 inch stem just below a node. The node is the small joint where leaves meet the stem.
This spot matters. Nodes hold the plant tissue most likely to produce new roots.
Step 3: Remove the Lower Leaves
Strip off the lower leaves and leave only the top pair. Be gentle, but don’t baby it too much.
Leaves buried in soil or sitting under water rot fast. Rot spreads. Then the cutting turns to mush, and nobody wants that sad little science project on the windowsill.
Step 4A: Root Zinnia Cuttings in Soil
Soil rooting gives the cutting a more natural start. I prefer this method when the weather feels warm and steady.
- Moisten seed-starting mix so it feels damp, not soggy.
- Dip the cut end in rooting hormone if you’re using it.
- Push the stem into the mix deep enough to cover at least one node.
- Firm the soil gently around the stem.
- Place the pot in bright, indirect light.
Keep the humidity slightly higher around the cutting. You can place a clear cover near it, but don’t seal it up like leftovers. Stale wet air invites fungus.
Water lightly when the top of the mix starts to dry. Never leave the pot sitting in water.
Step 4B: Root Zinnia Cuttings in Water
Water rooting lets you watch the roots grow. Beginners love it, and honestly, I still do too.
- Place the cutting in a clean glass jar.
- Add enough water to cover the lower node.
- Keep all leaves above the water line.
- Set the jar in bright, indirect light.
- Change the water every couple of days.
Fresh water keeps bacteria down. If the water turns cloudy or smells off, change it right away and rinse the jar.
When roots reach a few inches long, move the cutting into soil. Don’t wait until the jar looks like a bowl of spaghetti. Long water roots can break during transplanting.
Step 5: Transplant Rooted Zinnia Cuttings
Once roots are a few inches long, plant the cutting in a small pot of well-draining soil. Water it in, then keep it in bright light while it adjusts.
For the first few days, expect a little sulking. That’s normal. The plant just moved from one world to another, and it needs a minute.
Method 2: Growing Zinnia From Saved Seed
Zinnias are excellent seed savers. A single dried flower head can hold a surprising number of spear-shaped seeds.
This is the slow method, but it’s also the one that fills a spring garden on a small budget.
Step 1: Let the Best Flowers Dry on the Plant
Choose your strongest plants and best flowers. Leave those blooms on the plant until they fade, turn brown, and dry completely.
Don’t harvest too early. Green or soft flower heads usually hold immature seed, and immature seed often fails.
Late autumn is a good time to collect, especially after the plants have finished their show.
Step 2: Break Apart the Dried Flower Head
Hold the dried head over a bowl or paper towel and pull it apart. Look for spear-shaped seeds, often attached near the base of the old petals.
Some bits will look like chaff. That’s fine. You don’t need perfect seed-cleaning skills to grow zinnias.
Step 3: Dry and Store the Seeds
Spread the seeds in a dry spot for a few days if they still feel at all damp. Then store them in a paper bag or paper envelope.
Keep seeds in a cool, dry place. Good zinnia seeds can stay usable for up to 4 years, though I get the best germination from fresher seed.
Label the bag with the color, height, and year. Future you will be grateful. Very grateful.
Step 4: Sow Zinnia Seeds in Spring
In spring, plant zinnia seeds 1/4 inch deep in well-draining soil. Wait until frost danger has passed and the soil has warmed.
Zinnias hate cold feet. If you sow too early into chilly, wet soil, the seeds may rot before they sprout.
Give seedlings sun, airflow, and enough spacing. Crowded zinnias often get powdery mildew, especially in humid weather.
Soil, Light, and Water Tips That Make Propagation Work
Zinnias don’t ask for fancy treatment, but they punish soggy habits. Drainage matters more than rich soil.
- Use light soil: Seed-starting mix works well for cuttings because it drains fast and holds gentle moisture.
- Choose bright indirect light for cuttings: Harsh sun can wilt an unrooted stem before it has a chance.
- Water with restraint: Damp soil helps roots form. Wet soil rots stems.
- Increase airflow: A little air movement helps prevent mildew and fungal issues.
- Skip heavy fertilizer at first: New roots burn easily. Feed later, after the plant starts growing again.
Here’s my blunt opinion: most failed zinnia cuttings die from kindness. Too much water. Too much fuss. Too much shade after rooting. Back off a little and let the plant work.
How to Harden Off Zinnia Cuttings and Seedlings
Before you plant young zinnias outdoors, harden them off for 7 to 10 days. This step toughens them up slowly.
Start with a sheltered, shady spot for a short time. Add more outdoor time each day. Then add morning sun. Save hot afternoon sun for the end of the process.
If leaves bleach, wilt badly, or crisp around the edges, slow down. The plant isn’t being dramatic. It got too much change too fast.
Common Zinnia Propagation Mistakes
Taking Cuttings From Flowering Stems
Flowering stems can root, but they often struggle. Choose non-flowering stems when you can.
Leaving Leaves Under Water or Soil
Buried or submerged leaves rot quickly. Remove the lower leaves every time.
Using Heavy Garden Soil in Pots
Garden soil can compact in containers. Use seed-starting mix or a light potting mix instead.
Overwatering Cuttings
Wet soil shuts out air. Roots need oxygen as much as they need moisture.
Planting Outside Too Soon
Zinnias love warmth. Cold nights can stall young plants and make them more prone to disease.
FAQ About How to Propagate Zinnia
Can you propagate zinnia from cuttings?
Yes. Take a 4 to 6 inch cutting from a healthy non-flowering stem, remove the lower leaves, and root it in moist potting mix or clean water.
How long do zinnia cuttings take to root?
Most zinnia cuttings root in about 2 to 3 weeks. Warmth, bright indirect light, and steady moisture help speed things along.
Is it better to root zinnias in water or soil?
Both work. Water rooting lets you see the roots, while soil rooting helps the cutting adjust faster to pot life. If you tend to overwater, water rooting may help you spot trouble sooner.
Can I save seeds from any zinnia?
You can save seeds from any mature zinnia flower, but hybrid seeds may not grow true to the parent. For predictable results, clone favorites with cuttings.
When should I collect zinnia seeds?
Collect seeds after the flower heads fade, turn brown, and dry fully on the plant. Late autumn often works well.
How deep should I plant zinnia seeds?
Plant zinnia seeds 1/4 inch deep in well-draining soil after frost danger passes in spring.
Why did my zinnia cutting rot?
Rot usually comes from too much moisture, poor drainage, leaves sitting under water, or stale air. Start again with a clean cutting and a lighter hand on the watering can.