How to Propagate Haworthia Without Rotting the Pups

The easiest way to learn how to propagate Haworthia is by separating offsets, also called pups, from the mother plant in spring or summer.
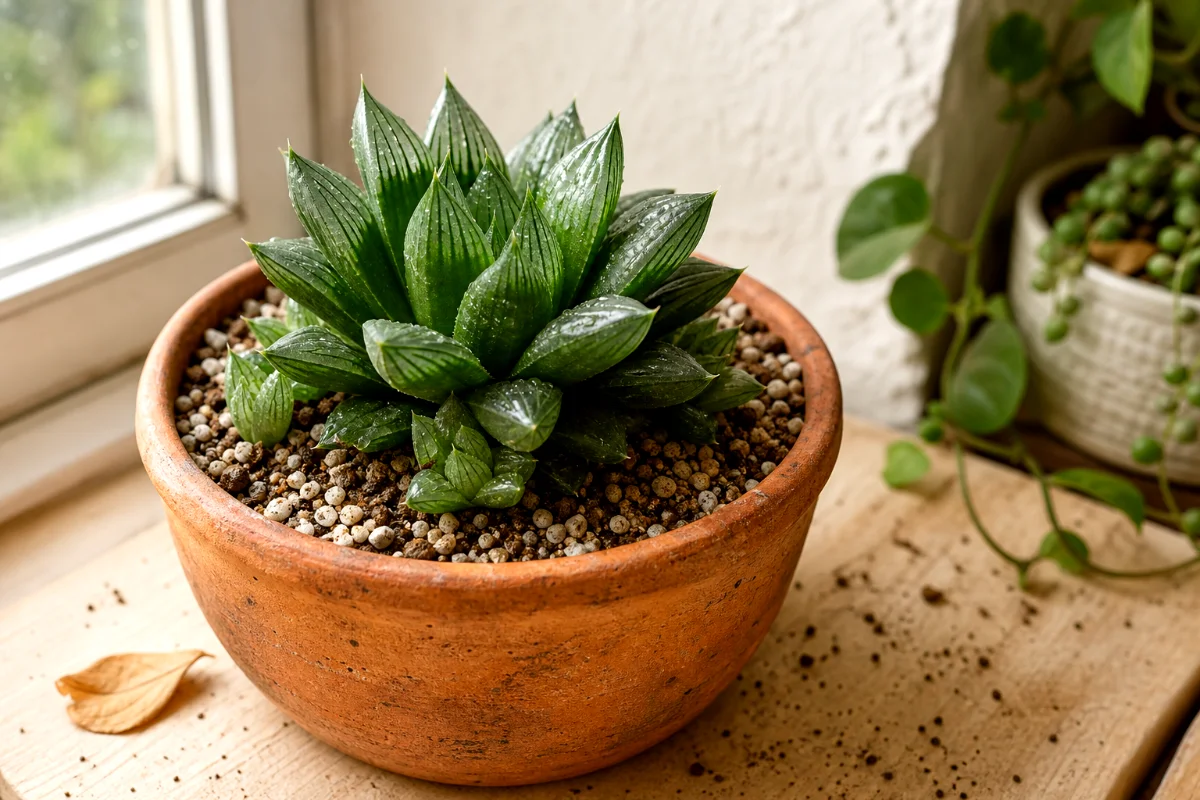
That’s the sweet spot. Warm weather. Active growth. Better odds.
Remove the plant from its pot, gently twist or cut away the small pups at the base, let the cut areas dry for 1 to 3 days, then plant them in a gritty succulent mix. Keep them in bright, indirect light and water lightly only when the soil dries out.
Simple? Yes. But the details matter, especially if you’d rather grow a sturdy little Haworthia than a mushy disappointment.
Why Offsets Are the Best Haworthia Propagation Method
Haworthias naturally make small daughter plants around their base. These pups are already built like tiny versions of the parent plant, often with their own roots tucked into the soil.
That’s why offsets beat leaf cuttings almost every time.
Leaf cuttings can work, but they’re slow and fussy. Some leaves sit there for months doing absolutely nothing. A pup, on the other hand, has a head start.
Wait until each pup reaches about 1 to 2 inches tall before separating it. Smaller pups may survive, but they’re more likely to shrivel before they settle in.
When to Propagate Haworthia
Spring and summer are the best seasons for propagating Haworthia. The plant grows more actively then, so wounds dry cleaner, roots form faster, and the new plants recover with less drama.
Can you do it in winter? Sometimes.
But I don’t recommend it unless the pup is already loose or the parent plant needs repotting badly. Cool soil plus weak light invites rot, and rot loves a beginner’s overwatered pot.
What You’ll Need
You don’t need a fancy setup. Haworthias are forgiving if you give them sharp drainage and a little patience.
- A healthy Haworthia with visible pups
- A small pot with a drainage hole
- Fast-draining cactus or succulent mix
- Pumice, perlite, or coarse sand for extra grit
- A clean, sharp knife or small pruning shears
- Rubbing alcohol for sterilizing the blade
- A piece of paper towel or a dry tray for callousing
If your bagged succulent mix feels dark, fluffy, and peat-heavy, cut it with pumice or perlite. I like a mix that feels gritty between my fingers. Haworthia roots want air as much as moisture.
How to Propagate Haworthia From Offsets
Step 1: Let the Soil Dry a Bit First
Don’t start with a freshly watered plant. Damp soil clings to roots and makes the whole job messier.
Let the pot dry for several days before you work. The plant will slip out more easily, and you’ll see the roots better.
Step 2: Remove the Plant From Its Pot
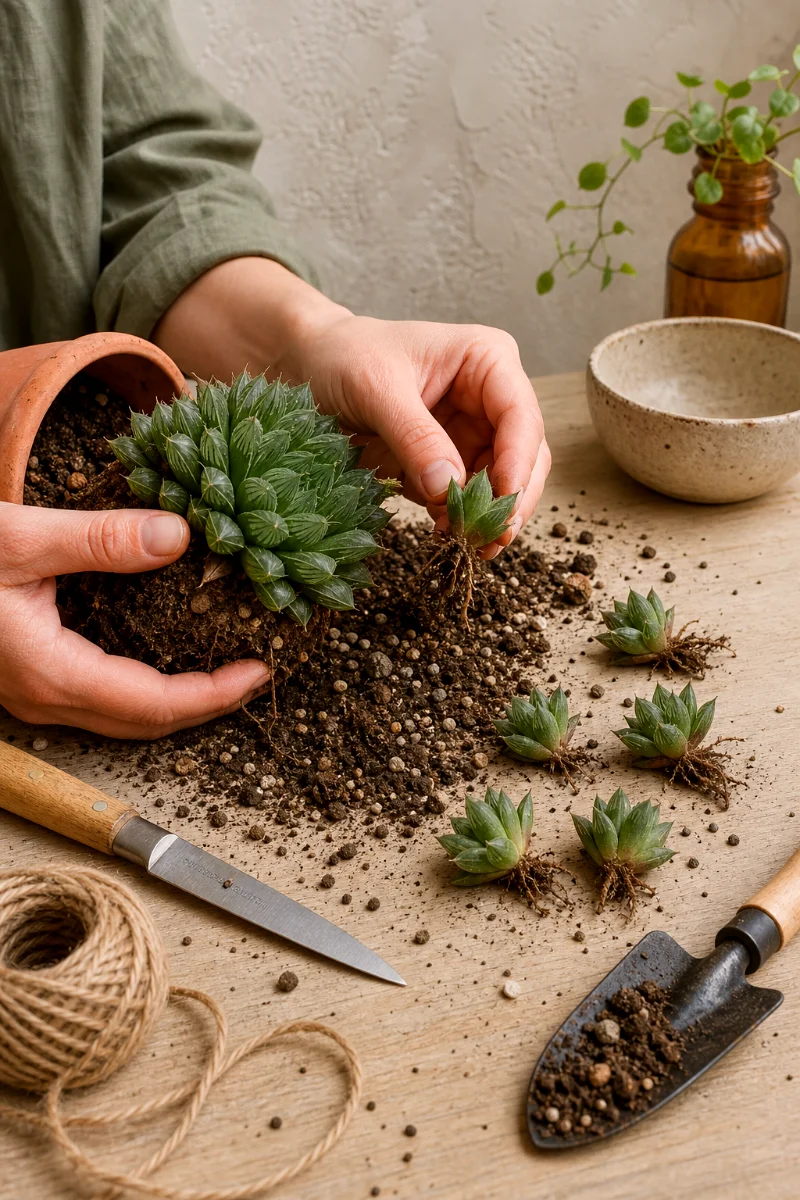
Tip the pot sideways and support the rosette with your fingers. If the plant sticks, tap the pot or squeeze the sides if it’s plastic.
Don’t yank from the top. Haworthia leaves can snap, and the roots deserve better manners.
Step 3: Find the Pups
Brush away loose soil until you can see where each offset connects to the parent plant. Some pups sit on a skinny stem. Others crowd tightly against the main rosette.
Look for pups that are at least 1 to 2 inches tall. If you can see roots attached to them, even better.
Step 4: Twist or Cut the Offsets Away
If a pup feels loose, hold it near the base and gently twist. It may pop free with a few roots attached.
But don’t force it.
For stubborn pups, use a sharp, sterilized knife. Wipe the blade with rubbing alcohol first, then cut as close to the parent base as you can while keeping part of the pup intact.
Try to take roots with the pup if possible. Roots mean faster recovery. No roots? It can still work, but you’ll need more patience.
Step 5: Let the Cuts Callous
Set the separated pups in a dry, shaded spot for 1 to 3 days. This lets the cut surface dry and seal over.
Skip this step, and you roll the dice with rot.
Succulents store water in their leaves. When a fresh wound touches wet soil, bacteria and fungi can move in fast. A dry callous acts like a little scab, and yes, it’s worth waiting for.
Step 6: Pot the Pups in Gritty Soil
Choose a small pot. Tiny Haworthias sulk in oversized pots because extra soil stays wet too long.
Fill the pot with a fast-draining succulent mix. Make a small hole, place the pup upright, and tuck soil gently around the base. Keep the rosette sitting above the soil line so the center doesn’t trap moisture.
The mix can be barely moist, but never soggy. Think wrung-out sponge, not mud pie.
Step 7: Give Bright, Indirect Light
Place the new plants in bright, indirect light. An east-facing window usually works well.
Harsh afternoon sun can burn stressed pups before they grow new roots. The leaves may turn brown, reddish, or papery at the tips if the light hits too hard too soon.
Step 8: Water Sparingly
Here’s where many new growers get into trouble. They water because they’re worried.
Don’t.
Let the soil dry completely between waterings. Then water lightly around the soil, not into the center of the rosette. If the pup has few or no roots, it can’t drink much yet, so wet soil only raises the rot risk.
How Long Does Haworthia Take to Root?
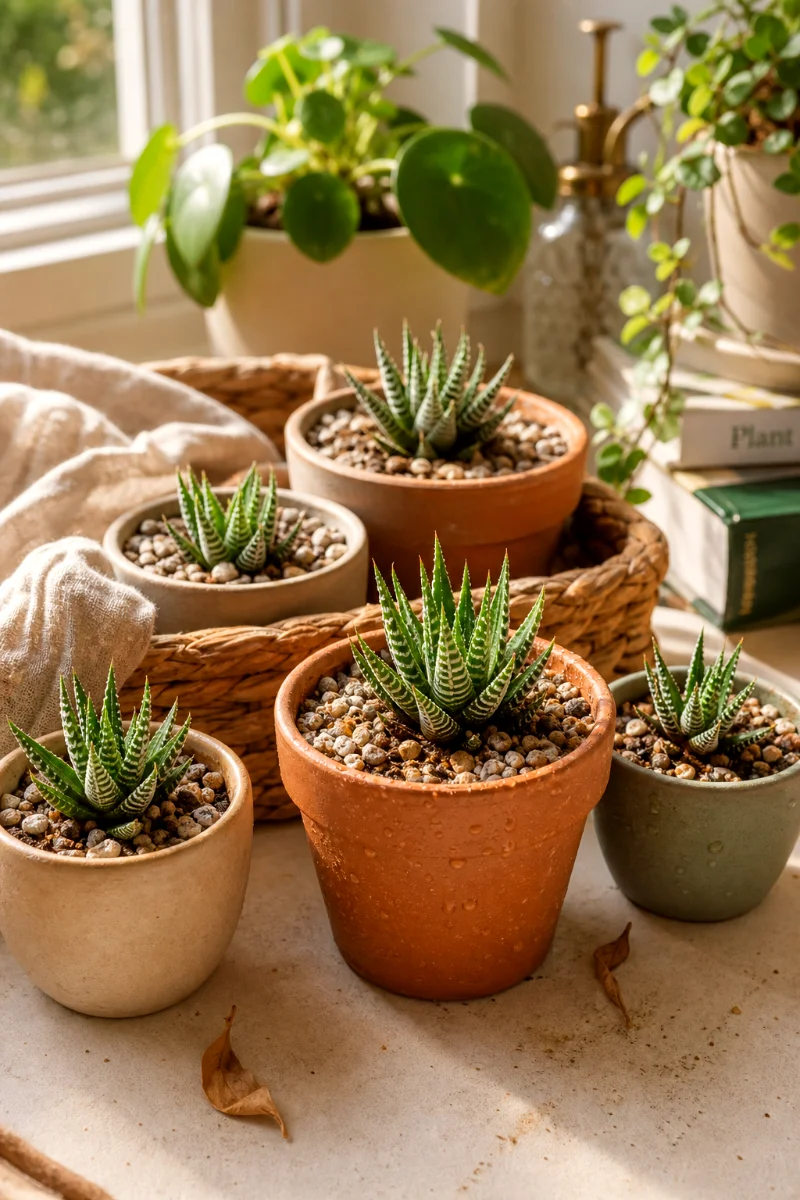
Haworthia can take several weeks to several months to fully settle in. That’s normal.
After about 4 to 8 weeks, you can test gently by nudging the plant. If it resists a little, roots are forming. If it wobbles like the day you potted it, leave it alone and keep care steady.
Patience grows more Haworthias than fertilizer ever will.
Propagating Haworthia From Leaf Cuttings
Leaf propagation is possible, but I’ll be honest with you. It’s not my first pick.
Haworthia leaves don’t root as reliably as many echeverias or jade plants. The leaf must come away with a clean base, and even then, it may sit for ages before doing much.
How to Take a Haworthia Leaf Cutting
- Choose a healthy, mature outer leaf.
- Use a clean, sharp knife to cut the whole leaf at the base.
- Let the leaf dry in shade for 1 to 2 days.
- Place the cut end lightly into gritty succulent soil.
- Keep the mix slightly damp, not wet.
- Set the cutting in bright, indirect light.
The base matters. A broken middle piece of leaf usually won’t grow a new plant. You need that clean lower end where growth tissue remains.
And be prepared for a slow show. Leaf cuttings can take months, and some never produce a baby plant at all.
Beheading or Coring Haworthia
Beheading sounds dramatic because it is.
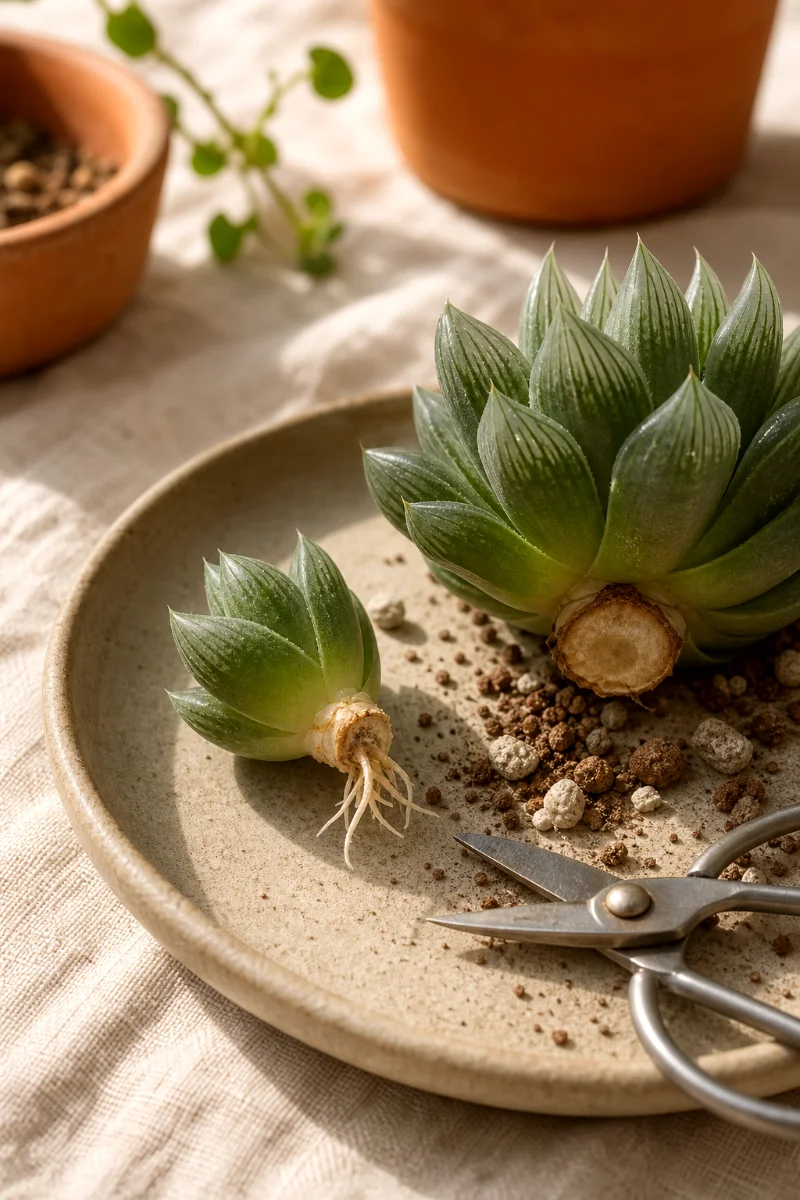
This method works best for tall, stretched, or top-heavy Haworthias. You cut off the top rosette, let it callous, and root it as a new plant. The remaining base can respond by making fresh offsets.
I don’t suggest this for a healthy, compact plant unless you have a good reason. Offsets are cleaner and safer.
How to Behead a Haworthia
- Sterilize a sharp knife.
- Cut the top rosette cleanly, keeping the stem base as neat as possible.
- Let the cut rosette dry in shade for 2 to 3 days.
- Pot it in dry or barely moist gritty mix.
- Keep it in bright, indirect light while roots form.
The old base may look ugly for a while. Don’t toss it too soon. If it stays firm, it may push out new pups around the cut area.
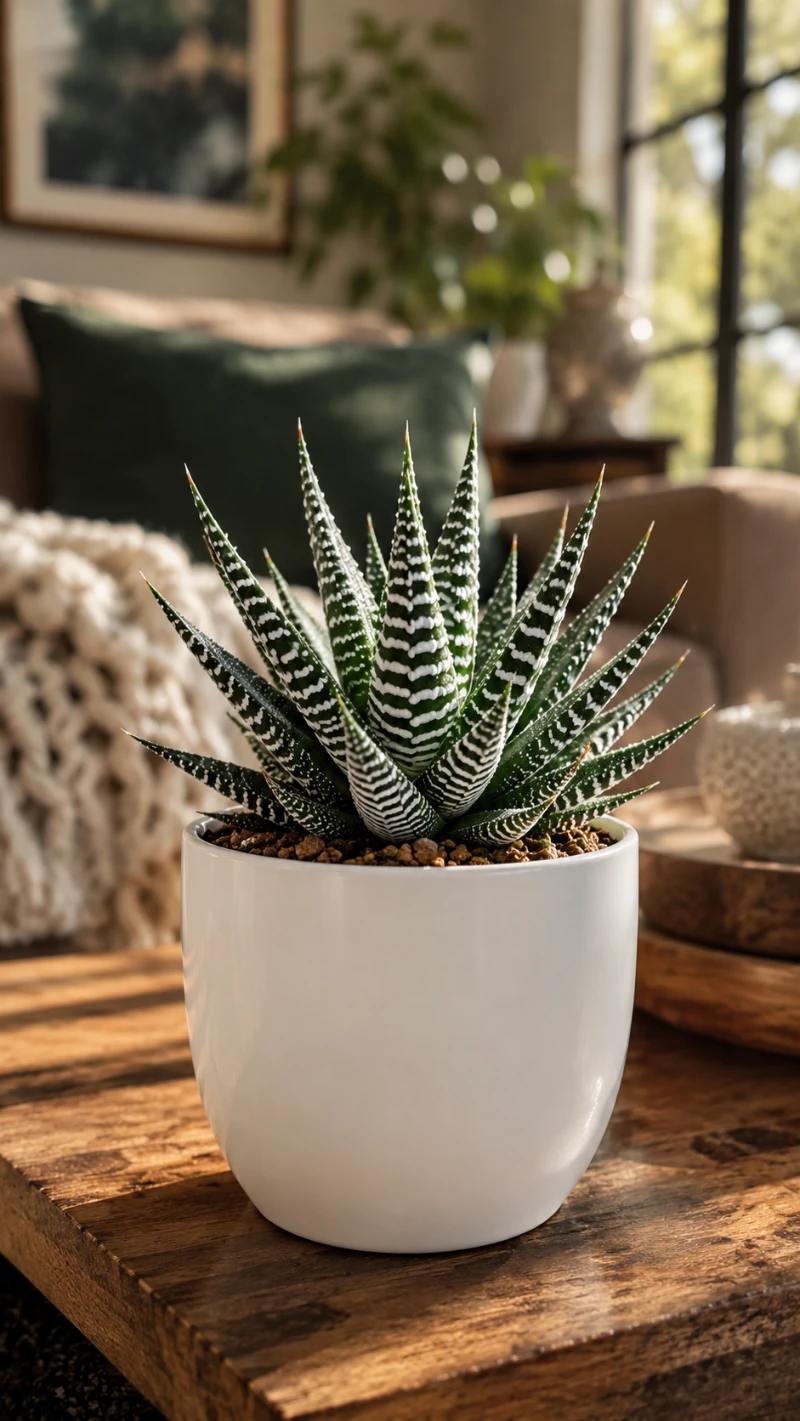
The Best Soil for Haworthia Propagation
Use a fast-draining cactus or succulent mix. Then make it better.
Most store-bought succulent mixes still hold more water than I like for Haworthia babies. Add pumice, perlite, or coarse sand so water runs through quickly and air reaches the roots.
A good beginner mix looks like this:
- 1 part cactus or succulent potting mix
- 1 part pumice or perlite
If you water a pot and it stays damp for a week, the mix is too heavy. Haworthia roots like a short drink, then dry air around them.
Light and Water After Propagation
Fresh pups need calm conditions. Not darkness. Not blazing sun. Calm.
Give them bright, indirect light near a window. If they stretch, they need more light. If they bleach, scorch, or turn crispy, pull them back from the glass.
Water only when the soil is dry from top to bottom. In a small terracotta pot, that may happen faster than in ceramic or plastic. Always check the soil, not the calendar.
And please don’t mist them. Haworthias don’t need spa day humidity. Wet crowns can rot, especially in cool rooms.
Common Haworthia Propagation Mistakes
- Separating pups too early: Tiny pups without size or roots struggle to survive.
- Skipping the callous period: Fresh cuts in damp soil rot easily.
- Using a pot that’s too large: Extra soil holds extra water.
- Watering on a strict schedule: Soil dries at different speeds in every home.
- Putting cuttings in hot direct sun: Stressed pups burn faster than established plants.
- Burying the rosette too deep: Soil around the crown traps moisture where you least want it.
If a pup turns translucent, soft, or black at the base, rot has started. Remove it from the pot, cut away any mushy tissue if there’s enough firm plant left, let it dry, and start again in cleaner, drier soil.
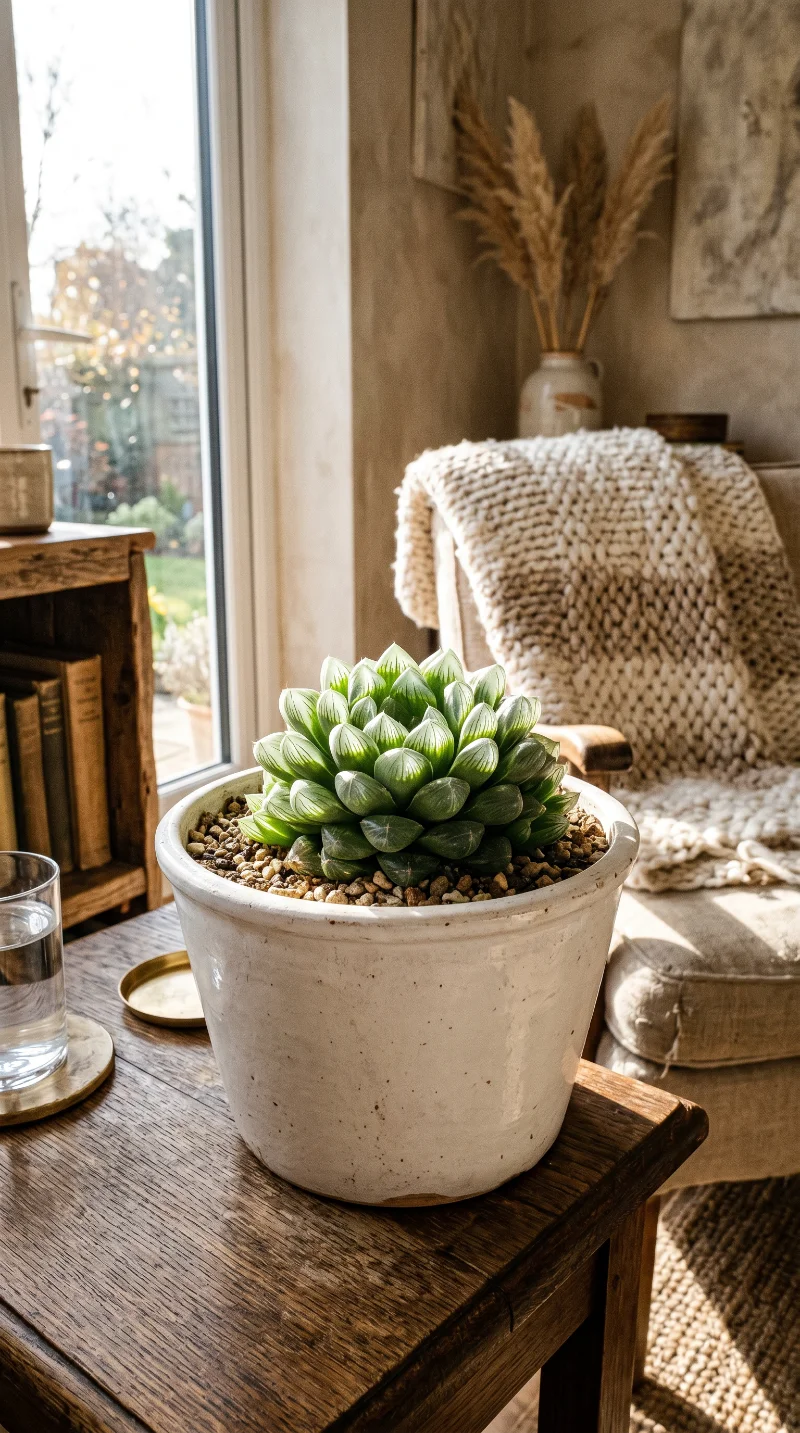
How to Know Your New Haworthia Is Doing Well
A newly potted pup may look unchanged for a long time. That doesn’t mean it failed.
Watch for these signs:
- The rosette stays firm
- The color remains steady
- The plant resists a gentle nudge after several weeks
- New leaves appear from the center
- Older outer leaves dry slowly instead of turning mushy
Firm is good. Slow is normal. Mushy is trouble.
FAQ About Propagating Haworthia
Can you propagate Haworthia in water?
You can try, but I don’t recommend it for beginners. Haworthia roots and cut bases rot easily in water. Soil propagation with offsets gives you a much better chance.
How big should Haworthia pups be before separating?
Wait until pups reach about 1 to 2 inches tall. If they have their own roots, they’ll settle into a new pot faster.
Do Haworthia leaf cuttings really work?
Sometimes. Use a whole leaf with a clean base, let it dry for 1 to 2 days, and place the cut end in gritty soil. Still, expect slow results.
Should I use rooting hormone?
You don’t need it. A healthy pup, a clean cut, a dry callous, and gritty soil matter more. Rooting hormone won’t fix soggy soil.
Why is my propagated Haworthia shriveling?
A little shriveling can happen while roots form. Severe shriveling often means the pup has no roots yet or the light is too strong. Keep it bright but indirect, and water lightly only when the soil dries.
Can I separate Haworthia pups without removing the whole plant?
Sometimes, if the pup sits on the edge and you can see the connection clearly. But removing the plant from the pot gives you better control and helps you save more roots.