How to Propagate Christmas Cactus from Cutting

If you’ve got a healthy Christmas cactus, you’ve got the makings of several more. That’s one of the little joys of growing Schlumbergera. It looks fancy, but it propagates with very little drama.
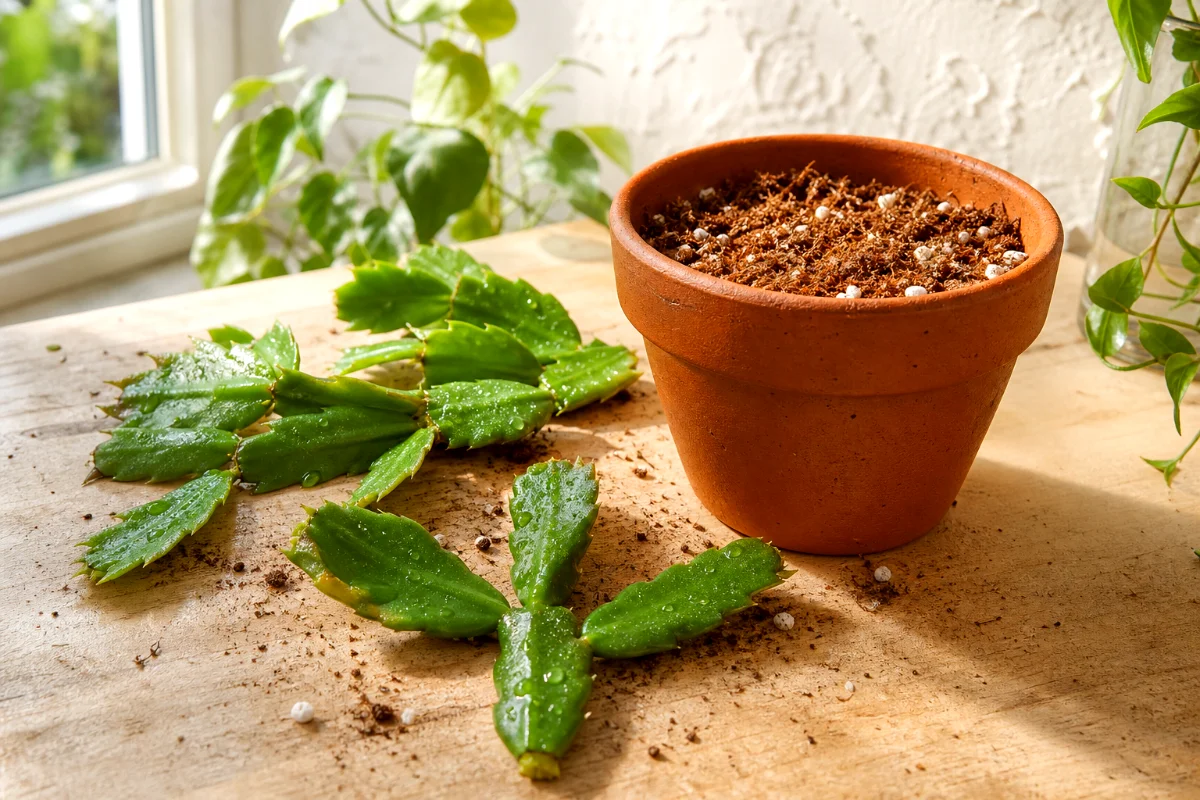
The easiest way to propagate Christmas cactus is to take 2 to 3 segment stem cuttings, let the ends dry for 1 to 2 days, then root them in moist, well-draining soil or in water. Most cuttings root in 3 to 8 weeks when kept in bright, indirect light.
Simple. Slow. Very satisfying.
First, Know What You’re Working With
A Christmas cactus isn’t a desert cactus. That trips people up.
It comes from humid forest areas, where it grows on trees and rocks with filtered light, air around the roots, and regular moisture that drains away fast. So, when you propagate it, don’t treat it like a prickly cactus from the dry Southwest.
It wants moisture. But it hates soggy feet.
That one sentence will save you a lot of mushy cuttings.
Best Time to Propagate Christmas Cactus
The best time to propagate Christmas cactus is after flowering in late winter or spring, or again in early autumn. The plant has finished showing off, and it’s ready to put energy into new growth.
Spring is my favorite. The days get longer, the plant wakes up, and roots tend to form with less coaxing.
But autumn works too, as long as you give the cuttings warm, steady conditions and keep them out of harsh sun.
What You’ll Need
You don’t need a fancy propagation station. Please don’t let social media convince you otherwise.
- A healthy Christmas cactus
- Clean scissors or pruners, optional
- A small pot with drainage holes
- Succulent mix, perlite, or a 70 percent coir and 30 percent perlite mix
- A small jar, if you’re rooting in water
- Room temperature water
- A bright spot with indirect light
If your pot doesn’t have a drainage hole, choose another pot. I mean it. Christmas cactus cuttings rot fast when water pools at the bottom.
How to Choose the Best Christmas Cactus Cuttings
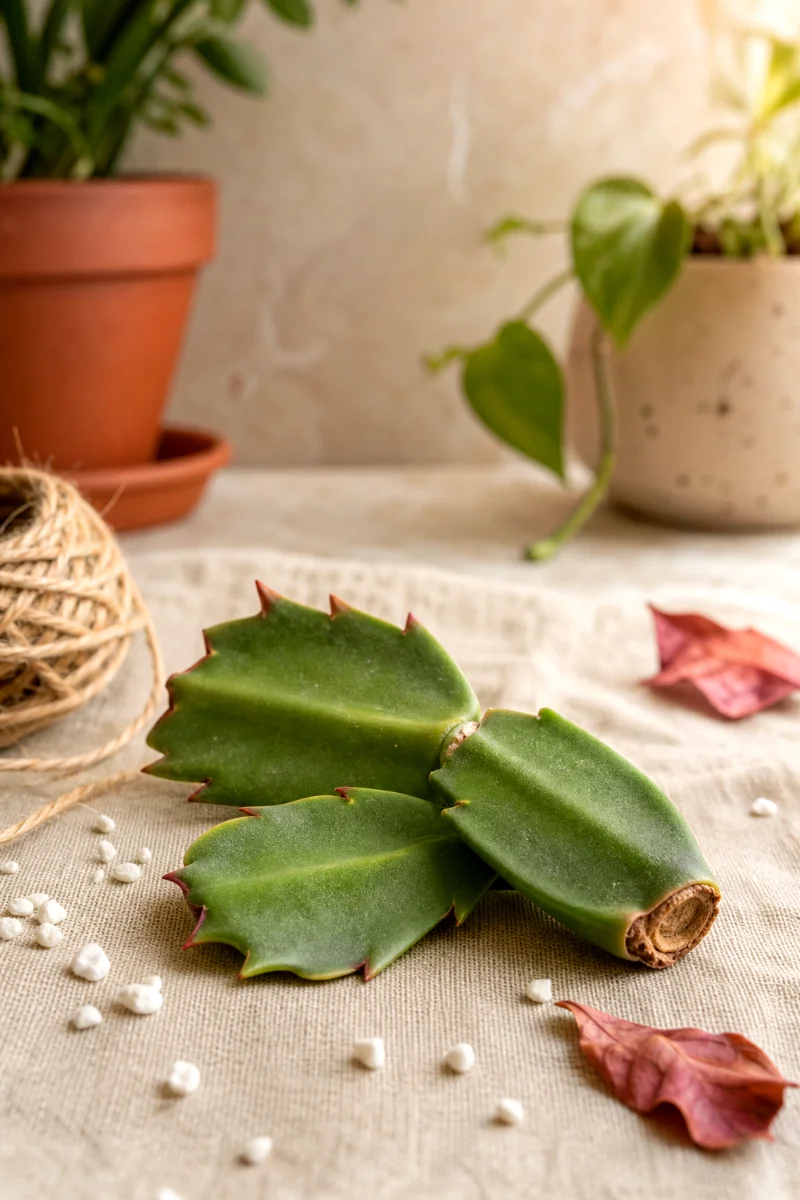
Pick healthy, plump stems with good color. Look for segments that feel firm, not wrinkled or limp.
The best cuttings are usually 2 to 3 segments long. I like a small Y shaped piece if the plant offers one, because it often grows into a fuller little plant faster.
What to avoid
- Thin, shriveled segments
- Yellowing or mushy pieces
- Stems with brown spots or obvious damage
- Very long cuttings that flop around in the pot
Long cuttings look impressive, but they often struggle. A short cutting has less tissue to support while it grows roots. That’s good gardening math.
How to remove the cutting
Hold the stem gently and twist at the joint between two segments. It should come away cleanly.
Or use clean scissors and snip at the joint. Either way works. Just don’t tear the stem like you’re opening a stubborn snack bag.
Let the Cuttings Callus Before Planting
This step feels skippable. Don’t skip it.
Lay the cuttings in a dry, shaded spot for 1 to 3 days. The cut end will dry slightly and form a callus. That little dry seal helps prevent rot once the cutting touches moist soil or water.
And no, you don’t need rooting hormone. The Christmas cactus usually roots fine without it.
Soil Propagation Method, My Recommended Way
If you want stronger roots and less transplant stress later, use soil. Water propagation is fun to watch, but soil rooted cuttings usually settle in faster because their roots are already adapted to potting mix.
This is the method I use when I’m making plants to keep, gift, or tuck into a fuller pot.
Step 1: Prepare the potting mix
Use a light, airy mix. A bagged succulent mix works, but I like to loosen it with extra perlite if it feels heavy.
A simple mix of 70 percent coir and 30 percent perlite works beautifully. Coir holds gentle moisture, and perlite keeps air around the new roots.
Step 2: Plant the cuttings
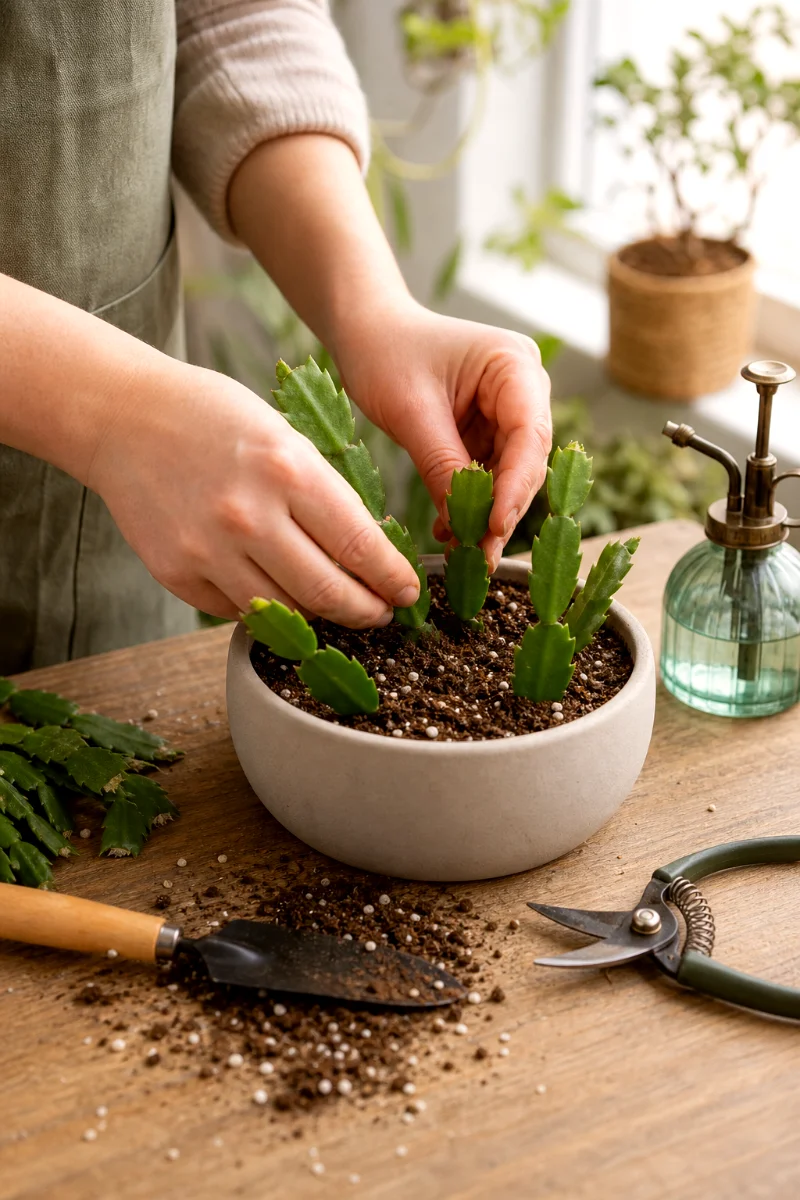
Insert the callused end about 1/2 to 1 inch deep into the mix. Firm the soil lightly so the cutting stands upright.
Don’t bury half the cutting. You only need enough contact for roots to form.
Step 3: Plant several cuttings together
For a fuller plant, place 3 to 5 cuttings per pot. Space them around the pot like points on a clock.
This gives you a bushier plant much faster than waiting for one lonely cutting to branch out.
Step 4: Water lightly
Moisten the mix, then let excess water drain. After that, keep the soil slightly moist, not wet.
Think damp sponge, not soup.
Step 5: Give bright, indirect light
Set the pot near a window with bright filtered light. Morning light is usually fine. Hot afternoon sun is not.
Direct sunlight can scorch the cuttings before they have roots to replace lost moisture.
Water Propagation Method
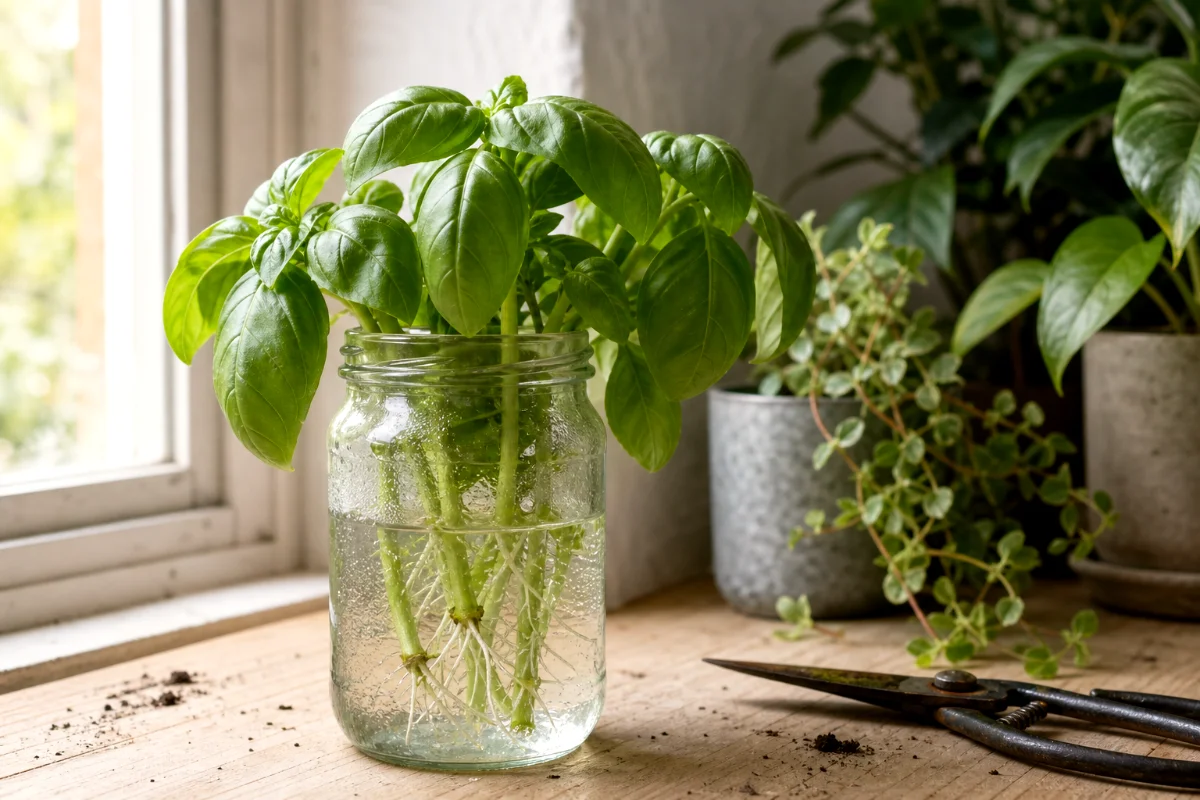
Water propagation lets you watch roots grow, and I understand the appeal. There’s something charming about those little white roots appearing in a glass jar.
But move the cutting into soil once roots are about 1 inch long. If you wait too long, the water roots get delicate and fussy when planted.
Step 1: Callus the cuttings
Take your 2 to 3 segment cuttings and let them dry for 1 to 2 days in a shaded place.
Again, this helps prevent rot. Even in water, a fresh wound can go soft fast.
Step 2: Set up the jar
Use a small jar with enough water to barely cover the base of the cutting. Don’t submerge the whole lower segment.
You can stretch plastic wrap over the jar and poke small holes to hold the cuttings upright. It isn’t glamorous, but it works.
Step 3: Change the water weekly
Replace the water once a week. Clean water lowers the chance of bacterial growth and keeps the base from getting slimy.
If the water smells bad, change it sooner. Your nose is a perfectly good gardening tool.
Step 4: Pot the rooted cutting
When roots reach about 1 inch long, plant the cutting into a small pot with well-draining potting mix.
Water it lightly and keep it in bright, indirect light while it adjusts.
How Long Christmas Cactus Cuttings Take to Root
Most Christmas cactus cuttings root in 3 to 8 weeks. Some hurry. Some sit there looking smug for a month before doing anything useful.
That’s normal.
Warm rooms, bright indirect light, and steady light moisture speed things along. Cold windowsills, soggy soil, and deep shade slow everything down.
How to Tell Your Cutting Has Rooted
Don’t yank it up every few days. That breaks new roots, and then the plant has to start over.
Instead, look for these signs:
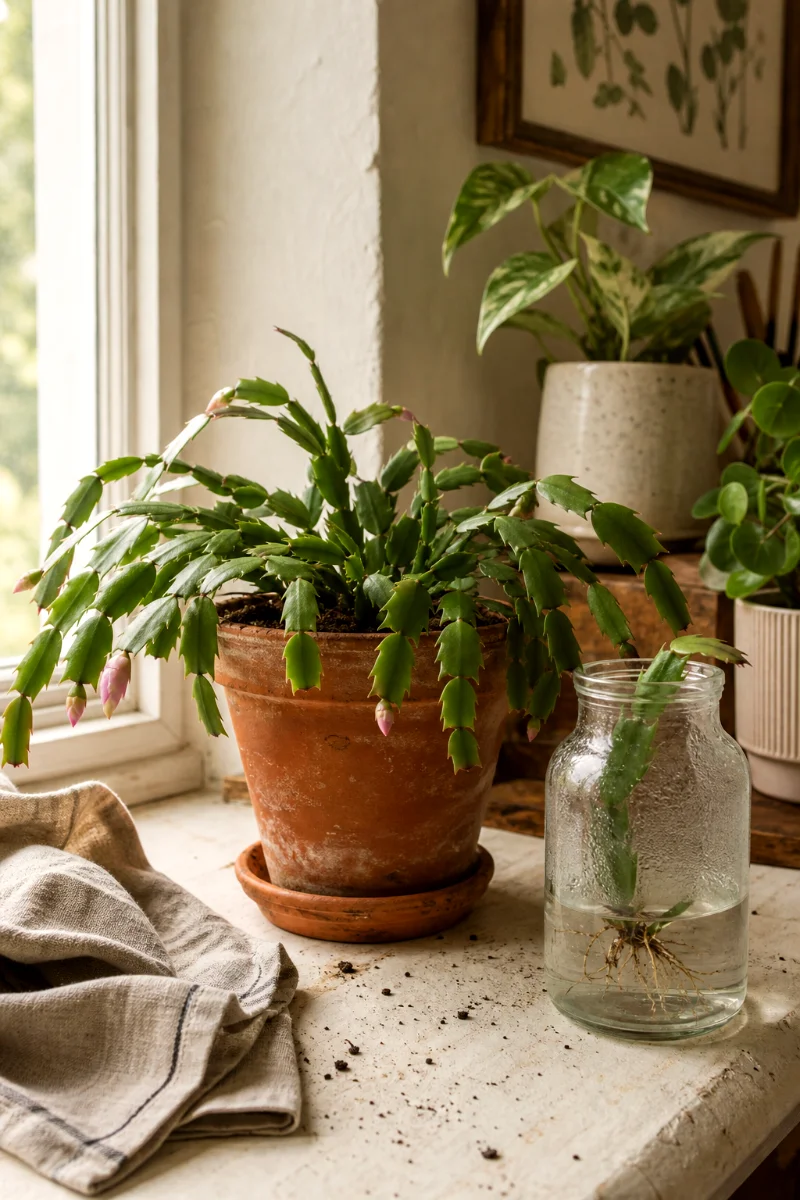
- The cutting stands firmer in the pot
- The segments look plump instead of wrinkled
- New tiny segments begin to grow from the tips
- There is gentle resistance when you give the cutting a very light tug
Use the tug test sparingly. Once is enough.
Humidity Helps, But Don’t Overdo It
Christmas cactus cuttings appreciate a little humidity while they root. You can mist them every few days, especially if your home runs dry.
You can also place a clear cover over the pot to make a mini greenhouse. But lift it often for airflow.
Trapped wet air plus soggy soil equals rot. I learned that one the annoying way.
Common Mistakes That Cause Rot
Rot is the main reason Christmas cactus propagation fails. Not mystery. Not bad luck. Usually just too much moisture and not enough air.
Planting fresh cuttings too soon
A fresh cutting has an open wound. If you stick it straight into wet soil, it can rot before roots form.
Let it callus first. Always.
Using heavy potting soil
Regular potting soil can hold too much water around the base. Mix in perlite, or use a light succulent mix.
The roots need oxygen as much as they need moisture.
Watering like it’s a mature plant
A cutting has no roots at first, so it can’t drink much. If you keep soaking the pot, the base sits wet.
Light moisture wins.
Putting cuttings in direct sun
Direct sun can burn or dehydrate cuttings quickly. Bright indirect light gives energy without stress.
A sheer curtain is your friend here.

Soil vs Water Propagation: Which Should You Choose?
Choose soil propagation if you want the strongest start. The roots form in the same kind of environment where the plant will keep growing, so the cutting usually has less shock later.
Choose water propagation if you’re new and want to see what rooting looks like. It builds confidence. And honestly, it’s fun.
My opinion? Start a few in soil and one in water. You’ll learn more from that than from reading another ten plant posts.
Aftercare for New Christmas Cactus Plants
Once your cuttings root, care for them like small Christmas cactus plants, but with a gentle hand.
- Keep them in bright, indirect light
- Water when the top layer of mix starts to dry
- Use a pot with drainage
- Wait until you see new growth before feeding
- Keep them away from hot drafts, cold windows, and harsh sun
Don’t rush fertilizer. New roots are tender, and fresh potting mix usually has enough to get them started.
When to Repot Propagated Christmas Cactus
Repot only when the young plant has filled its small pot with roots. Christmas cactus doesn’t mind being a bit snug.
If you move it into a large pot too soon, the extra soil stays wet longer than the roots can use it. That invites rot.
Small pot first. Bigger pot later.
FAQ About Propagating Christmas Cactus
Can I propagate Christmas cactus from one segment?
Yes, you can propagate one segment, but 2 to 3 segments usually work better. They have more stored energy and are easier to keep upright.
Should I root Christmas cactus in soil or water?
Soil is best for stronger roots and less transplant shock. Water works too, especially if you want to watch the roots grow.
Why is my Christmas cactus cutting getting mushy?
It is probably rotting from too much moisture, poor drainage, or skipping the callus step. Remove mushy cuttings so they don’t spread trouble in the pot.
Can I propagate Christmas cactus while it’s blooming?
You can, but I wouldn’t unless a piece breaks off. Wait until after flowering so the plant can put energy into rooting instead of blooms.
How many cuttings should I put in one pot?
Plant 3 to 5 cuttings in one pot for a fuller, bushier plant. One cutting will grow, but it can look sparse for quite a while.
Do Christmas cactus cuttings need direct sun?
No. Keep them in bright, indirect light. Direct sun can burn the segments and dry them before roots form.