How to Propagate English Ivy from Cuttings

English ivy, or Hedera helix, roots so easily that it almost feels like cheating.
Almost.
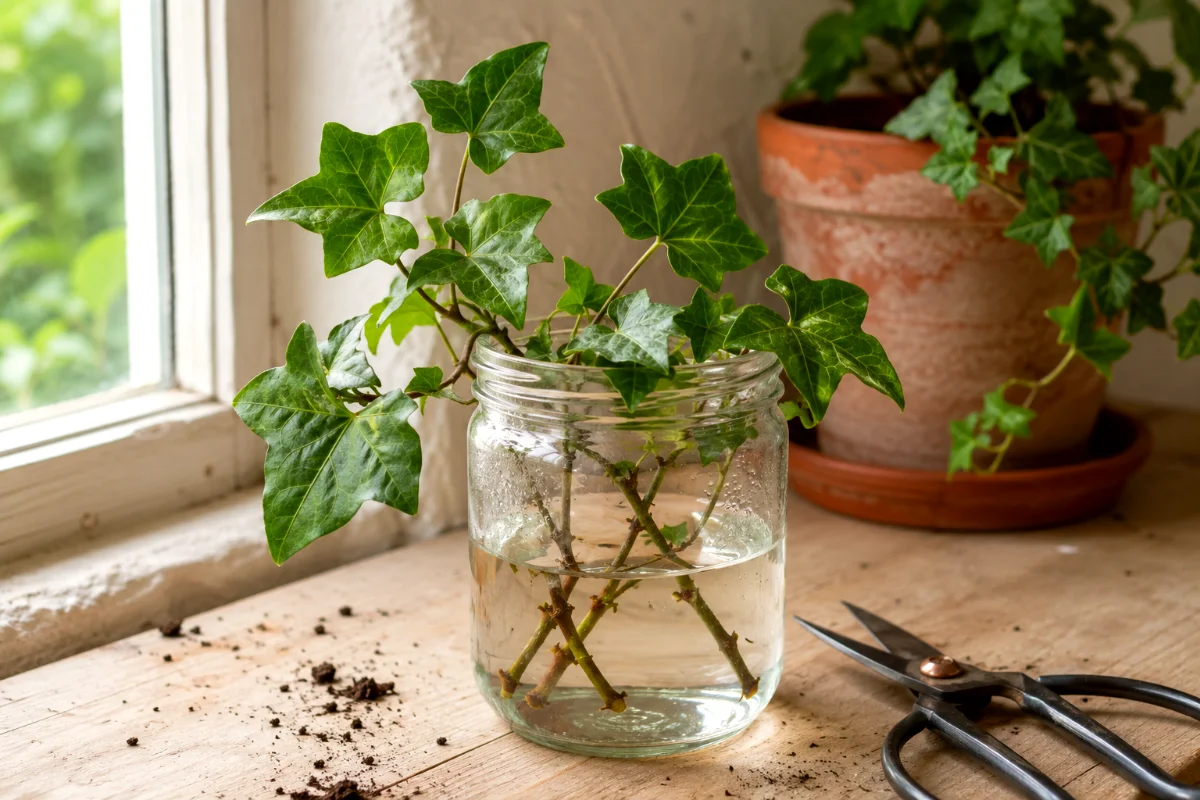
The best way to propagate English ivy is from stem cuttings. You snip a healthy 4- to 6-inch piece of vine, remove the lower leaves, place the bare stem in water or moist soil, and wait for roots. In good conditions, you’ll usually see roots in 2 to 4 weeks.
Water propagation is my favorite method for beginners because you can actually watch the roots form. It’s reassuring. It also saves you from poking around in the soil every three days, which, let’s be honest, we’ve all done.
Before You Cut: What English Ivy Needs to Root
English ivy roots from little raised points on the stem called nodes. A node is where a leaf joins the stem. Roots want to grow from that spot.
So if you cut a long, leafless piece with no nodes, you’ll mostly grow disappointment.
Pick vines that look firm, green, and healthy. Skip stems that are flowering, yellowing, crispy, mushy, pest-covered, or weak. A cutting has to live off stored energy while it grows roots, so start with good material.
What You’ll Need
- Clean scissors or pruners
- A healthy English ivy plant
- A clear glass or jar for water propagation
- Fresh room-temperature water
- Small pot with drainage holes
- Light potting mix
- Optional rooting hormone for soil propagation
- Optional clear plastic bag for humidity
Clean tools matter. Dirty blades can drag bacteria or fungus straight into a fresh cut. I wipe my scissors with rubbing alcohol before I start, especially if I’ve been pruning anything sick.
Best Time to Propagate English Ivy
Spring and summer give you the fastest results. The plant is actively growing, the days are longer, and the cutting has more energy to push roots.
But ivy isn’t fussy.
You can propagate English ivy year-round indoors if you can give it bright, indirect light and steady warmth. Winter cuttings just move slower. Don’t panic if they sit there looking unchanged for a while.
How to Propagate English Ivy in Water
If you’re new to plant propagation, start here. Water propagation lets you see what’s happening, and English ivy usually plays along nicely.
Step 1: Select a Healthy Stem
Choose a non-flowering vine with several healthy leaves. Look for flexible green or slightly woody growth, not an ancient brittle stem.
Cut a piece that measures 4 to 6 inches long. Make the cut just below a leaf node. That node is where the magic happens.
Step 2: Remove the Lower Leaves
Strip the leaves from the lower 2 inches of the stem. Leave a few leaves at the top so the cutting can still photosynthesize.
Keep this part tidy. Any leaf that sits underwater will rot, and rotten leaves can turn your nice little jar into swamp soup.
Step 3: Place the Cutting in Water
Set the bare lower stem into a glass of water. Make sure at least one or two nodes sit below the waterline.
And keep the leaves out of the water. I’ll say it twice because this is the mistake that ruins more cuttings than bad luck ever will.
Step 4: Put the Jar in Bright, Indirect Light
A bright windowsill works beautifully, as long as the sun doesn’t bake the jar. East-facing windows are often perfect. A few feet back from a strong south or west window can work too.
Direct hot sun can cook the water and stress the cutting. Low light makes rooting slow and weak. Ivy likes the middle ground.
Step 5: Change the Water Regularly
Change the water every few days, or at least once a week. Fresh water keeps oxygen available and slows algae and bacterial growth.
If the water looks cloudy, change it that day. Don’t wait for a calendar reminder.
Step 6: Wait for Roots
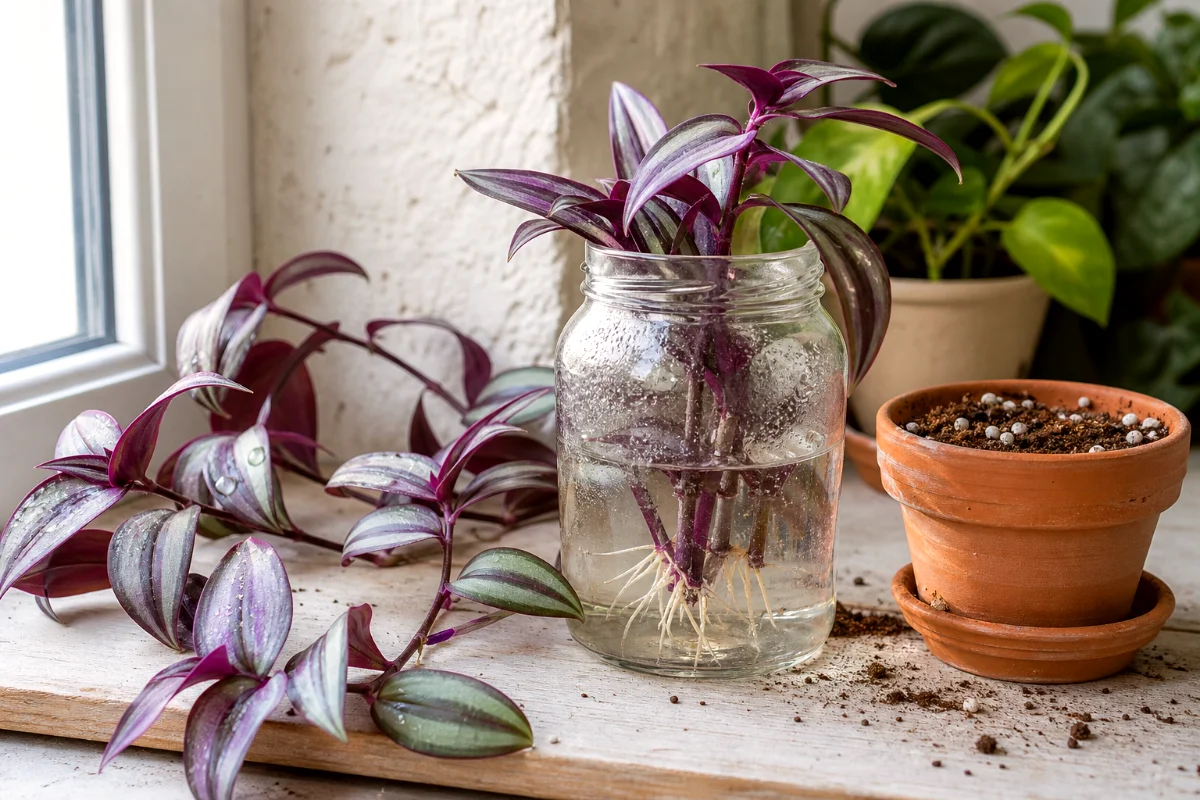
English ivy cuttings usually root in 2 to 4 weeks. You may see tiny white bumps first. Then thin roots begin to stretch from the nodes.
Be patient, but not lazy. Keep the water clean and the light steady.
Step 7: Transplant Into Potting Soil
Move the cutting into soil once the roots are a few inches long. I like roots around 2 inches because they’re sturdy enough to handle, but not so long that they tangle into a fragile mess.
Use a small pot with drainage holes. Fill it with lightly moist potting mix, make a hole with your finger, set the roots in gently, and firm the soil around the stem.
Water it well. Then place it back in bright, indirect light while it adjusts.
How to Propagate English Ivy in Soil
Soil propagation skips the awkward move from water to potting mix. That’s a real advantage. The roots form in the medium they’ll keep growing in.
But beginners often struggle because they can’t see the roots. You have to trust the process. Annoying, yes. Effective, also yes.
Step 1: Take a 4- to 6-Inch Cutting
Cut just below a node on a healthy, non-flowering stem. Remove the leaves from the lower 2 inches.
Same cutting rules as water. Good stem. Clean tools. No buried leaves.
Step 2: Add Rooting Hormone
Dip the cut end in rooting hormone if you have it. English ivy doesn’t always need help, but rooting hormone can speed things up and improve your odds.
Tap off the extra powder. More is not better. A light coating does the job.
Step 3: Plant the Cutting
Insert the lower stem 1 to 2 inches deep into moist potting mix or perlite. At least one node should sit under the surface.
Firm the mix gently so the cutting stands upright. Don’t crush the stem.
Step 4: Add Humidity
Cover the pot loosely with a clear plastic bag to hold humidity around the cutting. Keep the bag from pressing hard against the leaves if you can.
Open the bag daily for a few minutes. Stale, trapped air invites mold. Humidity helps, but soggy air can cause trouble fast.
Step 5: Keep the Mix Moist, Not Wet
This is where people go wrong.
Moist soil feels like a wrung-out sponge. Waterlogged soil feels heavy, cold, and muddy. Ivy cuttings need moisture, but they also need air around the developing roots.
If the pot sits in a saucer of water, empty it. Always.
Step 6: Check for Rooting
After 3 or 4 weeks, tug the cutting very gently. If it resists, roots have started to anchor it.
Don’t yank. A newly rooted cutting has delicate roots, and rough hands can undo a month of waiting in one second.
How to Propagate English Ivy by Layering
Layering is the old gardener’s trick. It works because English ivy already wants to root where the nodes touch soil.
This method works best if your mother plant has long trailing vines. You don’t remove the cutting at first. You let it root while still attached to the parent plant, which keeps feeding it.
Step 1: Set a Small Pot Beside the Mother Plant
Fill a small pot with moist potting mix. Place it close enough that a long ivy vine can reach the surface.
Use a pot with drainage holes. I know I sound like a broken record, but soggy ivy roots sulk and rot.
Step 2: Pin a Node to the Soil
Lay the vine across the pot so one or more nodes touch the soil. Pin the stem down with a bent paper clip, floral pin, or small piece of wire.
Don’t bury the whole vine. Just hold the node snug against the mix.
Step 3: Keep the Soil Lightly Moist
Water when the top of the mix starts to dry. The node needs steady contact with moist soil to root.
Roots often form in a few weeks, though some layered vines take longer. Ivy likes to do things on its own schedule.
Step 4: Cut It Free
Once the pinned section has rooted, cut the vine between the new plant and the mother plant. Now you have a separate ivy plant with less shock than a fresh cutting.
Layering is my pick when I want the highest success rate and don’t care about speed.
Water vs Soil vs Layering: Which Method Should You Choose?
Choose water propagation if you’re a beginner, curious, or a little impatient. Watching roots grow builds confidence.
Choose soil propagation if you want stronger early roots and don’t mind waiting without visual proof.
Choose layering if your ivy has long vines and you want a low-stress method with a very good success rate.
If you ask me, start a few cuttings in water and a few in soil. Plants don’t always read the manual. Taking several cuttings gives you backup, and backup keeps gardening fun.
How Many English Ivy Cuttings Should You Take?
Take more than one.
I usually take 4 to 6 cuttings if I want one full small pot. Not every cutting roots. Some fail for no obvious reason, even when you do everything right.
Planting several rooted cuttings together also gives you a fuller plant faster. One lonely ivy strand in a pot can look a bit sad for months.
Potting Up Rooted English Ivy Cuttings
Once your cuttings have roots a few inches long, pot them up. Don’t leave them in water forever. Water roots can live in water, but they need time to adjust to soil.
Use a light, well-draining potting mix. A standard indoor potting mix works fine, but I like to add perlite if the mix feels dense.
Best Pot Size
Start small. A 3- or 4-inch pot works for several young cuttings.
A huge pot holds too much wet soil around tiny roots. That sounds generous, but it often leads to rot.
First Week After Transplanting
Keep the mix evenly moist for the first week or two while the roots settle in. Don’t let it dry hard right away.
After that, water when the top inch of soil feels dry. English ivy likes moisture, but it doesn’t want wet feet.
Common Problems When Propagating English Ivy
The Cutting Turns Mushy
Mushy stems usually mean rot. Remove that cutting right away, wash the jar, and replace the water.
Next time, keep leaves out of the water and change the water more often.
The Leaves Yellow
One yellow leaf doesn’t scare me. The cutting may drop an older leaf while it shifts energy into rooting.
But several yellow leaves can mean too much direct sun, stale water, soggy soil, or a weak cutting. Check the basics before you blame yourself.
No Roots After 4 Weeks
Wait a little longer if the stem still looks firm and green. Some cuttings take their sweet time.
If nothing happens after 6 weeks, start fresh with a healthier stem and brighter indirect light.
The Water Gets Cloudy
Cloudy water means bacteria or decaying plant bits are building up. Change the water, rinse the jar, and trim away any rotting stem tissue.
Fresh water is cheap. Use it freely.
The Soil Cutting Wilts
Wilting soil cuttings often need more humidity. Add a loose plastic bag over the pot and move it away from harsh sun.
But check the soil too. Dry soil wilts cuttings. Wet, airless soil rots them. The sweet spot is lightly moist.
English Ivy Propagation Tips I Wish Beginners Heard More Often
- Cut below a node. Roots form best from nodes, not random bare stem.
- Remove lower leaves. Buried or submerged leaves rot quickly.
- Use bright, indirect light. Weak light slows rooting, while hot sun stresses cuttings.
- Take several cuttings. Even experienced gardeners lose a few.
- Keep soil moist, not soaked. Roots need both water and oxygen.
- Transplant water-rooted cuttings before roots get too long. Shorter roots handle soil better.
- Give new plants time. Freshly rooted ivy may pause before pushing new growth.
A Quick Note About Growing English Ivy Outdoors
English ivy can spread aggressively in many areas. In some regions, it causes real problems when it escapes gardens and climbs trees or smothers native plants.
So be responsible. Grow it in pots, keep it trimmed, and never dump extra cuttings in woods, alleys, parks, or empty lots.
Compost carefully if your local compost system handles invasive plant material. When in doubt, bag unwanted pieces for disposal.
FAQ About Propagating English Ivy
Can you propagate English ivy from a single leaf?
No, not reliably. You need a piece of stem with at least one node. A leaf alone may stay green for a while, but it won’t grow into a full ivy plant.
How long does English ivy take to root in water?
Most healthy English ivy cuttings root in 2 to 4 weeks. Cool rooms, low light, or old stems can slow things down.
Should I use rooting hormone for English ivy?
You can, but you don’t have to use it for water propagation. Rooting hormone helps most with soil propagation, especially if your conditions aren’t perfect.
Can I put several ivy cuttings in one jar?
Yes. Just don’t overcrowd the jar. Each cutting needs clean water around the nodes, and you should remove any cutting that starts to rot.
When should I move ivy cuttings from water to soil?
Move them when the roots reach a few inches long. Don’t wait until the jar is packed with long, tangled roots.
Why are my English ivy cuttings rotting?
Rot usually comes from submerged leaves, dirty tools, stale water, or soil that stays too wet. Clean the setup and start again with firmer stems.
Can I propagate English ivy in winter?
Yes, you can propagate it indoors in winter. Expect slower rooting, and give the cuttings the brightest indirect light you can manage.