How to Propagate Rubber Plant from Cuttings and Air Layering

If you’ve got a rubber plant with strong, glossy leaves and a stem that’s getting a little too tall for its own good, good news. You can turn that growth into a new plant.
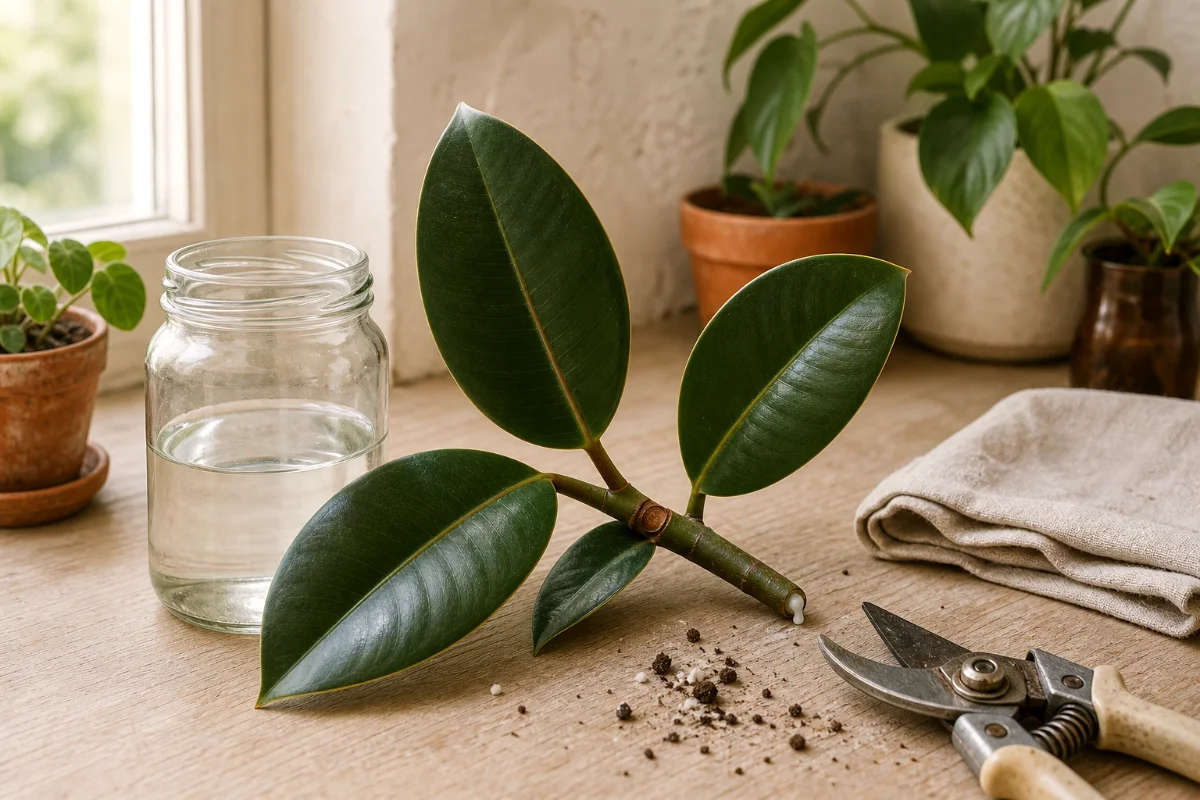
Rubber plant propagation, also called propagating Ficus elastica, works best in spring or early summer when the plant is actively growing. That timing matters. Warmth, longer days, and steady light help the cutting push out roots instead of sitting there sulking.
You have two beginner-friendly choices: stem cuttings or air layering. Stem cuttings work best for smaller plants. Air layering works beautifully for older, taller, leggier rubber plants that need a fresh start.
Before You Cut: A Few Things Beginners Should Know
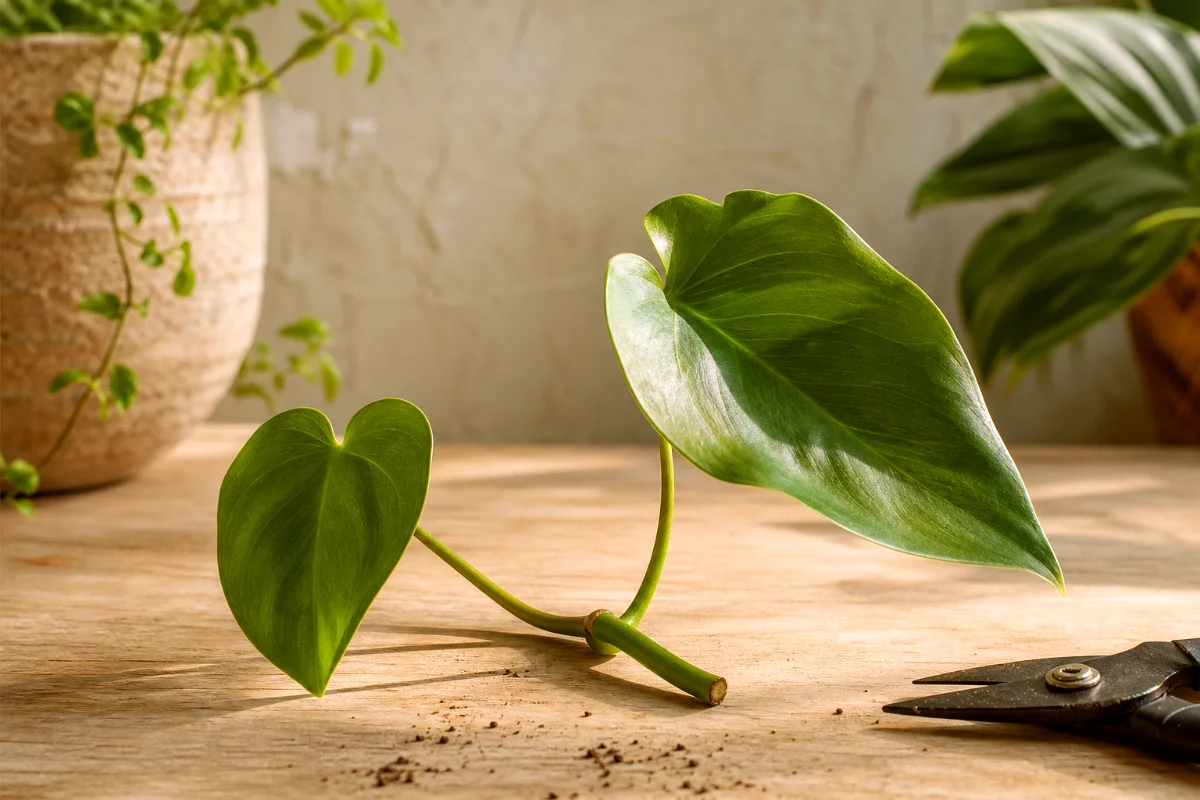
Rubber plants are tough, but they don’t root from just any random leaf. You need a node, which is the small bump or joint on the stem where a leaf grows. That’s where new roots and shoots have the best chance to form.
A leaf by itself may sit in water and even make roots, but it usually won’t grow into a proper plant without a node. I’ve seen plenty of hopeful leaves in jars. Most end as pretty science projects.
Also, rubber plants bleed white latex sap when cut. Wear gloves. The sap can irritate skin, and it’s sticky enough to make your tools feel like they were dipped in craft glue.
What You’ll Need
- Clean, sharp pruning shears or a sharp knife
- Rubbing alcohol for sterilizing tools
- Gloves to protect your skin from the sap
- A clear glass jar for water propagation
- A small pot with drainage holes for soil propagation
- Fresh potting mix with added perlite
- Rooting hormone powder, optional but helpful
- Clear plastic bag, plastic bottle, or propagation dome for humidity
- Damp sphagnum moss and plastic wrap for air layering
- Twist ties, tape, or soft plant ties
Best Time to Propagate a Rubber Plant
Propagate your rubber plant in spring or early summer. That’s when it has energy to spare.
Can you do it in winter? Sometimes. But it’s slower, fussier, and more likely to rot. In winter, rubber plants often pause growth, especially in cooler rooms with weak light.
A warm room, bright indirect light, and a little humidity make the whole thing easier. Think comfortable kitchen window, not blazing afternoon sun.
Method 1: How to Propagate Rubber Plant from Stem Cuttings
This is the easiest method for most beginners. You can root the cutting in water or directly in potting mix. Water lets you watch the roots grow. Soil skips the transplant shock later.
Step 1: Choose the Right Stem
Pick a healthy stem with firm leaves and no signs of pests. Avoid weak, yellowing, mushy, or very new floppy growth.
Look for a section with at least one node. Two nodes are even better. A cutting around 4 to 6 inches long works well because it’s big enough to have stored energy but not so large that it wilts fast.
Step 2: Sterilize Your Shears
Wipe your blades with rubbing alcohol before cutting. Simple step. Big payoff.
Dirty tools can move bacteria, fungus, and pest eggs from one plant to another. I don’t skip this, even when I’m in a hurry.
Step 3: Make the Cut Below a Node
Cut the stem at an angle about 1 inch below a leaf node. The angled cut gives the stem a little more surface area and helps you remember which end goes down.
The plant will release white sap. Don’t panic. That’s normal.
Step 4: Remove the Lower Leaves
Remove the lower leaves and leave only 1 to 2 leaves at the top. Fewer leaves means less moisture loss.
If the remaining leaves are huge, you can gently roll one and loosely tie it with soft twine. Some growers cut large leaves in half, but I prefer rolling when possible because it keeps the leaf working while reducing surface area.
Step 5: Rinse Off the Sap
Rinse the cut end under room temperature water until the heavy sap flow slows. Then let the cutting sit for a few minutes.
This keeps the sap from sealing the cut too thickly. Roots need access to moisture and oxygen, not a rubbery plug.
Step 6: Add Rooting Hormone if You Want
Dip the cut end into rooting hormone powder if you have it. Tap off the extra.
You don’t need hormone to succeed, but it can help speed things along and improve rooting odds, especially with thicker, woody stems.
Rooting Rubber Plant Cuttings in Water
Water propagation is popular because you can see what’s happening. Beginners like that. So do I.
How to Do It
- Place the cutting in a clear glass jar with enough water to cover the lower node.
- Keep leaves above the water line.
- Set the jar in bright, indirect light.
- Change the water once a week, or sooner if it gets cloudy.
- Wait for roots to form, usually in 3 to 4 weeks.
Use a clear jar, but don’t park it in hot direct sun. That turns the water warm and stale, which roots hate.
Once roots reach about 2 inches long, you can think about potting. But don’t rush. A rubber plant cutting may show roots in a month and still need 2 to 3 months before it feels sturdy enough for everyday care.
When Water Propagation Goes Wrong
- Black, mushy stem: rot has started, often from stale water or a weak cutting.
- No roots after a month: the room may be too cool, or the cutting may lack a good node.
- Yellow leaf: the cutting is stressed, using energy, or staying too wet and dark.
If the stem still feels firm, keep going. Rubber plants like to test your patience.
Rooting Rubber Plant Cuttings in Soil
Soil propagation looks less exciting because you can’t watch the roots. But it often creates a stronger plant from the start.
Best Soil Mix for Rubber Plant Cuttings
Use a light, airy mix. Rubber plant cuttings hate soggy soil.
A good beginner mix is 2 parts indoor potting mix and 1 part perlite. If your potting mix feels dense and heavy, add more perlite. Roots need oxygen as much as moisture.
How to Plant the Cutting
- Fill a small pot with fresh, lightly moist potting mix.
- Make a hole with your finger or a pencil.
- Insert the cutting so at least one node sits below the soil surface.
- Firm the mix gently around the stem.
- Cover the cutting with a clear plastic bag or cut plastic bottle to hold humidity.
- Place it in bright, indirect light.
Keep the soil lightly moist, not wet. That’s the line beginners cross most often. If the pot feels heavy and cold, wait before watering.
How to Tell If a Soil Cutting Has Rooted
After 3 to 4 weeks, give the cutting a very gentle tug. If you feel resistance, roots have started to grab the mix.
Don’t yank. You’re not pulling a carrot. A tiny new root can snap easily.
New leaf growth is the best sign, but rubber plants may take their sweet time before showing it.
Method 2: How to Propagate Rubber Plant by Air Layering
Air layering sounds fancy, but it’s just rooting a branch while it’s still attached to the mother plant. This method works especially well on tall rubber plants with bare stems.
And here’s why I like it: the branch keeps getting water and food from the parent plant while roots form. Less wilting. Less drama.
When to Choose Air Layering
- Your rubber plant has grown tall and leggy.
- You want a larger new plant right away.
- The stem is too woody for easy cuttings.
- You want to shorten the parent plant without wasting the top growth.
Step 1: Pick a Healthy Branch
Choose a strong stem with healthy leaves. Find a spot just below a node where you want roots to form.
Don’t pick a weak branch. Air layering asks the plant to heal and root at the same time, so start with strong material.
Step 2: Make an Upward Diagonal Cut
Wear gloves. Then make an upward diagonal cut about one third of the way through the stem, just below a node.
Don’t cut all the way through. You want a wound, not a detached cutting.
Step 3: Keep the Cut Open
Slip a small toothpick into the cut to hold it open. Apply rooting hormone powder inside the wound.
That open wound tells the plant, in its own quiet plant way, to send healing tissue and roots to that spot.
Step 4: Wrap with Damp Sphagnum Moss
Take damp sphagnum moss and wrap it around the cut area. The moss should feel like a wrung out sponge, not a dripping dishcloth.
Too wet invites rot. Too dry stops root growth. Aim for evenly damp.
Step 5: Cover and Secure the Moss
Wrap the moss tightly with clear plastic wrap. Secure both ends with twist ties, tape, or soft plant ties.
Clear plastic lets you check for roots without opening the wrap every week. That matters because constant poking dries the moss and slows the process.
Step 6: Wait for Roots
Air layering usually takes 6 to 10 weeks. Roots should appear through the moss when it’s ready.
If the moss dries out, open one end and mist it lightly. Then close it back up. Don’t soak it.
Step 7: Cut and Pot the New Plant
Once you see plenty of roots, cut the branch below the rooted moss. Pot it in a container with drainage holes and fresh potting mix.
Keep the new plant in bright, indirect light and treat it gently for a few weeks. It just moved out on its own.
Water vs Soil vs Air Layering: Which Method Should You Use?
Choose based on the plant you have, not on what looks prettiest online.
- Use water propagation if you want to watch roots grow and you’re working with a small stem cutting.
- Use soil propagation if you want the cutting to adapt to potting mix from day one.
- Use air layering if your plant is tall, woody, or bare on the lower stem.
For a beginner with a normal sized rubber plant, I usually suggest water first. It builds confidence. For a big, leggy floor plant, air layering wins every time.
How to Care for a New Rubber Plant Cutting
Once your cutting has roots, don’t suddenly treat it like a mature plant. Baby roots dry out fast and rot fast. Annoying, but true.
Light
Give your new rubber plant bright, indirect light. A spot near an east window or a few feet back from a bright south or west window usually works.
Direct hot sun can scorch young leaves and stress the cutting before it settles in.
Water
Water when the top inch of soil feels dry. Use a pot with drainage holes. Always.
Rubber plants like moisture, but they don’t like wet feet. If you keep the mix soggy, roots can rot before the plant ever gets going.
Humidity and Warmth
Warmth helps. Aim for a room that stays comfortably warm, not chilly at night.
A humidity cover helps early on, especially for soil cuttings. Remove it for a few minutes every day so fresh air can move around the leaves.
Feeding
Don’t fertilize right away. Wait until you see new growth.
Fresh roots don’t need a strong meal. They need air, steady moisture, and time.
Common Mistakes When Propagating Rubber Plant
- Taking a cutting with no node: no node usually means no new growing point.
- Using dirty shears: this can invite rot and disease.
- Leaving too many leaves on the cutting: the cutting loses moisture faster than it can replace it.
- Putting the cutting in direct sun: heat stress can wilt it quickly.
- Keeping soil too wet: rubber plant cuttings need moisture, not swamp conditions.
- Potting up too soon: tiny roots need time before they can support a full plant.
- Skipping gloves: the latex sap can irritate your skin.
Why Your Rubber Plant Cutting Isn’t Rooting
If your cutting sits for weeks with no roots, don’t toss it right away. Check the stem first.
A firm stem still has a chance. A mushy, black, smelly stem does not.
The Room Is Too Cool
Rubber plants root faster in warmth. Cool windowsills slow everything down, especially at night.
The Cutting Is Too Large
A huge cutting loses moisture through its leaves. Smaller cuttings root with less stress.
The Light Is Too Low
Low light won’t help roots form quickly. Move the cutting to brighter indirect light, but keep it out of harsh sun.
The Water or Soil Stayed Stale
Change water weekly. For soil, use a light mix and a pot with drainage. Stale, soggy conditions make rot feel right at home.
FAQ About How to Propagate Rubber Plant
Can you propagate a rubber plant from a leaf?
A rubber plant leaf may grow roots, but it usually won’t grow into a full plant unless it includes a node. For a real new plant, take a stem cutting with at least one node.
How long does it take rubber plant cuttings to root?
Stem cuttings usually root in 3 to 4 weeks. Some take longer. The cutting may need 2 to 3 months before it’s strong enough for normal care.
Is water or soil better for rubber plant propagation?
Both work. Water makes root growth easy to see. Soil helps roots adapt to potting mix from the start. If you’re nervous, start in water.
When should I pot a water rooted rubber plant cutting?
Pot it when the roots are about 2 inches long and branching. Use a small pot, fresh mix, and gentle watering.
Can I propagate a leggy rubber plant?
Yes. Air layering is the best method for a leggy rubber plant because you can root the tall top before cutting it away from the parent plant.
Is rubber plant sap dangerous?
The white latex sap can irritate skin and may bother pets or children if touched or chewed. Wear gloves, wipe spills, and keep cuttings out of reach.