How to Propagate Oyster Plant: Easy Cuttings and Division

Oyster plant, also called Tradescantia spathacea, is one of those houseplants that makes propagation feel almost too easy.
Almost.
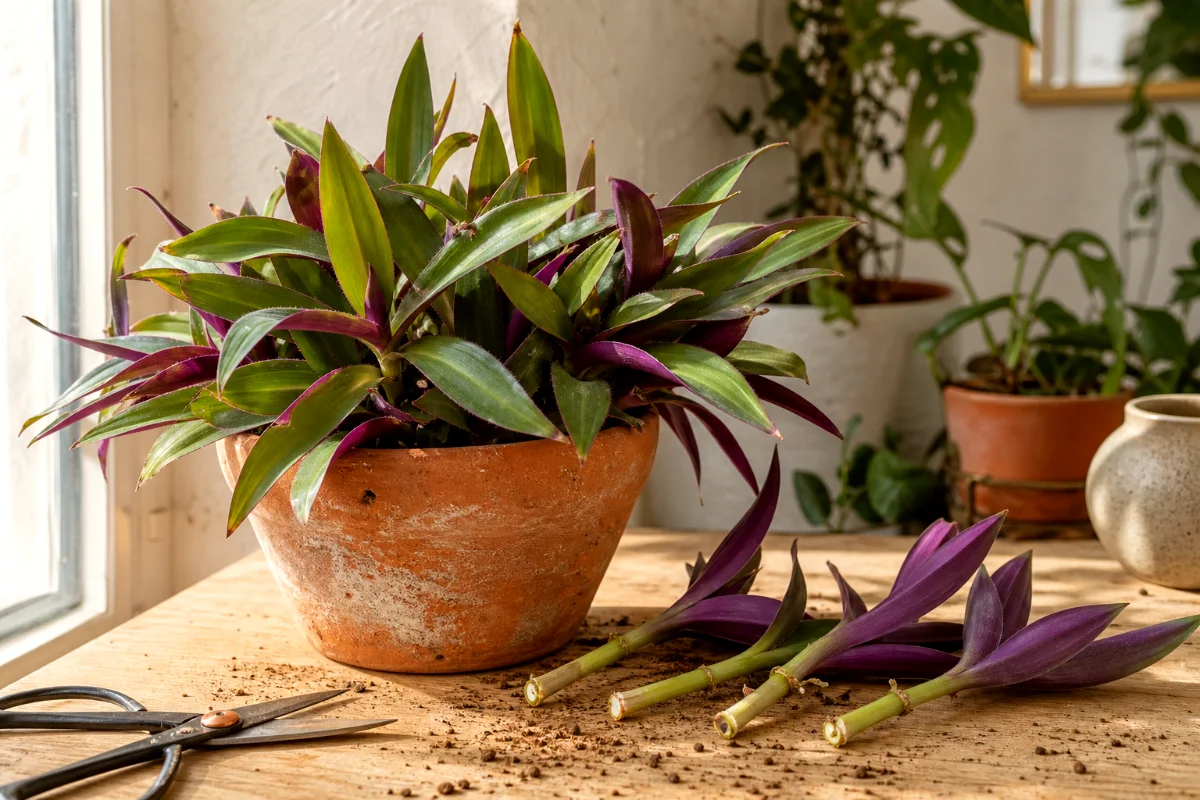
You still need to cut in the right spot, keep the leaves out of water, and avoid soggy soil. Do those few things well, and this purple backed beauty usually roots in about 1 to 2 weeks.
I’ve propagated oyster plants in jars, nursery pots, and, once, in a coffee mug on a kitchen windowsill. The plant doesn’t care about fancy tools. It cares about warmth, clean moisture, and light that doesn’t scorch its leaves.
The Best Way to Propagate Oyster Plant
The easiest method for most beginners is stem cuttings. Take a healthy 3 to 4 inch piece, remove the lower leaves, and root it in water or moist potting mix.
That’s the sweet spot.
Division also works well, especially if your mature oyster plant has formed crowded clumps or little pups around the base. It gives you instant new plants, but it asks for a little more hands on confidence.
When to Propagate Oyster Plant
Spring and summer give you the fastest results because the plant actively grows during warm weather. Early fall can work too if your home stays bright and warm.
Avoid propagating in a cold room. Oyster plant roots best when temperatures stay above 60°F or 15°C.
And please, don’t take cuttings from a sad, limp, pest covered plant unless you have no other choice. Healthy parent plants make stronger babies. That rule holds up in the potting shed and in life.
What You’ll Need
- A healthy oyster plant stem or mature clump
- Clean scissors, snips, or pruners
- A small glass jar for water rooting
- Small pots with drainage holes
- Fresh, well draining potting mix
- Perlite or coarse sand
- Optional damp sphagnum moss
- Gloves, especially if plant sap bothers your skin
Oyster plant sap can irritate sensitive skin. I wear gloves because I’d rather spend my evening admiring roots than scratching my hands.
Method 1: Propagate Oyster Plant From Stem Cuttings
This is the method I recommend first. It’s simple, quick, and very forgiving.
Step 1: Choose a Healthy Stem
Look for a firm stem with good color and no mushy spots. The leaves should look plump, not wrinkled or faded.
Pick a stem about 3 to 4 inches long. Shorter cuttings can work, but they dry out faster. Longer ones often flop around and waste energy supporting extra leaves.
Step 2: Cut Just Below a Node
Make your cut just below a node. That’s the little bump or joint where leaves meet the stem.
Roots love nodes. That’s where the magic usually starts.
Use clean snips. Dirty tools can move rot and disease from one plant to another, and nobody needs that drama.
Step 3: Remove the Lower Leaves
Strip the leaves from the bottom 1 to 2 inches of the cutting. Keep a few leaves at the top so the cutting can keep making energy.
If you root in water, lower leaves will rot if they sit below the surface. If you root in soil, buried leaves turn slimy and invite trouble.
Small detail. Big difference.
Rooting Oyster Plant Cuttings in Water
Water rooting is popular because you can watch the roots grow. Beginners love it for good reason.
Step by Step Water Propagation
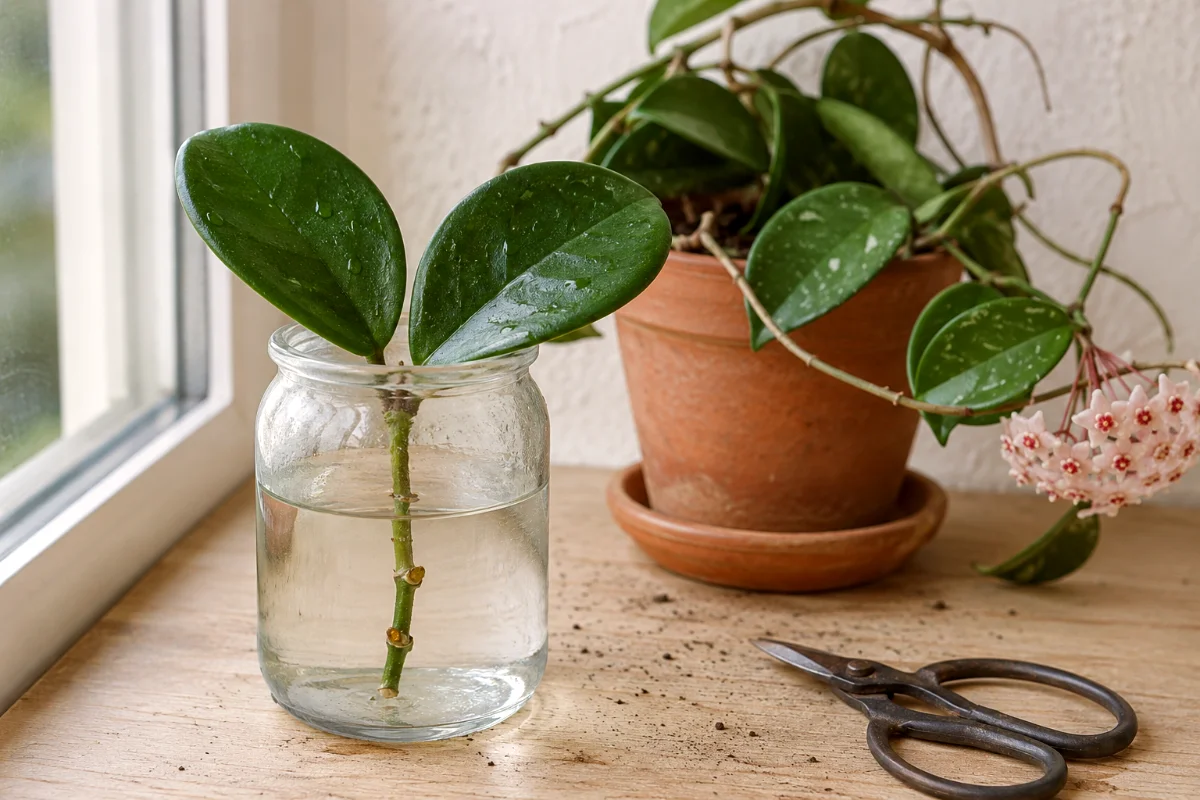
- Fill a clean jar with room temperature water.
- Place the cutting in the jar with the bare nodes under water.
- Keep all leaves above the waterline.
- Set the jar in bright, indirect light.
- Change the water every 2 to 3 days.
- Move the cutting to soil once roots reach about 1 to 2 inches long.
Fresh water keeps algae down and gives the cutting oxygen. Stale water gets cloudy, smells odd, and encourages stem rot.
Don’t place the jar in harsh afternoon sun. Glass heats up fast, and tender cuttings can cook before you notice.
When Will Roots Appear in Water?
You should see roots in about 1 to 2 weeks when the cutting has warmth and good light.
Some cuttings take a few extra days. Don’t panic. If the stem stays firm and the water smells clean, give it time.
Rooting Oyster Plant Cuttings Directly in Soil
Soil rooting skips the awkward move from water to potting mix. I like this method when I want sturdy plants from the start.
But soil hides the roots, so you need a bit of patience.
Step by Step Soil Propagation
- Fill a small pot with moist, well draining potting mix.
- Make a small hole with your finger or a pencil.
- Slide the bare lower stem into the hole.
- Firm the mix gently around the cutting.
- Place the pot in bright, indirect light.
- Keep the mix lightly moist, not soggy.
A small pot works better than a large one. Big pots hold too much wet soil around tiny stems, and wet soil is where cuttings go to sulk.
After 1 to 2 weeks, tug very gently. If you feel resistance, roots have started to grip the mix.
The Best Soil Mix for Oyster Plant Cuttings
Use a mix that drains fast but still holds a little moisture. A simple beginner mix works beautifully:
- 2 parts regular potting soil
- 1 part perlite or coarse sand
Perlite creates air pockets around young roots. Sand adds weight and drainage. Both help prevent the wet, heavy conditions that cause rot.
If your potting mix feels dense and muddy after watering, fix it before you plant. Roots need air as much as they need water.
Method 2: Propagate Oyster Plant by Division
Division works best for mature oyster plants with several crowded clumps or offsets. You aren’t waiting for a cutting to become a plant. You’re simply separating plant sections that already have roots.
Fast results. A bit messier.
Step 1: Remove the Plant From Its Pot
Water the plant lightly the day before division. Slightly moist roots bend better than bone dry roots.
Tip the pot sideways and slide the root ball out. If it sticks, squeeze the pot gently or tap the sides.
Step 2: Separate the Clumps
Look for natural sections with leaves and roots attached. Gently tease them apart with your fingers.
If the roots feel tightly packed, you can make a clean cut with a sanitized knife. Don’t hack wildly. Aim for sections that each have enough roots to support their leaves.
Step 3: Repot the Divisions
Plant each section in a pot with drainage holes and fresh potting mix. Keep the crown at the same depth it grew before.
Water lightly, then let extra water drain away. Set the new pots in bright, indirect light while they settle in.
The plant may look a little pouty for a few days. That’s normal after root disturbance.
Alternative Method: Rooting in Damp Sphagnum Moss
Damp sphagnum moss can root oyster plant cuttings nicely, especially if your home runs dry. It holds moisture around the nodes without packing tightly like heavy soil.
Soak the moss, squeeze it until it feels damp instead of dripping, then wrap it around the bare lower stem in a small cup or jar.
Check it every few days. If it dries out completely, roots stall. If it stays soggy, stems can rot.
Light, Water, and Warmth While Cuttings Root
Oyster plant cuttings want bright, indirect light. A spot near an east facing window works well. A few feet back from a bright south or west window can also work.
Direct hot sun scorches leaves and dries cuttings too quickly. Low light slows rooting and can make stems weak.
Keep the room warm, above 60°F or 15°C. Warmer rooms help roots form faster, as long as the cuttings don’t sit in harsh sun or soggy mix.
How to Move Water Rooted Cuttings Into Soil
Don’t wait until the jar looks like a bowl of noodles. Water roots are tender and adjust better when they’re still young.
When roots reach about 1 to 2 inches, pot the cutting into a small container with well draining mix. Water it once, then keep the soil lightly moist for the first week.
After that, treat it more like a young oyster plant. Let the top layer of mix begin to dry before watering again.
Common Oyster Plant Propagation Mistakes
Burying Leaves
Leaves buried in water, soil, or moss usually rot. Remove the lower leaves first and keep only the bare stem below the surface.
Using Heavy, Wet Soil
Dense soil holds water around the stem. That’s a quick path to mush.
Add perlite or coarse sand. Your cuttings will thank you by staying firm and rooting faster.
Putting Cuttings in Full Sun
New cuttings don’t have enough roots to replace lost moisture quickly. Full sun can dry them out or scorch the leaves.
Bright shade beats hot sun every time during propagation.
Forgetting to Change the Water
Cloudy water isn’t harmless. It can grow algae and bacteria, which stress the cutting.
Change the water every 2 to 3 days. It takes less than a minute.
Propagating in a Cold Room
Cold slows everything down. Below 60°F or 15°C, cuttings may sit there doing nothing, then rot before they root.
Move them to a warmer windowsill or a bright shelf away from drafts.
Aftercare for New Oyster Plants
Once your new oyster plant starts growing, keep it in bright, indirect light and use a pot with drainage. Water when the top inch of soil feels dry.
Don’t rush fertilizer. Young roots can burn. Wait about 4 to 6 weeks, then feed lightly during the growing season if the plant looks active.
Rotate the pot every week or two. Oyster plants lean toward light, and rotation keeps the rosette fuller and more even.
FAQ About Propagating Oyster Plant
Can you propagate oyster plant from a leaf?
No, not reliably. Oyster plant needs a stem section with a node or a rooted division. A leaf alone usually won’t grow into a new plant.
Is water or soil better for oyster plant propagation?
Both work. Water lets you see the roots, which helps beginners. Soil often makes the transition easier because the cutting roots directly where it will grow.
How long does oyster plant take to root?
Most healthy cuttings root in about 1 to 2 weeks in warm conditions with bright, indirect light.
Why is my oyster plant cutting rotting?
Rot usually comes from buried leaves, dirty water, cold temperatures, or soil that stays too wet. Trim back to firm tissue if possible and start again with cleaner conditions.
Can I propagate oyster plant in winter?
You can, but it’s slower. Keep cuttings warm, give them strong indirect light, and don’t overwater. Spring and summer still give the best odds.
Should I let oyster plant cuttings callus before planting?
You don’t usually need to. If the cut end looks very wet, let it sit for an hour or two, then place it in water, soil, or damp moss.