How to Propagate Schefflera from Cuttings

If you have a leggy umbrella plant sitting by a window, good news. You can turn those long stems into new plants.
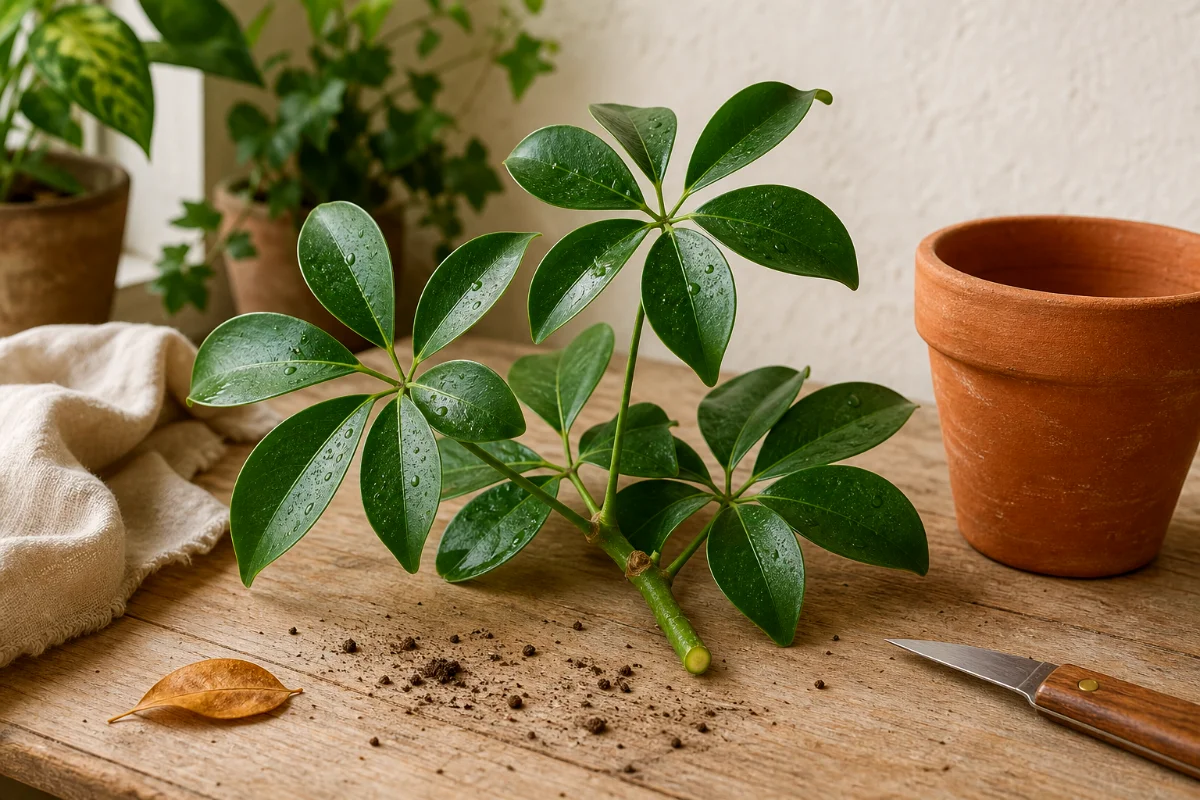
The easiest way to propagate Schefflera, also called umbrella plant, is with 4-6 inch stem tip cuttings taken in spring or summer. Cut just below a leaf node, remove the lower leaves, then root the cutting in water or damp, well-draining potting mix.
That’s the short version. But the little details matter.
I’ve seen beginners fail with Schefflera cuttings for three common reasons: they use a weak stem, they let the cutting sit in soggy soil, or they put it in harsh sun because they think more light means faster roots. It doesn’t. Schefflera likes patience, warmth, and gentle light.
What Makes Schefflera So Good for Propagation?
Schefflera grows from nodes along the stem. A node is the little bump or joint where a leaf grows from the stem.
That node is where the magic happens. Roots form most easily near that point, which is why you should always cut just below one.
Stem cuttings work far better than single leaves because a stem cutting has the growing tissue needed to make a real plant. A leaf may root if it includes its petiole, but it often sits there doing very little. Pretty? Maybe. Productive? Not usually.
Best Time to Propagate Umbrella Plant
Spring and early summer are the best times to propagate Schefflera. The plant is awake, growing, and ready to push out roots.
You can try cuttings at other times of year, especially indoors, but winter cuttings often sulk. They root slowly, rot more easily, and test your patience like a tomato seedling in a cold windowsill.
If your mother plant has fresh growth, firm stems, and healthy green leaves, you’re in business.
What You’ll Need
- A healthy Schefflera plant
- A sharp, clean knife or pruning snips
- A clear glass or jar for water propagation
- Fresh water
- Small pot with drainage holes
- Well-draining potting mix
- Perlite, if your mix feels heavy
- Rooting hormone, optional
- Clear plastic bag or humidity dome, optional
Clean tools matter. A dirty blade can drag bacteria into the cut stem, and that’s how a promising cutting turns into brown mush.
Use a sharp blade, too. Crushing the stem makes rooting harder.
How to Take a Schefflera Cutting
Choose the Right Stem
Pick a healthy stem tip with 3-5 leaves. Look for firm, green or slightly woody growth.
Avoid stems with yellow leaves, pests, soft spots, or blackened tips. Propagation doesn’t heal a sick cutting. It usually just copies the problem.
Cut Below a Leaf Node
Make a clean cut just below a leaf node. Aim for a cutting that is 4-6 inches long.
That size gives you enough stem to root without asking the cutting to support too much leafy growth. Big cuttings look impressive, but they often wilt faster.
Remove the Lower Leaves
Strip off the lower leaves so no leaves sit under water or below the soil line.
Leaves left in water rot. Leaves buried in soil rot even faster. And once rot starts, it loves to travel.
Keep a few leaves at the top. Those leaves help the cutting make energy while it works on roots.
Method 1: Water Propagation for Schefflera
Water propagation is the beginner-friendly method because you can watch the roots develop. It’s also oddly satisfying.
Use this method if you like checking progress and you don’t mind changing water once a week.
Step 1: Place the Cutting in Water
Put the cut end of the Schefflera stem into a clean glass of water. Make sure at least one node sits below the water line.
Keep the leaves above the water. Always.
Step 2: Set It in Bright, Indirect Light
Place the glass near a bright window, but keep it out of direct sun.
Direct sunlight can heat the water, scorch the leaves, and stress the cutting. Bright, indirect light gives the cutting energy without frying it.
Step 3: Change the Water Weekly
Change the water once a week to prevent algae and stale, cloudy water.
If the water smells bad, change it right away. Your nose knows.
Step 4: Wait for Roots
Roots usually appear in about a month. Sometimes they show sooner. Sometimes they drag their feet.
Wait until the roots are at least 1-2 inches long before potting the cutting into soil. Tiny roots break easily and struggle in potting mix.
Step 5: Pot It Up Gently
Fill a small pot with damp, well-draining potting mix. Make a hole first, then lower the roots in carefully.
Don’t jam the cutting into the soil. That snaps roots. Firm the mix lightly around the stem and water just enough to settle everything.
Method 2: Soil Propagation for Schefflera
Soil propagation gives the cutting a more stable start. The roots form directly in the medium where the plant will grow.
The tradeoff? You can’t see the roots. So you have to trust the process.
Step 1: Prepare a Light Potting Mix
Use moist, well-draining potting mix. A blend with peat and perlite works well, or you can add extra perlite to a regular houseplant mix.
The mix should feel damp, not soggy. Think wrung-out sponge.
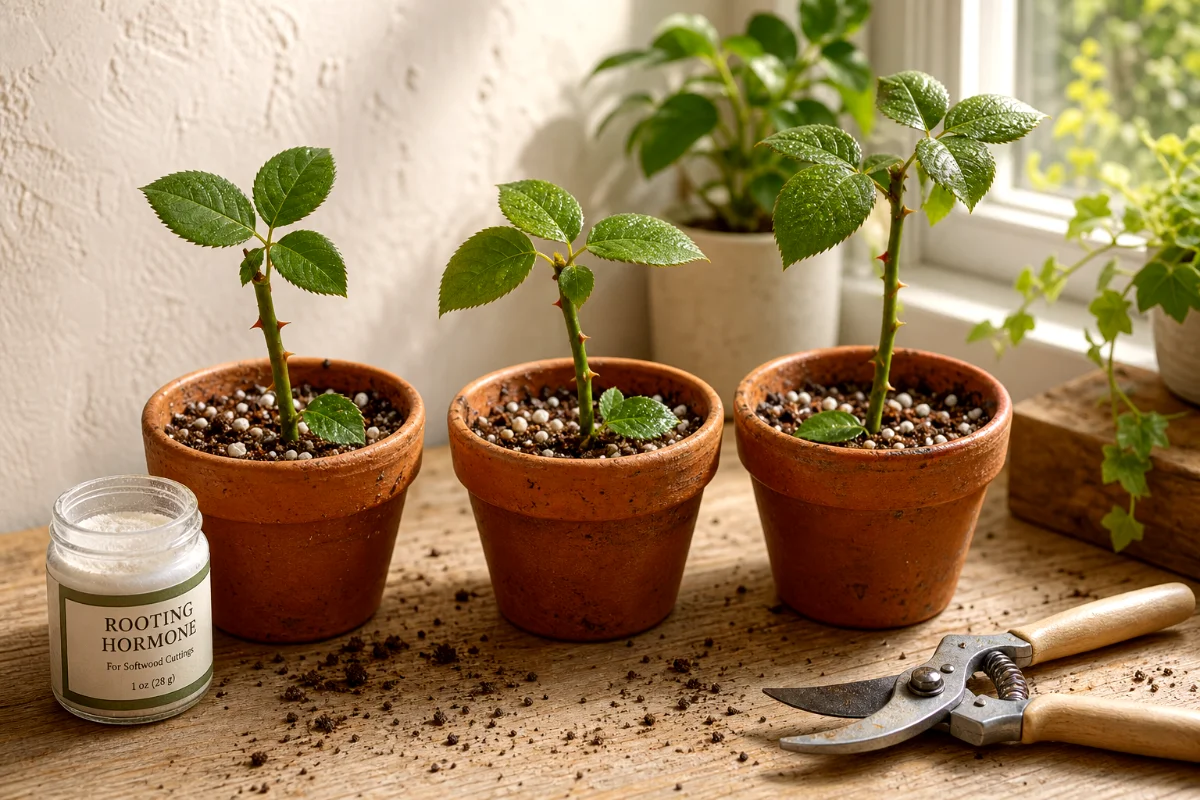
Step 2: Add Rooting Hormone if You Want
Dip the cut end into rooting hormone if you have it.
Is it required? No. Does it often speed things up? Yes. I use it when I’m working with fewer cuttings and I want better odds.
Step 3: Plant the Cutting
Push the cut end into the potting mix so at least one node sits under the surface.
Firm the soil gently around the stem. You want contact between the stem and mix, not a wobbly cutting flopping around like a loose fence post.
Step 4: Add Humidity
Cover the pot with a clear plastic bag to create a small greenhouse effect.
Keep the bag from pressing hard against the leaves. Use a couple of small sticks or plant labels as supports if needed.
Open the bag for a few minutes every couple of days. Fresh air helps prevent mold.
Step 5: Keep It Warm and Bright
Place the pot in bright, indirect light. Keep the cutting warm, ideally around 15-20C / 59-68F, and away from cold drafts.
Don’t set it on a chilly stone windowsill at night. Schefflera cuttings dislike cold feet.
Water vs Soil Propagation: Which Is Better?
If you’re brand new, start with water propagation. You can see the roots, and that builds confidence.
If you’ve propagated a few houseplants already, soil propagation may give you a sturdier young plant. Roots grown in soil don’t have to adjust as much after potting.
Here’s my honest take: water is easier to monitor, soil is better for stability. Both work.
- Choose water if you want a simple, visible process.
- Choose soil if you want less transplant shock later.
- Take two cuttings if your plant can spare them, and try both methods.
Can You Propagate Schefflera from a Leaf?
Sort of. But I wouldn’t make it your main plan.
A single Schefflera leaf with its petiole may root slowly, but it is much less likely to grow into a full plant compared with a stem cutting. Without the right stem tissue and a node, you may end up with a rooted leaf that never produces new shoots.
Use leaf cuttings as an experiment, not as your best method.
How to Care for Schefflera Cuttings While They Root
Light
Give cuttings bright, indirect light. A spot near an east-facing window works beautifully.
Too little light slows rooting. Too much direct sun dries the cutting and can burn tender leaves.
Humidity
Schefflera cuttings root better with higher humidity. Indoor air can be dry, especially with heating or air conditioning running.
A plastic bag, humidity dome, or nearby tray of damp pebbles can help. Just don’t seal the cutting in a stale, wet cave forever.
Water
For water cuttings, change the water weekly. Top it off if the level drops below the node.
For soil cuttings, keep the mix lightly moist. Not wet. Not bone dry.
Overwatering is the sneaky killer here. A cutting without roots can’t drink like a mature plant.
Temperature
Keep cuttings in a steady, mild spot around 15-20C / 59-68F.
Avoid sudden cold, hot radiators, and drafty doors. Steady conditions help the cutting spend energy on roots instead of survival.
How Long Does Schefflera Take to Root?
In water, roots often appear in about a month.
In soil, you may see new growth after several weeks, but don’t tug hard to check. That’s a beginner mistake, and yes, I’ve made it.
If you must check, give the cutting the gentlest little wiggle after four to six weeks. Resistance can mean roots have formed.
When to Pot a Water-Rooted Schefflera Cutting
Move your water-rooted cutting to soil when the roots reach about 1-2 inches long.
Don’t wait until the glass looks like a bowl of noodles. Very long water roots can tangle, break, and struggle when moved to potting mix.
Use a small pot at first. A huge pot holds too much moisture around young roots, and that can lead to rot.
Best Potting Mix for Young Umbrella Plants
Schefflera likes a mix that holds a little moisture but drains well.
A good beginner mix looks like this:
- Two parts quality indoor potting mix
- One part perlite
- A small handful of orchid bark, optional
If your potting mix stays wet for days and days, lighten it up. Roots need air as much as they need water.
Common Problems and How to Fix Them
The Cutting Is Wilting
A little droop can happen right after cutting. The stem has no roots yet, so it struggles to replace lost moisture.
Increase humidity and move it away from direct sun. If the leaves keep collapsing, remove one extra leaf so the cutting has less to support.
The Stem Is Turning Black
Black, soft stems usually mean rot.
For water cuttings, trim above the rotten part with a clean blade and place the healthy section in fresh water. For soil cuttings, the mix may be too wet or too dense.
The Water Is Green or Slimy
Algae grows when light and stale water team up.
Wash the glass, refill it with fresh water, and keep changing it weekly. You can also use a slightly darker glass, but clear jars make root watching easier.
Nothing Is Happening
Welcome to propagation. Sometimes the plant is working underground before you see anything.
Check your basics: warm spot, bright indirect light, clean water or lightly moist soil, and a node below the water or soil line.
Aftercare for a Newly Rooted Schefflera
Once your cutting is potted, keep it in bright, indirect light and water when the top inch of soil starts to dry.
Don’t fertilize right away. Let the roots settle for a few weeks first.
After you see new growth, feed lightly during the growing season. I prefer a half-strength houseplant fertilizer because young roots don’t need a banquet.
Pruning the Mother Plant After Taking Cuttings
Taking cuttings can actually improve a leggy Schefflera. The cut encourages branching below the cut point.
If your umbrella plant has one long bare stem with leaves only at the top, don’t be afraid to prune. It may look a little awkward for a while, then fresh growth starts to fill in.
Keep the mother plant in good light after pruning. Weak light causes stretched growth all over again.
My Practical Propagation Tips
- Take cuttings in spring or early summer for faster rooting.
- Cut just below a node because roots form best there.
- Use 4-6 inch stem tips with 3-5 leaves.
- Remove lower leaves so they don’t rot in water or soil.
- Skip direct sun while the cutting roots.
- Keep humidity higher, but give soil cuttings a little fresh air.
- Use small pots for new rooted cuttings.
- Don’t keep poking and pulling. Cuttings root better when left alone.
FAQ
Can I propagate Schefflera in winter?
You can try, but spring or early summer works better. Winter cuttings root more slowly because the plant isn’t growing as strongly.
Where should I cut an umbrella plant for propagation?
Cut a 4-6 inch stem tip just below a leaf node. Choose a healthy stem with a few leaves and remove the lower leaves before rooting.
Does Schefflera root better in water or soil?
Both methods work. Water lets you watch the roots grow, while soil gives the new roots a steadier start.
Do I need rooting hormone?
No, but it can help soil cuttings root faster. I use it for soil propagation when I want to improve my chances.
Why is my Schefflera cutting rotting?
Rot usually comes from dirty tools, stale water, buried leaves, soggy soil, or low airflow. Trim away rot if possible and restart with cleaner conditions.
How many leaves should I leave on the cutting?
Leave a few leaves at the top. A cutting with 3-5 leaves works well, but remove the lower leaves so they don’t sit in water or soil.