How to Propagate Lipstick Plant from Cuttings

Lipstick plant, also called Aeschynanthus, looks fancy enough to make beginners nervous. Those glossy trailing vines and little red tube-shaped flowers can feel like something you shouldn’t touch.
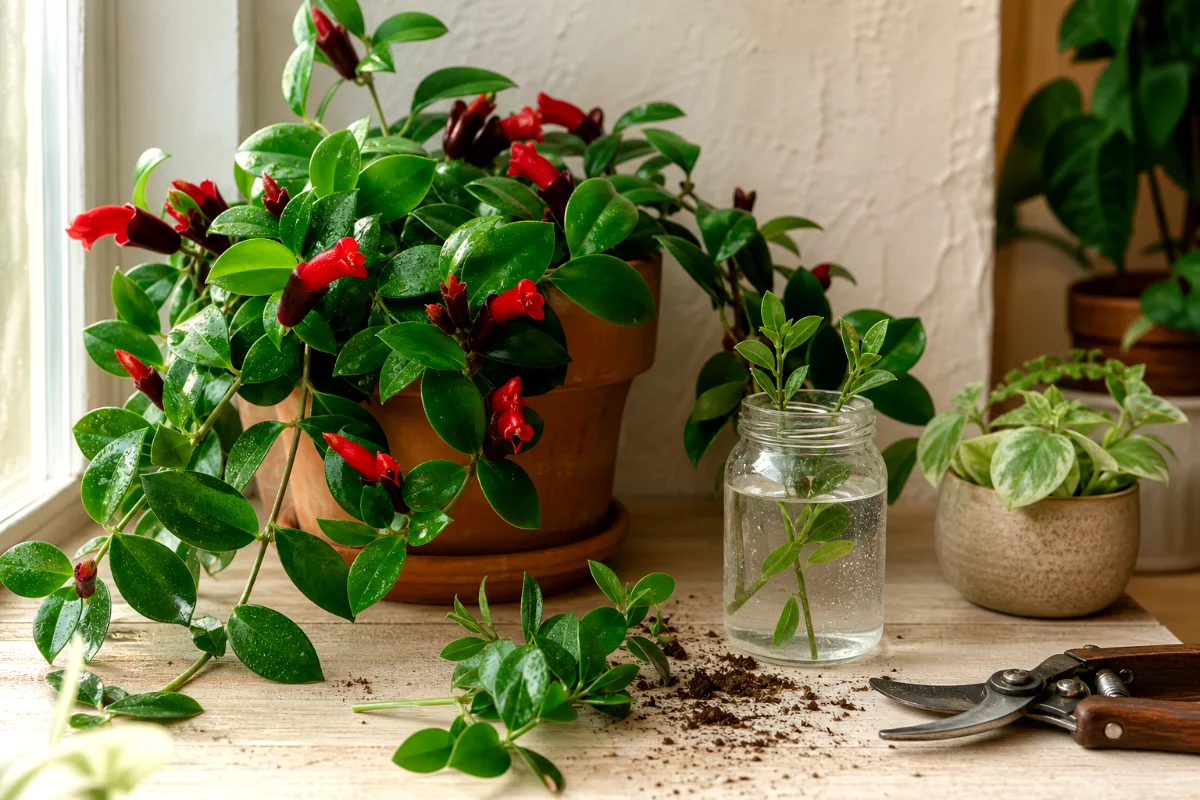
But here’s the good news. This plant propagates beautifully from stem cuttings.
The easiest way to propagate lipstick plant is to take a 4- to 6-inch stem cutting in spring or summer, remove the lower leaves, and root the cutting in water or a moist, airy potting mix. Most cuttings show roots in 2 to 4 weeks, though a strong root system can take closer to two months.
When to Propagate Lipstick Plant
Propagate lipstick plant in spring or summer when the plant is actively growing. That timing matters more than people think.
A cutting has no roots at first. None. It has to survive on stored moisture while it builds new roots from the nodes. Warmth, longer days, and steady growth give it a much better shot.
You can try it in fall or winter if a vine breaks. I have. But the cuttings sit there longer, sulk a bit, and root slower unless your home stays warm and bright.
What You Need Before You Cut
Don’t overcomplicate this. Lipstick plant cuttings don’t need a fancy setup, but clean tools and the right light make a big difference.
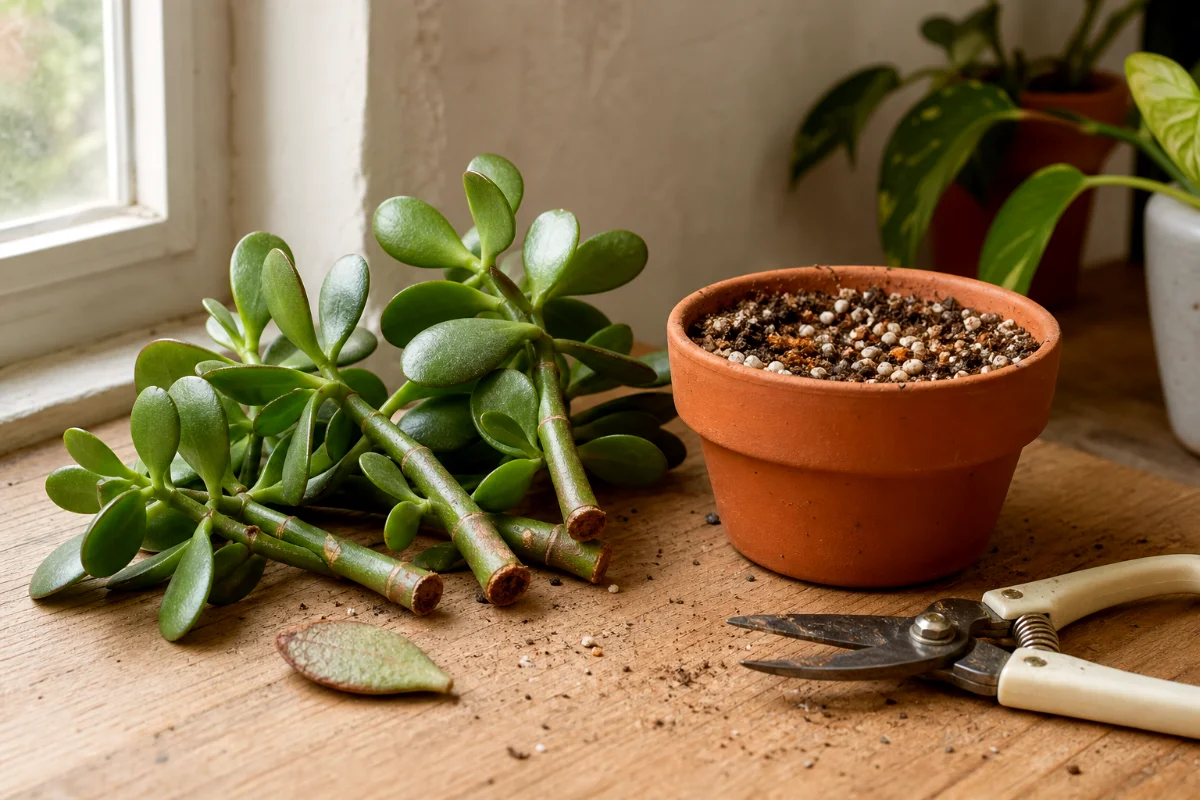
- Sharp sterile pruning shears or small scissors
- A healthy lipstick plant with non-flowering stems
- A clear glass jar for water propagation
- A small pot with drainage holes for soil propagation
- Lightweight potting mix with perlite or vermiculite
- Rooting hormone, optional for soil cuttings
- A clear plastic bag or simple propagator for humidity
Use a clean blade. A ragged cut invites rot, and rot spreads faster than gossip in a garden club.
Choose the Right Stem Cutting
Pick a healthy, flexible, non-flowering stem. Flowering stems spend energy on blooms, not roots, so I leave those alone when I’m propagating.
Cut a piece that measures about 4 to 6 inches long. Look for several leaves and at least a few nodes. Nodes are the little bumps where leaves grow from the stem.
And nodes are the whole game.
Roots form from those nodes, not from random smooth sections of stem. If you bury or submerge a stem with no node in the right place, you may wait and wait with nothing to show for it.
How to Prep the Cutting
- Cut just below a leaf node with sharp, sterile shears.
- Remove the lower leaves from the stem.
- Leave only 2 or 3 leaves at the top.
- Make sure one or two bare nodes sit near the bottom of the cutting.
Removing lower leaves prevents rot. Leaves under water turn mushy. Leaves buried in soil do the same thing, just with more mess.
Method 1: Water Propagation for Lipstick Plant
Water propagation is the easiest method for beginners because you can see the roots forming. It also gives you a little daily encouragement, which never hurts.
Use a clear glass jar or small vase. I like a narrow jar because it holds the cutting upright without letting the leaves fall into the water.
Step 1: Place the Cutting in Water
Put the prepared cutting into the jar and make sure the bare nodes sit below the water line. Keep the top leaves above water.
If a leaf touches the water, remove it. Don’t argue with mush. It always wins.
Step 2: Give It Bright, Indirect Light
Place the jar near a bright window, but keep it out of direct hot sun. Direct sun can cook the cutting, warm the water too much, and stress the leaves.
Bright shade works well. A north or east-facing windowsill often does the job nicely.
Step 3: Change the Water Weekly
Change the water about once a week. Fresh water keeps things clean and adds oxygen around the stem.
If the water gets cloudy before the week ends, change it sooner. Trust your eyes and your nose. Bad-smelling water means trouble.
Step 4: Wait for Roots
Roots often appear in 2 to 4 weeks. Sometimes you see little white nubs first. That’s normal.
Don’t pot the cutting the second you see a tiny root. Wait until the roots reach about 2 to 3 inches long. Short baby roots break easily and dry out fast after potting.
Step 5: Move the Cutting to Soil
Once the roots look long enough, plant the cutting in a small pot of airy potting mix. Keep the mix lightly moist for the first couple of weeks while the water roots adjust to soil.
Water roots grow in a cushy place. Soil asks them to work harder. Give them a gentle start.
Method 2: Soil Propagation for a Fuller Lipstick Plant
Soil propagation is my favorite method when I want a bushier plant from the start. You won’t see the roots forming, which can test your patience, but the cuttings often settle into pot life with less shock later.
This method works especially well if you plant 3 to 5 cuttings per pot. One cutting can look lonely for a long time. Several cuttings make a fuller, prettier plant much faster.
Step 1: Prepare an Airy Potting Mix
Use a small pot with drainage holes. Fill it with damp, lightweight potting mix.
A good blend feels fluffy, not heavy. Regular potting soil mixed with perlite or vermiculite works well. Lipstick plants grow as epiphyte-like plants in nature, so their roots appreciate air around them.
Soggy soil suffocates cuttings. Airy soil gives new roots room to breathe.
Step 2: Add Rooting Hormone If You Want
Rooting hormone is optional. I use it when I’m rooting several cuttings or working with a plant I really don’t want to lose.
Dip the cut end into the hormone, then tap off the extra. More powder doesn’t mean more roots. It usually just makes a clumpy mess.
Step 3: Plant the Cuttings
Use a pencil, chopstick, or your finger to make small holes in the mix. Insert each cutting so at least one bare node sits under the soil.
Firm the mix gently around each stem. Gently means gently. You want contact, not concrete.
Step 4: Add Humidity
Cover the pot with a clear plastic bag or place it in a small propagator. High humidity helps cuttings hold moisture while they grow roots.
Keep the plastic from pressing hard against the leaves if you can. A couple of small sticks in the pot can hold the bag up like a tiny greenhouse frame.
Step 5: Keep It Warm and Bright
Place the pot somewhere warm, around 23C or 73F, with bright, indirect light. Avoid hot direct sun, especially with plastic over the pot.
That little humidity tent can heat up quickly. Too much sun turns helpful humidity into a steamed salad situation.
Step 6: Keep the Mix Slightly Moist
Keep the potting mix slightly moist, not wet. Check it with your finger every few days.
If the top feels dry, water lightly. If it still feels damp, leave it alone. Most failed lipstick plant cuttings fail from too much water, not too little attention.
Water vs Soil Propagation: Which Method Should You Choose?
Choose water propagation if you’re new, nervous, or just like watching roots grow. It’s simple and satisfying.
Choose soil propagation if you want a fuller pot and don’t mind waiting without visual proof. Soil-rooted cuttings often adjust faster because they start life in the medium where they’ll keep growing.
Neither method is wrong. The best one is the one you’ll actually monitor without fussing it to death.
How to Know Your Lipstick Plant Cutting Has Rooted
In water, the answer is obvious. You see roots.
In soil, you need to read the plant. New leaf growth is a strong sign. A cutting that stays upright, firm, and green after several weeks is also promising.
You can give the stem a very light tug after 4 weeks. If you feel resistance, roots have started grabbing the mix.
Don’t yank. This is not a strength test.
Potting Up Rooted Lipstick Plant Cuttings
Use a small pot when you pot up rooted cuttings. A giant pot holds too much moisture around young roots.
Pick a container with drainage holes and use a chunky, well-draining mix. A good houseplant mix with extra perlite usually works well. If you have orchid bark, add a small handful for more air.
Plant the cutting at the same depth as the rooted nodes. Water it once, let the extra drain away, then place it back in bright, indirect light.
Aftercare for New Lipstick Plant Cuttings
Freshly rooted cuttings need steady care, not pampering.
- Light: Bright, indirect light keeps growth compact and healthy.
- Water: Let the top layer of mix start to dry before watering again.
- Humidity: Moderate to high humidity helps, especially in dry homes.
- Temperature: Keep cuttings warm and away from cold drafts.
- Fertilizer: Wait until you see new growth before feeding.
I don’t fertilize fresh cuttings right away. New roots are tender, and fertilizer can push too hard too soon.
Common Mistakes When Propagating Lipstick Plant
Using a Flowering Stem
A flowering stem can root, but it often wastes energy on blooms. Choose a non-flowering stem for better odds.
Burying Leaves in Soil
Leaves under soil rot. Strip the lower leaves and bury only the bare nodes and stem.
Letting Cuttings Sit in Direct Sun
Cuttings don’t have roots to replace lost moisture quickly. Direct sun dries them out and can burn the foliage.
Keeping the Mix Too Wet
Slightly moist is the goal. Wet soil invites stem rot, especially under a plastic humidity cover.
Giving Up Too Soon
Some lipstick plant cuttings root fast. Others take their sweet time. While roots may appear in 2 to 4 weeks, a sturdy root system can take up to two months.
Why Humidity Helps So Much
Cuttings lose moisture through their leaves. Without roots, they can’t replace that water very well.
Humidity slows that moisture loss. That’s why a plastic bag or propagator helps during the first few weeks.
But air still matters. Open the bag for a few minutes every couple of days to prevent stale, damp conditions. Fresh air keeps mold from getting comfortable.
Can You Propagate Lipstick Plant From a Single Leaf?
No, not in the way beginners hope. A single leaf may stay green for a while, but it usually won’t grow into a full plant without a piece of stem and a node.
Take a stem cutting. Make sure it has nodes. That’s the reliable route.
FAQ About Propagating Lipstick Plant
How long does lipstick plant take to root?
Most lipstick plant cuttings show roots in 2 to 4 weeks. A strong root system may take up to two months, especially in cooler homes.
Is water or soil better for propagating lipstick plant?
Water is easier because you can see root growth. Soil is better if you want several cuttings in one pot for a fuller plant from the start.
Where should I cut a lipstick plant for propagation?
Cut a healthy 4- to 6-inch non-flowering stem just below a node. Remove the lower leaves so one or two bare nodes can sit in water or soil.
Why is my lipstick plant cutting rotting?
Rot usually comes from dirty tools, leaves sitting in water, soggy soil, or poor airflow under a humidity cover. Trim back to healthy stem and try again with cleaner conditions.
Do lipstick plant cuttings need rooting hormone?
No. Rooting hormone can help soil cuttings root a little faster, but lipstick plant cuttings can root without it if warmth, humidity, and moisture stay steady.
Can I put several lipstick plant cuttings in one pot?
Yes. In fact, planting 3 to 5 cuttings per pot creates a fuller plant. Just make sure each cutting has at least one node under the soil.