How to Propagate Xanadu Philodendron

If you want to learn how to propagate Xanadu philodendron, start with this: division is your best friend.
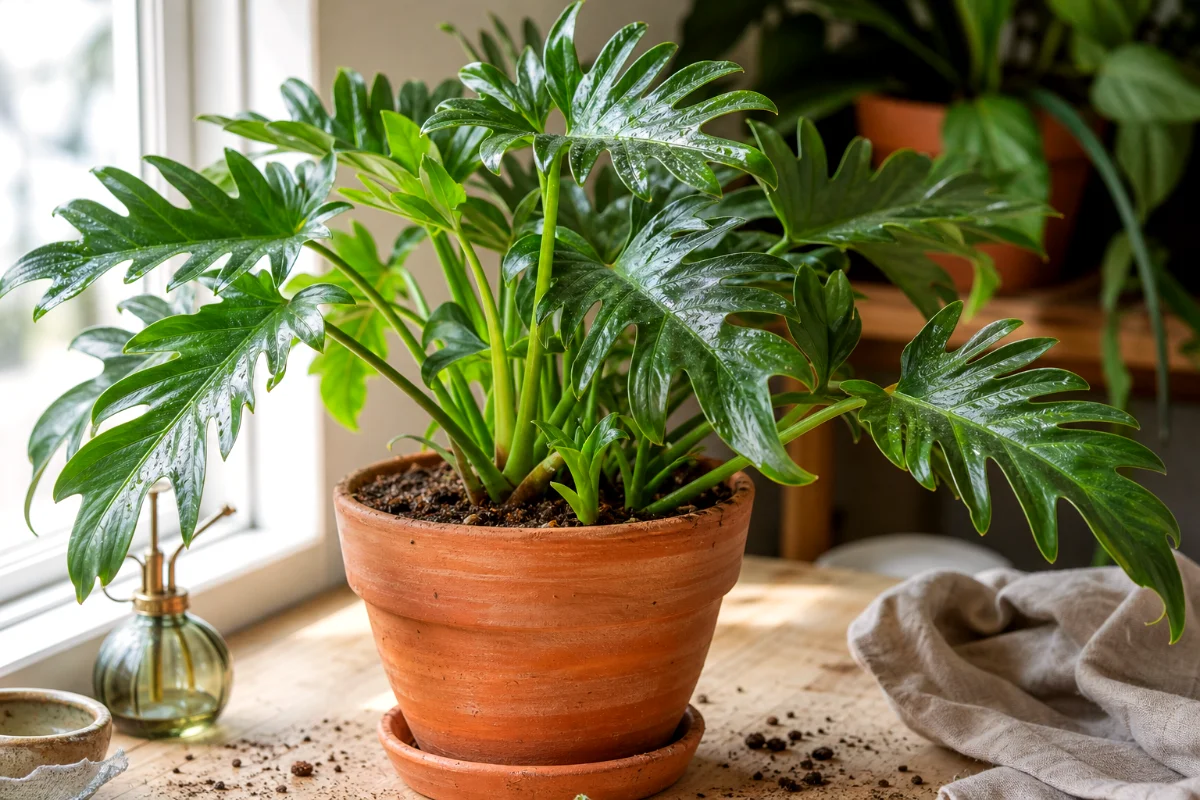
Xanadu doesn’t trail and vine like a heartleaf philodendron. It grows in a clumping, bushy shape, and mature plants often make small side shoots called pups. Those pups are the easiest, cleanest way to make new plants.
Stem cuttings can work too, but only if you cut a piece with a real node. No node, no roots. Simple as that.
Best Time to Propagate Xanadu Philodendron
Propagate Xanadu in spring or summer, when the plant is actively growing.
Can you do it in winter? Sometimes. But I wouldn’t, unless the plant is desperate or you’re already repotting because the roots are packed tight. Warm days, brighter light, and active growth help new roots form faster.
Most healthy divisions or rooted cuttings settle in within 2 to 4 weeks. Some take longer. Plants don’t read calendars.
Before You Start, Check the Plant
Don’t propagate a weak, sulking Xanadu just because you want more plants. I know. It’s tempting.
Pick a plant that has:
- Firm green leaves
- Several healthy stems or crowns
- No mushy base
- No active pest problem
- Roots that look cream, tan, or light brown, not black and slimy
If your plant has yellow leaves from overwatering, fix that first. Propagation adds stress. A stressed plant has less patience for our little projects.
Supplies You’ll Need
Keep it basic. You don’t need a fancy propagation station or a shelf full of potions.
- A clean, sharp knife or pruning shears
- A small pot with drainage holes
- Fresh well-draining potting mix
- A jar of water, if rooting a stem cutting in water
- Gloves, since philodendron sap can bother skin
- A towel or tray to catch spilled soil
For soil, I like a mix that holds a little moisture but still breathes. Try potting soil, peat or coco coir, and perlite. If the mix feels dense and muddy in your hand, add more perlite.
Method 1: Propagate Xanadu Philodendron by Division
This is the method I recommend first. Every time.
Division works because Xanadu grows as a clump instead of one long vine. When it matures, it may push out offsets with their own small root systems. You separate those offsets and pot them up as independent plants.
Step 1: Water the Plant the Day Before
Give the plant a light watering the day before you divide it. Moist roots bend better than dry, brittle roots.
Not soggy. Just evenly moist.
Step 2: Remove the Plant From Its Pot
Tip the pot on its side and slide the plant out gently. If it won’t move, squeeze the pot or run a dull knife around the inside edge.
Don’t yank the leaves. That’s how petioles snap, and then everybody’s annoyed.
Step 3: Loosen the Soil Around the Roots
Use your fingers to tease away loose soil. You don’t need to clean every root like you’re preparing it for surgery.
You just need to see where the mother plant ends and the smaller pups begin.
Step 4: Find the Pups
Look for small offsets growing beside the main plant. A good pup has:
- At least a few leaves
- A firm base
- Some roots of its own
If a pup has no roots at all, leave it attached for now. Tiny offsets without roots struggle after separation, and you’ll often lose them for no good reason.
Step 5: Separate the Pup
Gently pull the pup away if it separates easily. If it resists, use a clean, sharp knife to cut between the pup and the mother plant.
Make one steady cut. Don’t saw back and forth through the crown like you’re carving a roast.
Step 6: Pot the New Division
Place the division in a small pot with fresh, moist potting mix. Keep the crown at the same depth it was growing before.
A small pot matters. Too much wet soil around a small root system can sour fast and lead to rot.
Step 7: Settle It In
Water lightly after potting. Then place the new plant in bright, indirect light.
Keep humidity on the higher side for the first few weeks. A nearby humidifier works well. So does grouping it with other houseplants, as long as air still moves around the leaves.
Method 2: Propagate Xanadu Philodendron From Stem Cuttings
Stem cuttings are the second choice, not the first. Xanadu’s growth habit makes it fussier than vining philodendrons.
But it can work if you cut the right piece.
Step 1: Find a Stem With a Node
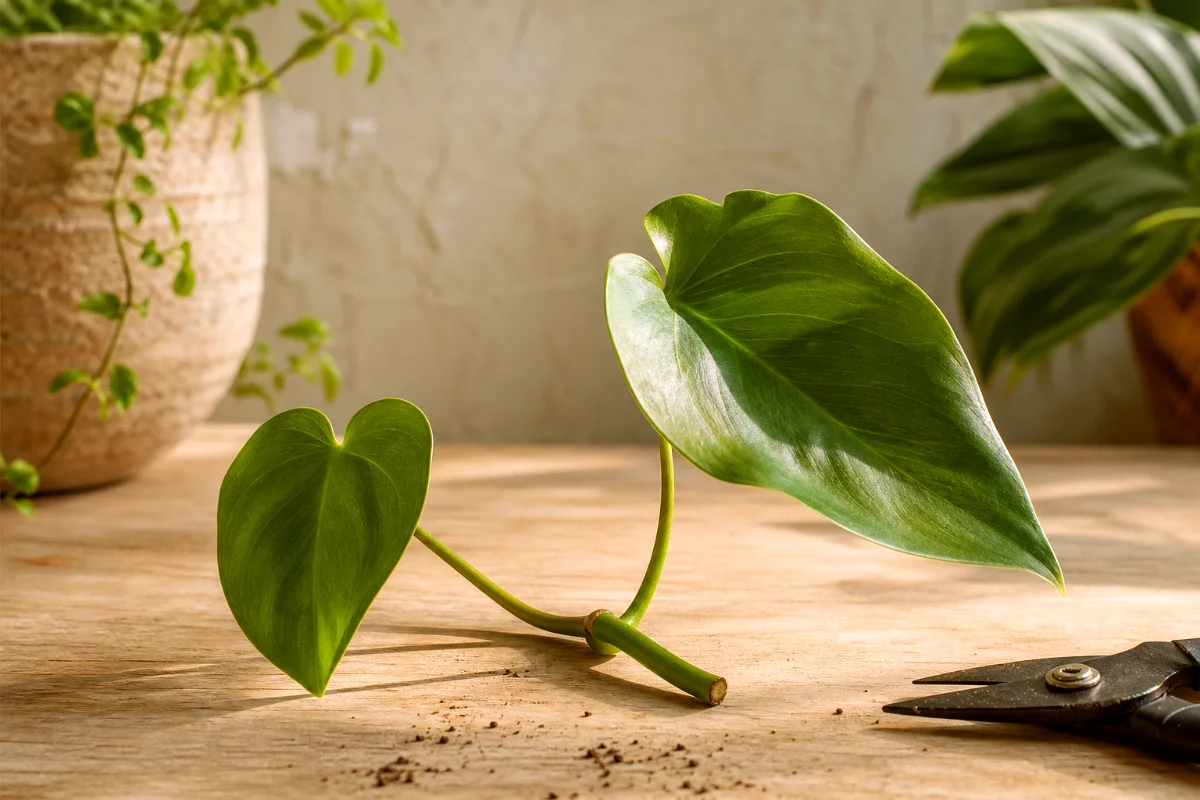
The node is the small bump or joint on the stem where roots can form. You need at least one leaf and one node on your cutting.
A leaf with only a bare petiole won’t grow into a new plant. It may sit in water looking pretty for a while, but it won’t make a proper Xanadu.
Step 2: Make a Clean Cut
Use sterilized shears or a sharp knife. Cut below the node, leaving enough stem so the node can sit in water or soil.
Clean tools matter because fresh cuts invite bacteria and fungus. That’s not scare talk. I’ve seen too many cuttings turn to mush from dirty blades.
Step 3: Root the Cutting in Water
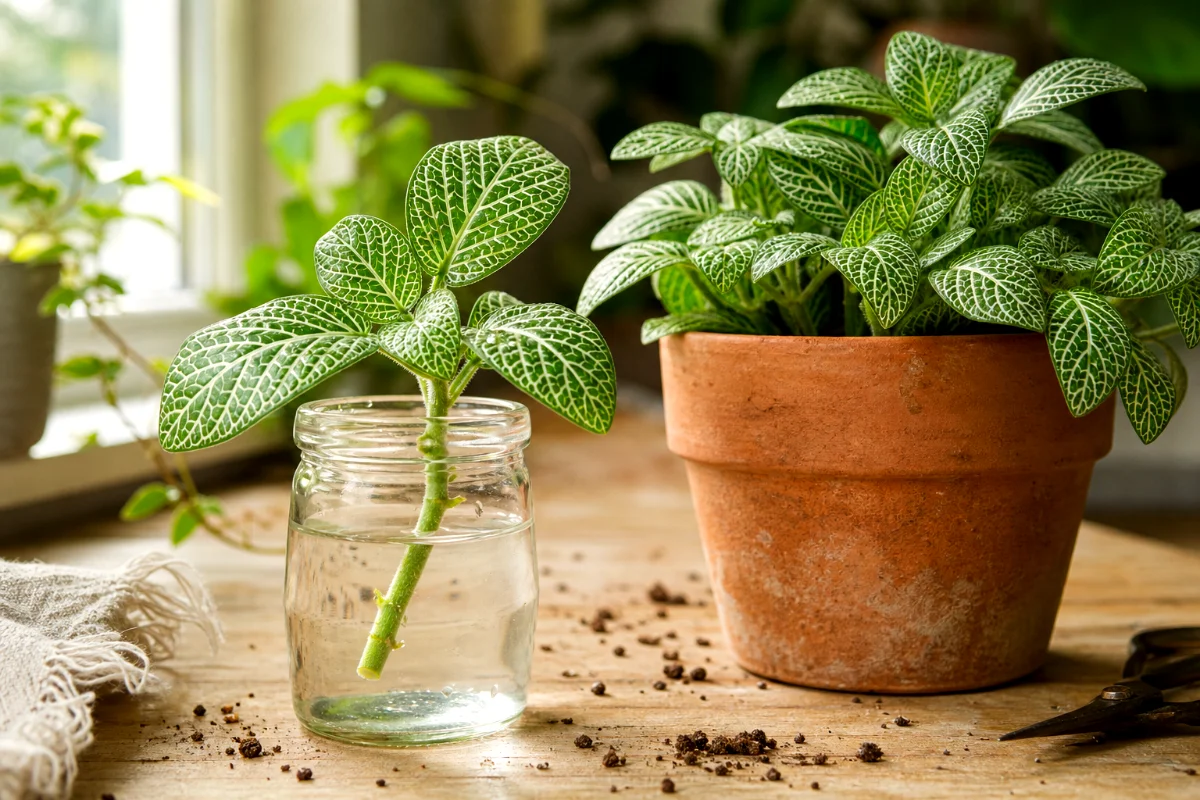
Place the cutting in a clear jar with the node submerged. Keep the leaf above the water.
Set the jar in bright, indirect light. Change the water every few days. If it smells swampy, you waited too long.
Roots usually appear in 2 to 4 weeks, though some cuttings move at the speed of cold molasses.
Step 4: Or Root the Cutting in Soil
You can skip the water and place the cutting straight into moist potting mix. Bury the node, not the leaf.
Soil rooting avoids the adjustment period that water roots sometimes face when moved into a pot. But you can’t watch the roots grow, which makes beginners nervous. Fair enough.
Step 5: Pot the Cutting Once Roots Are Ready
If you rooted in water, wait until roots are a few inches long. Then plant the cutting in a well-draining mix.
Water it in gently, then leave it alone. New plant parents often fuss a cutting to death with extra water and constant checking.
Division vs Stem Cuttings: Which Should You Choose?
Choose division if your Xanadu has pups with roots. It’s faster, sturdier, and much less dramatic.
Choose stem cuttings if the plant doesn’t have offsets, but you can find a healthy stem section with a node.
Here’s my plain-spoken rule: if I can divide, I divide. If I can’t, I look for a node. If I don’t see a node, I put the scissors down and make tea instead.
Aftercare for New Xanadu Plants
The first few weeks after propagation decide a lot. You don’t need to baby the plant, but you do need steady conditions.
Light
Give bright, indirect light. Near an east-facing window is lovely. A few feet back from a bright south or west window can also work.
Direct hot sun can scorch the leaves, especially while roots are recovering.
Water
Keep the soil lightly moist, not wet. Let the top inch dry before watering again.
Overwatering is the fastest way to ruin a fresh division. The roots need oxygen as much as they need moisture.
Humidity
Xanadu appreciates moderate to high humidity, especially after division or cutting.
If your home is dry, use a humidifier or place the plant near other houseplants. Skip misting as your main plan. It feels nice, but the effect fades quickly.
Temperature
Keep the plant warm. Aim for a comfortable room temperature and avoid cold drafts.
A chilly windowsill at night can slow rooting, even if the daytime light looks perfect.
Common Mistakes That Ruin Xanadu Propagation
I’ve made some of these mistakes myself. Gardening teaches humility with a trowel in its hand.
- Using a pot that’s too large: Extra soil stays wet too long and raises the risk of root rot.
- Separating pups with no roots: They often wilt badly and fail before they get started.
- Taking cuttings without a node: A leaf alone won’t grow a new plant.
- Putting new plants in strong sun: Fresh divisions need gentle light while they recover.
- Keeping water cuttings in old water: Stale water encourages rot and funky smells.
- Overwatering after potting: Moist is good. Soggy is trouble.
How to Tell Your Propagation Is Working
With divisions, success often looks boring at first. That’s normal.
Good signs include:
- Leaves staying firm
- No black mush at the base
- Slow but steady new growth
- Roots holding the soil after a few weeks
With water cuttings, look for small white root nubs near the node. They may start tiny, like little grains of rice.
Don’t tug soil cuttings to check for roots every other day. I know the urge. Resist it. Tugging breaks the newest roots, which are the ones you need most.
Why Well-Draining Soil Matters So Much
Xanadu likes moisture, but it hates sitting in stale wet soil. Those are not the same thing.
A good mix holds enough water to keep roots from drying out while leaving air pockets around them. Perlite helps with that. Bark chips can help too, if you have them.
If your potting mix packs down like brownie batter, your roots will struggle. Add perlite until the mix feels lighter and springier.
FAQ
Can you propagate Xanadu philodendron from a leaf?
No. A leaf without a node won’t grow into a new plant. You need a pup with roots or a stem cutting with at least one node.
How long does Xanadu philodendron take to root?
Most divisions settle in or cuttings begin rooting in 2 to 4 weeks. Cool rooms, low light, or soggy soil can slow the process.
Is water or soil better for Xanadu cuttings?
Water is easier for beginners because you can watch the roots. Soil is often smoother for the plant because the roots grow in the medium they’ll live in.
When should I separate Xanadu pups?
Separate pups during repotting in spring or summer. Choose pups that already have their own roots and a few healthy leaves.
Why is my propagated Xanadu wilting?
A little wilting can happen after division. Severe wilting usually points to root damage, too much sun, dry soil, or soil that’s staying too wet around injured roots.