How to Propagate Queen of the Night from Cuttings

Propagating Queen of the Night, or Epiphyllum oxypetalum, works best from stem cuttings taken in spring or summer.
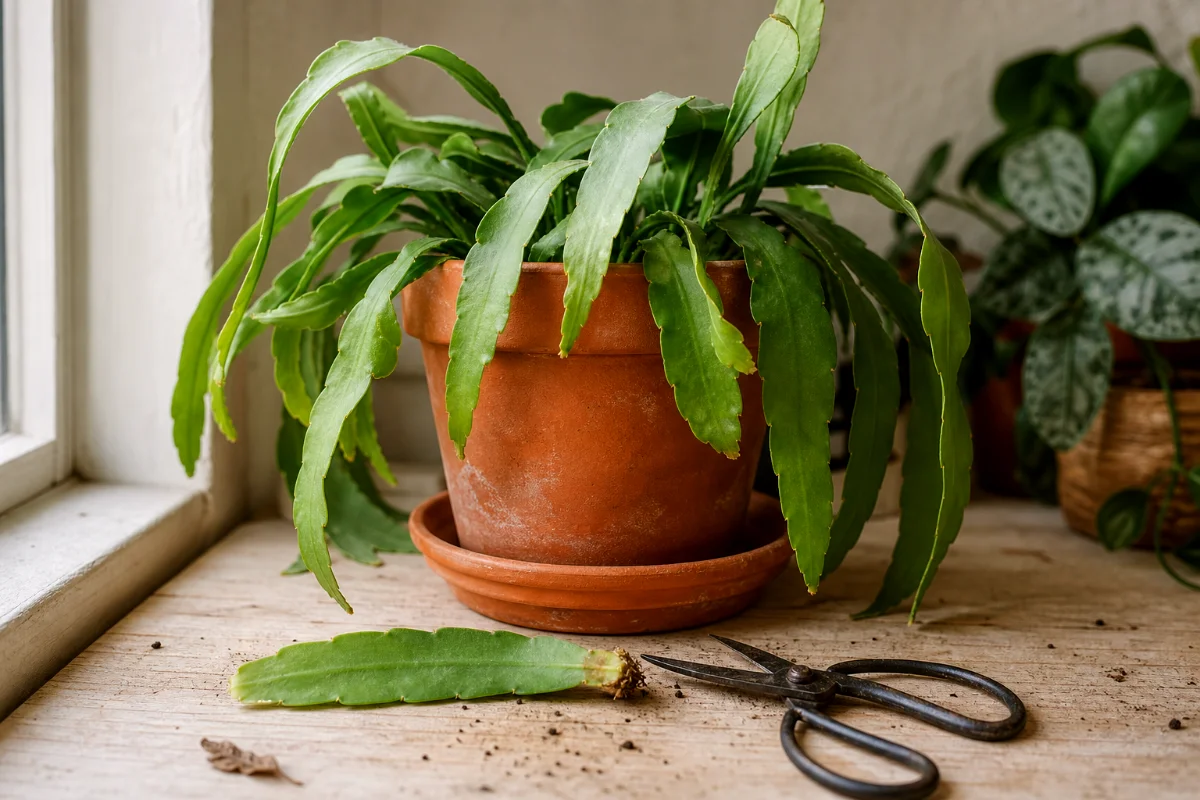
Cut a healthy 4 to 6-inch stem segment, let the cut end dry and seal for 2 to 7 days, then root it in moist cactus mix or clean water. That’s it. Mostly.
But the little details matter. This plant rots faster than beginners expect, especially when someone loves it with too much water.
Meet the plant before you cut it
Queen of the Night looks like a leafy plant, but those long, flat green pieces are really stems. They store water and grow a bit like an orchid cactus.
In nature, this plant grows as an epiphyte, often clinging to trees rather than sitting in heavy, soggy ground. So when you propagate it, think air, drainage, warmth, and patience.
That one mindset saves a lot of cuttings.
Best time to propagate Queen of the Night
Take cuttings in spring or summer when the plant has warmth and active growth on its side.
You can sometimes root cuttings in fall, but they’ll move slowly. Winter cuttings often sulk unless your home stays bright and warm.
If the parent plant has just finished blooming, wait until it looks settled again. Don’t cut a stressed plant, a thirsty plant, or one fighting pests.
What you’ll need
- Sharp, clean pruning shears or scissors
- A healthy Queen of the Night stem
- A small terracotta pot or nursery pot with drainage holes
- Succulent or cactus mix
- Extra perlite or orchid bark, if your mix feels dense
- A clean jar if you want to root in water
- Rooting hormone, optional
- A plant label, because memory plays tricks
I prefer a small terracotta pot for soil rooting. It breathes, dries evenly, and gives this cactus less chance to sit in wet muck.
How to propagate Queen of the Night in soil
1. Choose a healthy stem
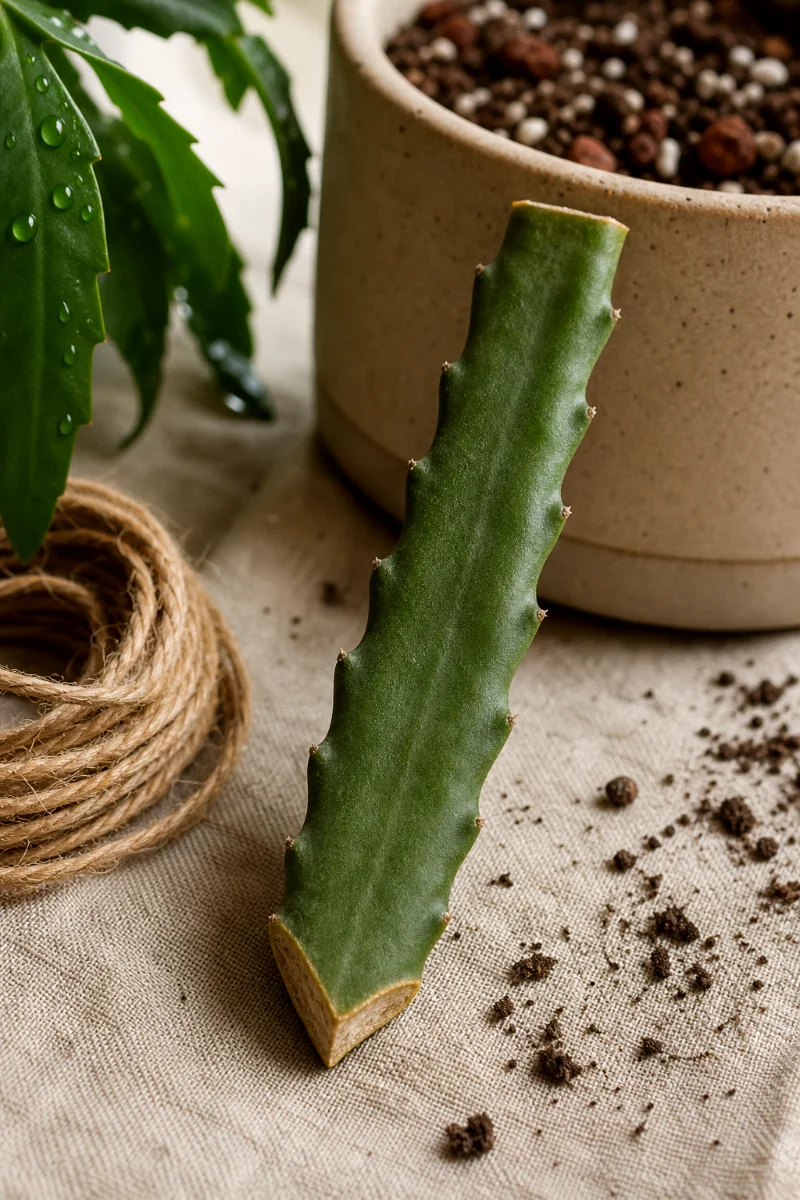
Pick a firm, green, healthy stem with no mushy spots, yellowing patches, or pest damage.
A cutting around 4 to 6 inches long roots nicely and doesn’t flop around too much. Bigger pieces can work, but beginners usually do better with smaller, tidy cuttings.
2. Make a clean cut
Use sterile shears and cut the stem cleanly.
Don’t tear it. Ragged wounds take longer to seal, and rot loves a messy opening.
3. Mark the bottom end
This sounds fussy until you’ve mixed up five cuttings on the kitchen counter.
The bottom end must go into the soil or water. To remember, cut the top end straight and the bottom end in a V shape.
Simple trick. Very useful.
4. Let the cutting dry and seal
Set the cutting in a dry, shady spot for 2 to 7 days.
The cut end should form a dry, firm seal before you plant it. This step protects the cutting from rot when it touches damp soil.
Don’t put it in direct sun while it rests. A bright shelf out of hot light works well.
5. Prepare a fast draining potting mix
Use a succulent or cactus mix. If it feels heavy or peat-rich, mix in extra perlite or small orchid bark.
Queen of the Night wants moisture, but it also wants oxygen around the roots. Wet, compact soil blocks air, and that’s when the base turns soft.
6. Plant the cutting
Push the sealed bottom end about 1 inch into the mix. Firm the soil gently so the cutting stands upright.
If it wobbles, add a small stake or lean it near the pot edge. Don’t bury half the cutting just to make it stand. Deep planting often causes trouble.
7. Water lightly
Moisten the mix, then let the top layer begin to dry before watering again.
Keep it slightly damp, not soggy. If you’re unsure, wait another day. This plant forgives dry soil much better than a wet swamp.
8. Give bright, indirect light
Place the pot near a bright window, but keep it out of harsh direct sun.
Strong sun can shrivel an unrooted cutting. Bright shade helps it root without stress.
How to propagate Queen of the Night in water
Water rooting works too, and beginners often enjoy it because they can see roots forming.
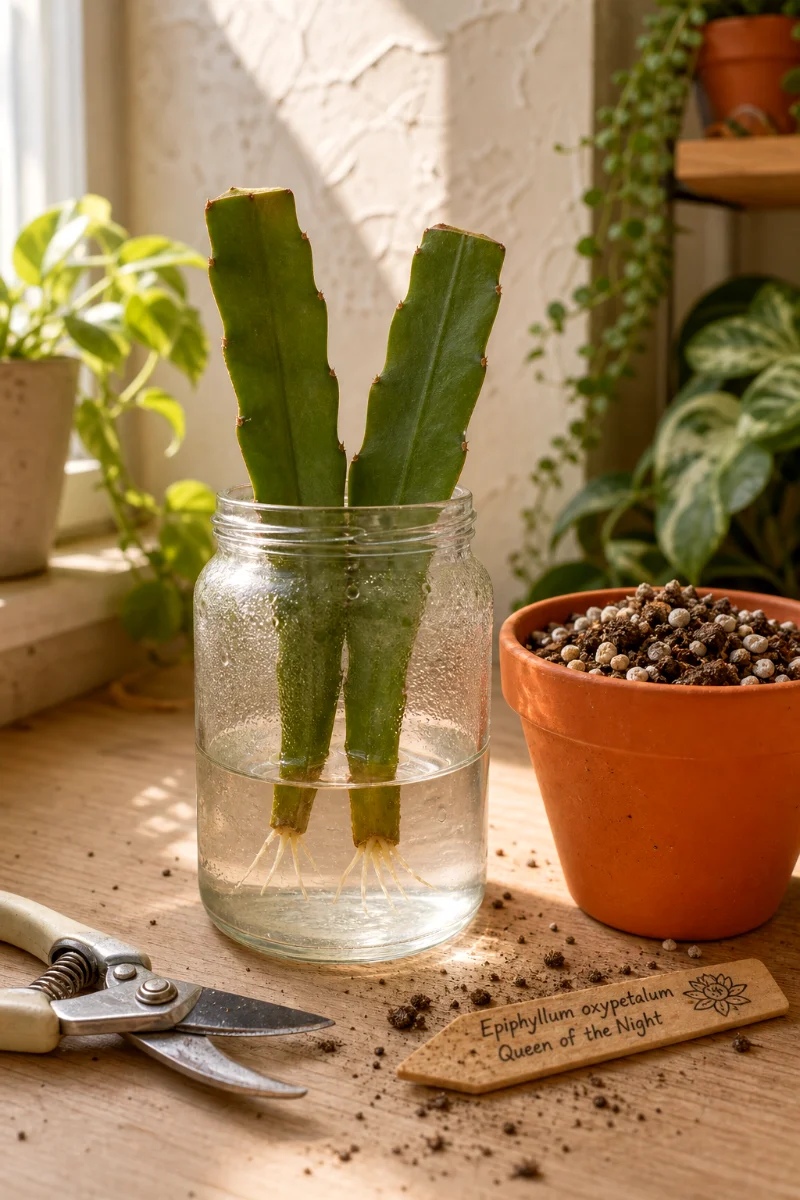
Use a clean jar with enough water to cover only the bottom end of the cutting. Don’t sink the whole stem.
Water rooting steps
- Let the cutting dry and seal for 2 to 7 days first.
- Place the bottom end in a jar of clean water.
- Keep the jar in bright, indirect light.
- Change the water once a week, or sooner if it looks cloudy.
- Move the cutting to soil when roots reach 1 to 2 inches long.
Water roots look pretty, but they’re tender. When you pot the cutting, use a light touch and don’t pack soil hard around them.
Soil rooting or water rooting: which is better?
I usually root Queen of the Night in soil because the cutting doesn’t have to switch from water roots to soil roots later.
But water rooting has a place. If you’re nervous, or if you like watching progress, use water. Just don’t leave the cutting in the jar forever.
Once roots reach 1 to 2 inches, pot it up. Long water roots tangle, break, and complain when moved.
Should you use rooting hormone?
Rooting hormone is optional.
Queen of the Night roots easily without it, especially in warm weather. Still, a light dip can speed things along and may help if your home runs cool.
Use only a small amount. More powder doesn’t mean more roots.
How long does Queen of the Night take to root?
Most healthy cuttings root in about 2 to 3 weeks.
Sometimes they take longer. If the cutting stays firm and green, leave it alone. New growth often appears shortly after roots start working.
Don’t tug on the cutting every few days. I know it’s tempting. Resist.
How to care for a new cutting
Light
Give bright, indirect light. Morning sun can be fine once the cutting has rooted, but hot afternoon sun can scorch it.
Water
Water when the top inch of mix starts to dry. Keep things lightly moist during rooting, then let the plant dry a bit more between waterings once it starts growing.
Humidity
Average home humidity usually works. If your air feels bone dry, group it near other plants instead of misting constantly.
Pot size
Start small. A huge pot holds extra wet soil, and wet soil around a tiny root system causes rot.
Common mistakes that ruin cuttings
- Skipping the drying time: Fresh cuts in wet soil often rot.
- Planting upside down: Mark the bottom end before you get distracted.
- Using heavy potting soil: Dense mix holds too much water.
- Overwatering: Damp is good. Waterlogged is bad.
- Direct sun too soon: Unrooted cuttings can shrivel or burn.
- Constant checking: Every tug breaks tiny new roots.
If the base turns black, mushy, or smells sour, cut above the damaged part if enough healthy stem remains. Let the new cut dry and try again.
When will a propagated Queen of the Night bloom?

A mature cutting can bloom within one year, especially if it came from an older flowering plant.
Young or small cuttings may take longer. Good light, a snug pot, and steady care help more than constant feeding.
And yes, the flowers really do open at night. They can make a grown gardener hover around in pajamas with a flashlight.
FAQ
Can you propagate Queen of the Night from a leaf?
What most people call a leaf is actually a flat stem. Yes, you can propagate from that stem cutting as long as it’s healthy and planted in the right direction.
Can I put the cutting straight into soil?
Wait 2 to 7 days first so the cut end dries and seals. Planting right away raises the chance of rot.
Why is my cutting wrinkling?
A little wrinkling can happen before roots form. Move it out of strong sun and keep the mix barely moist. If it turns mushy, that’s rot, not thirst.
Can I propagate a very long stem?
Yes, but I like cutting long stems into shorter 4 to 6 inch pieces. They handle better and root more evenly.
Does Queen of the Night need direct sun to root?
No. Use bright, indirect light while rooting. Save stronger light for a settled, rooted plant.
Can I root several cuttings in one pot?
Yes. Space them so air can move between stems. If one cutting rots, remove it fast so it doesn’t spoil the rest.